How To Create The German Schmear Look
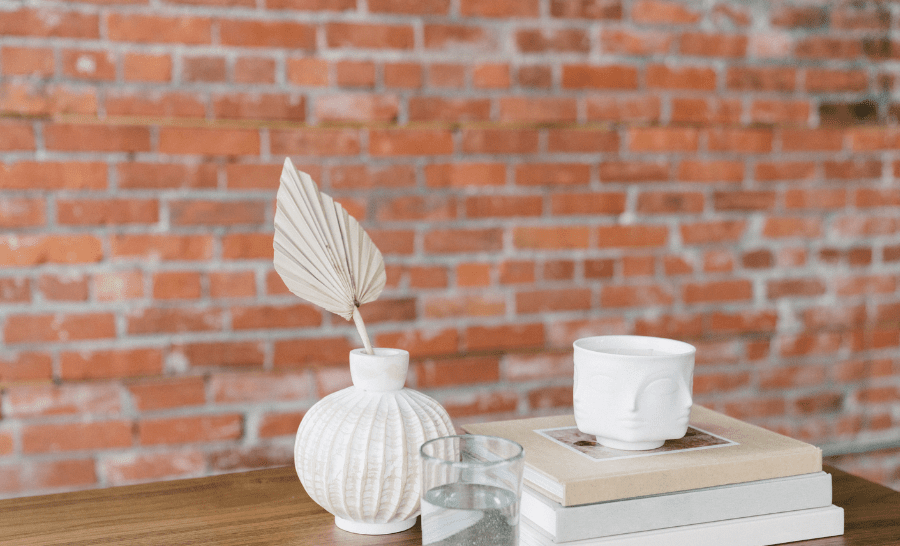
There is just something about German Schmear Brick that makes us fall in love. This design style can transform any outdated and failing facade into a magazine-worthy home.
Don’t be fooled into thinking German Schmear is limited to use only on the exterior of your house. It’s commonly used on fireplaces, outdoor sun porches, and laundry rooms, just to name a few.
Here’s everything you need to know about creating a German Schmear wall in your home.
This site uses ads and affiliate content as an Amazon associate earning on qualifying purchases. Disclosure.
How To Create The German Schmear Look
[toc]
Here are a few fun facts; this technique is not that expensive to accomplish and can be done with beginner-level skills. Why? It’s meant to have an imperfect look, so you are not trying to mimic a certain perfect standard.
It became famous as a solution for homeowners who were facing costly repairs on falling bricks. The reason for this is that you are applying a thin coat of mortar, which strengthens the existing walls.
A thicker layer of mortar is applied to weaker areas. Every German Schmear project is unique, and in reality, it’s the imperfection of those problem areas that make it so beautiful.
What German Schmear Is and What It’s Not
First off, there are two ways it is commonly known – German Smear and German Schmear. My research only found the following, which was the word Smear is to spread while Schmear is to spread “something.”
We will be spreading a mix of mortar over bricks.
Now that we have that out of the way, let’s continue….The word Schmear has a German origin. Years ago, we visited Germany and toured centuries-old castles and viewed many cottages. We began to identify that German Schmear bricks were on homes that had been repaired.
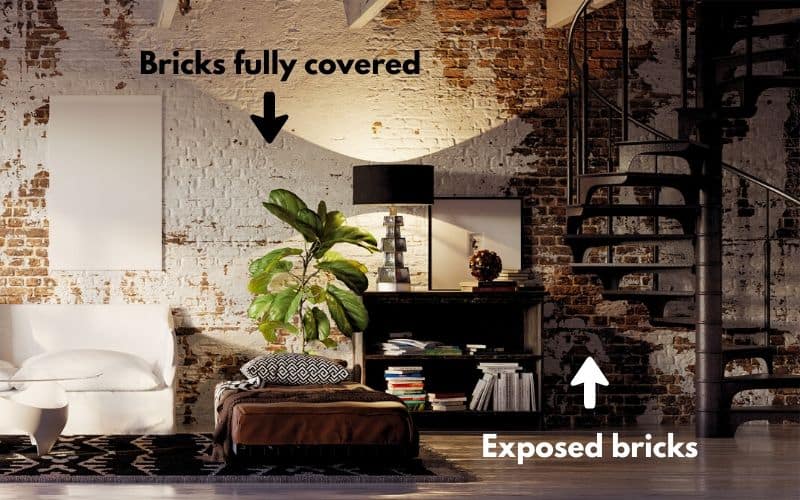
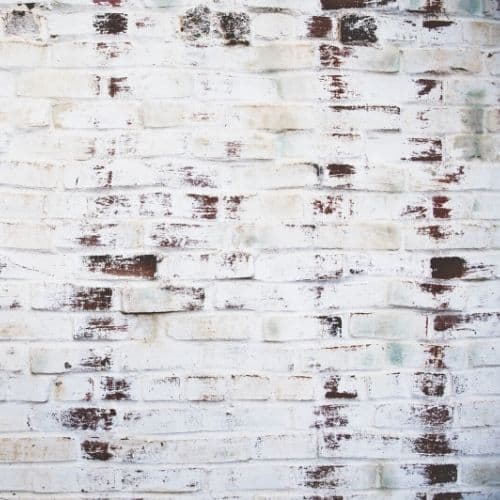
This technique is meant to mimic the look of large mortar joints and irregular stones. Since no two mortar joints are alike, it provides both character and charm. The mortar also adds texture, roughness, and a rustic distressed appearance.
German Smear vs. Limewash
This method is NOT the same as limewashing or whitewashing bricks. Homeowners commonly use diluted latex paint on parts or all brick surfaces to create the whitewashing “look.”
However, true Limewash is formed from powdered limestone which has been treated with heat and water to change its chemical composition.
This method is done for cosmetic reasons and not for repairing failing bricks and mortar joints.
Other Benefits of German Schmear
With the passing of time, the mortar on brick homes will begin to break down. Repairing the original brick is a costly project, and even if you can shell out some cash, the new bricks will probably not match.
Painting or whitewashing bricks will not be an acceptable option since you need to repair the mortar.
To have the best aesthetics, your only option would be to repair the mortar and follow up by painting the entire home. A more affordable process, which is also a one-step process is to use the German Schmear as a DIY upgrade.
This works well for long-term maintenance, as well.
To sum it up, this method is inexpensive and a one-step process.
Materials and Tools Needed
Old clothes
Mortar Mix
- QUIKRETE Construction Grade Mortar Mix of Masonry Cement and Graded Sand for Laying Brick, Concrete Units, and Stone, 10 Pounds
Multiple five-gallon buckets
- Suitable for a variety of applications and uses
- 5-gallon carrying capacity
- Equipped with a metal carrying ring and a convenient plastic carry handle
- Durable plastic construction
- Color: yellow
Heavy-duty rubber gloves
- 𝐄𝐱𝐜𝐞𝐥𝐥𝐞𝐧𝐭 𝐜𝐡𝐞𝐦𝐢𝐜𝐚𝐥 𝐫𝐞𝐬𝐢𝐬𝐭𝐚𝐧𝐜𝐞: The ergonomically shaped reusable work gloves are made of natural latex, have excellent elasticity and durability, offer high resistance to chemicals, acid, alkali, solvent, and mechanical risks, also can maintain the high performance for the moisture environment.
- 𝐒𝐨𝐟𝐭 & 𝐬𝐤𝐢𝐧 𝐟𝐫𝐢𝐞𝐧𝐝𝐥𝐲: The 28 mil (0.7 millimeter) thickness unlined rubber heavy duty gloves are very soft, easy to pull on and off. The extended cuffs provide effective barrier protection for wrist and forearm from splashes, abrasives and dangerous chemicals.
- 𝐏𝐨𝐰𝐞𝐫 𝐠𝐫𝐢𝐩: The non-slip particle textured palm heavy duty rubber gloves offer good grip to grab the wet and greasy parts. They meet level 3 (2000 cycles) of abrasion resistance, level 1 (1.2 index) of blade resistance and level 1 (10 newton) of tear resistance.
- 𝐌𝐮𝐥𝐭𝐢𝐩𝐮𝐫𝐩𝐨𝐬𝐞: The rubber work gloves are ideal for handling chemicals industry, petrochemical, mechanical manufacturing, mining, agriculture, farm, gardening, construction, automotive industry, industrial, hazmat, forestry, car washing, household cleaning and more.
- 𝐑𝐞𝐥𝐢𝐚𝐛𝐥𝐞 𝐩𝐫𝐨𝐭𝐞𝐜𝐭𝐢𝐨𝐧: These chemical gloves are compliant with CE 0598 CAT III, with Standards EN 388:2016, EN 420, EN ISO374-5:2016, EN ISO374-1:2016/Type A, and meet CA Prop.65 regulations for phthalates.
Mortar float
- Dimensions - Bottom pad measure: 12-inch by 4-inch; handle width: 8-inch
- Beveled rounded edges & straight edges - Beveled edge with rounded front edges for greater control, squared-off back corners allow for complete grout coverage
- Double rubber pad - Composed of thick black foam rubber (EVA) and white rubber, the pad features better cushioning performance, lightweight and soft. Non-stick gum rubber face is bonded to the dense rubber pad, ensures a smooth application and easy clean
- Ergonomic handle - Comfortable TPR handle features with non-slip during use. The firmly installed handle can withstand 26.5 lbs (12 kg) tension for 1 minute without falling off
- Wide application - Gum Rubber Float is used to spread grout into the joints when grouting ceramic tile. Suitable for finishing or smoothing drywall compound, stucco, concrete or grout
Heavy-duty sponges
- Designed for grout clean-up during floor and wall tile installation
- Professional, heavy duty sponge with premium density for removing excess grout
- Hydrophiliated design provides high water holding capacity for efficient cleaning
- Rounded corner design prevents digging out or marring grout
- Sold as a pack of 6
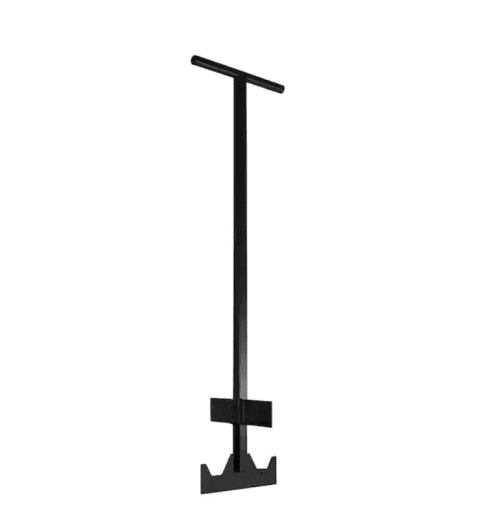

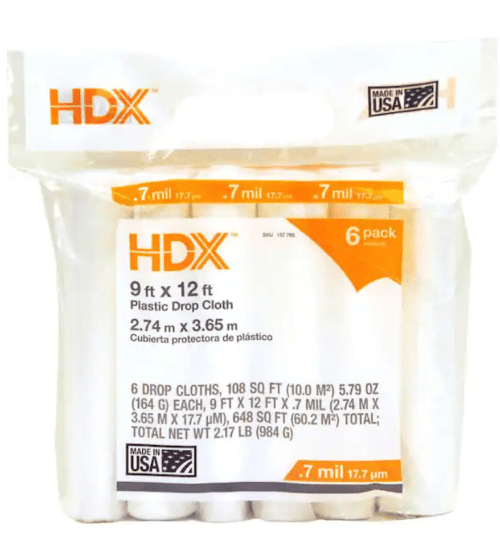
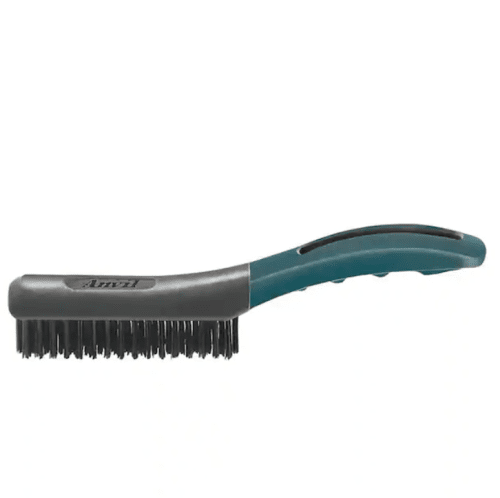
It should be noted that most people will use a white mortar mix; however, you are able to choose the color of your mortar or tint to the color of your liking.
The above items can be picked up at your local Home Improvement store or ordered from Amazon for a similar price point. I wanted to add a visual so that you would be able to find the correct tools needed.
Notice that one of the trowels has notches; this will help create texture while the other trowel will smooth out the surface.
The grout mixing paddle will only be required if you are planning to do a large project.
Keep in mind you would need to use a drill to power the paddle; however, if you are tackling a large project, this can be a lifesaver! Lastly, a wire brush is useful as areas may begin to dry, and sponging them off may no longer be an option.
- Dimensions (w/o Black Cap): 15 3/4" Long Shaft - Head is 2.5"x2.5" - Weight 8.8 Ounces
- 5/16" Hex Head Fits Most Standard Drills
- More durable, rust resistant and easier to clean with zinc plated steel than other mud mixer drill bits
- Perfect mud and paint mixer blade for mixing in 1 to 3 Gallons of Paint or Mud
- Hex head design for non slipping while mixing paint, mud, grout, concrete, and more
- Stainless Steel blade with Rubber Handle
- Used to spread mortar on floors, walls, and other applications
- Square Notch Pattern 3/16 in. x 3/16 in. x 3/16 in.
- Silver blade with a Black and Yellow handle
- Blade dimensions of 11 in. x 4.5 in.
- Designed for grout clean-up during floor and wall tile installation
- Professional, heavy duty sponge with premium density for removing excess grout
- Hydrophiliated design provides high water holding capacity for efficient cleaning
- Rounded corner design prevents digging out or marring grout
- Sold as a pack of 6
Helpful Tips For A Successful German Schear Application
Before beginning, you will want to change into some old clothes since this process is messy! Next, bring all your materials, tools, and necessary items within reach of your working area.
Water and the weather will play the most significant factors in how much time you will have to work with.
Mix the mortar in either a 5-gallon bucket or a wheelbarrow, depending on the size of your project. The consistency should be similar to that of thick pancake batter.
Start with about 30% water to 70% mortar and begin mixing. A thinner mix is easier but messy to apply. It will be more time consuming as more touch-ups and layers will need to be used. A thicker mix will be harder to apply; however, it will be less messy. It will also dry faster, so you need to be able to work quickly.
It is easier to apply the mortar from top to bottom, working in small areas approximately three to five feet wide. Be ready to get your workout in while pushing the mortar into those joints.
Most people will confirm that it is rare to see a German Smear gone bad. However, because there are so many styles and methods to accomplish this DIY home project, we would recommend you start on a small project first, such as a kitchen backsplash or fireplace.
This will ensure that you are pleased with your application and technique before proceeding to an entire project.
If you would like to update the exterior bricks of your home, it would be wise to begin in the back of the house and test a few methods. Remember, you could always create a very wet mortar mix while testing out a small area to allow more time to perfect the look you are going for.
Lastly, you could use a garden hose to remove extra mortar by washing the brick wall down or add more mortar to cover an area you are unhappy with.
The Process
To begin, you will need to prepare the brick for the German smear. This involves removing dirt, mildew, and grease. For the exterior of your home, the most efficient way to accomplish this is to power wash your house and use a stiff bristle brush if needed.
For interior home projects, use a stiff bristle brush and spray down the brick with a water bottle. It’s essential that the bricks remain wet to allow the mortar to adhere to it.
Create a wet mortar and begin smearing it over the bricks, then remove some of the mortar before it dries. Apply more mortar to areas that need repair.
Since you are not trying to level or evenly spread the mortar, you can control how distressed your final project will look.
It is crucial to have your objective in mind of your final look.
Does German Smear Last?
German Smear is a permanent solution and does not require much maintenance.
If you find that the mortar is peeling, cracking, or flaking off, this may even add to the overall design.
However, you could always “touch up” areas with a thin application of mortar mixture if you prefer a more uniform appearance.
Maintenance
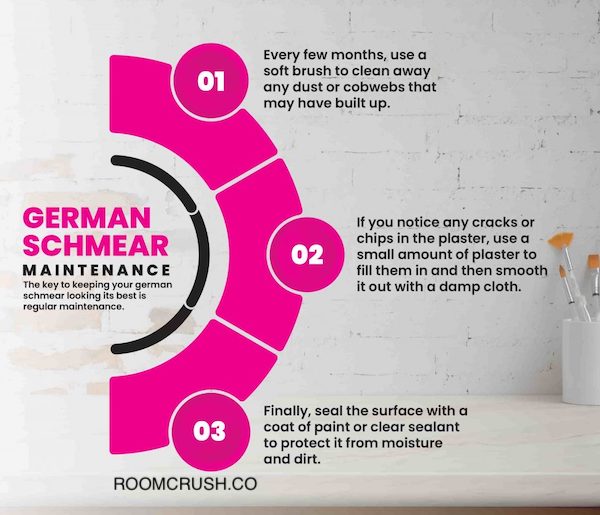
To maintain your German schmear finish, it’s important to regularly clean it with a damp cloth in order to remove any dirt or dust. You can also use a light detergent if needed.
Videos of Different German Schmear Techniques
Preparation and research are vital for any home decor project to be successful, which is why I have included videos showing the German Schmear in action.
Now, Erick and Jaime Perkins are not your typical homeowners.
They are custom mountain home builders located in North Carolina. Their father, an architect by trade, began Perkins Enterprises over 30 years ago, and his sons naturally became talented housebuilders as well.
In the second video, you will see a different technique used by Michelle.
She used the German Schmear technique to change the color of her bricks, which did not need repairing. She is using a sponge in her application, which is an excellent method to follow for interior projects.
How To Replicate The German Schmear Look If You Do Not Have Bricks
The easiest way would be to purchase 3D faux brick wall panels. Usually, these panels are installed with either liquid nails glue and/or screws.
Please reference the manufactures instructions for your installation.
If you are a serious DIYer, you may consider this as an option. Did you know that you can make brick veneers? That’s right. I’m sharing this video because I was impressed by the creativity and dedication.
That being said, this is a very inexpensive way to create a faux brick look, but yo – it’s time-consuming!
This video was created by Lowes Home Improvement, and Daniel is building a faux brick wall using woodblocks. If you have a small area such as a backsplash, maybe this would work for you?
Whitewash Exterior Red Brick
There are a few ways to whitewash red exterior brick. One is to use a diluted solution of white paint and water. Another is to use a mixture of white paint, lime, and water. The third is to use a commercially available whitewash.
All of these methods will work best if the brick is first cleaned and then dampened.
The diluted paint or whitewash can then be applied with a brush, sponge, or sprayer. It’s important to allow the brick to dry completely before applying a second coat.
If you’re interested in only using real brick, you can install a thin veneer brick at a fraction of the price. Manufactured brick veneers are also commonly known as concrete brick veneers.
They are created with a variety of color options with any decor style in mind.
You can even mix and match the brick colors to creating your own unique style and pattern.
What Interior Design Styles Work With German Schmear
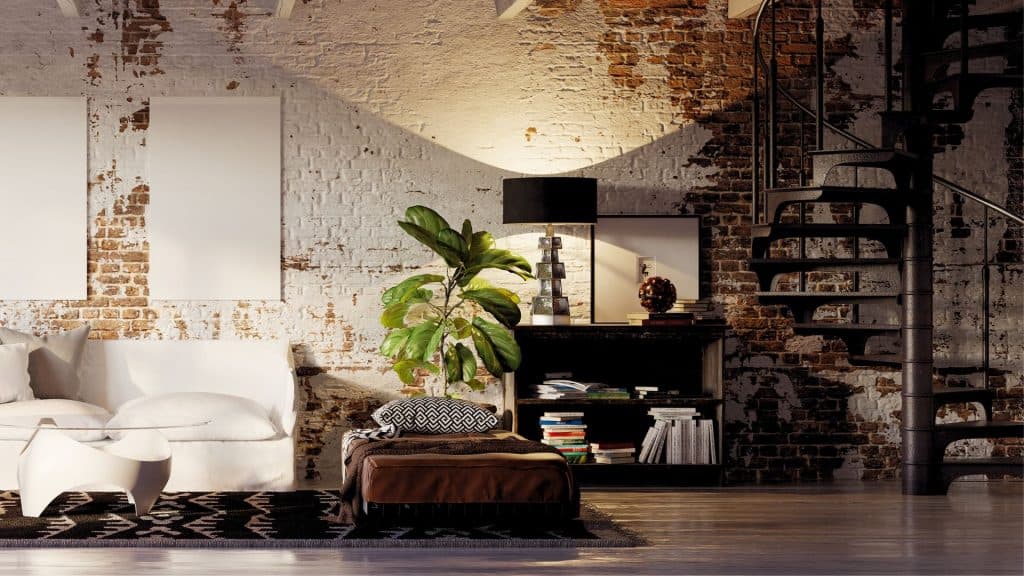
I don’t think you can go wrong using this technique in any type of décor style. It plays right into the industrial, boho, and eclectic décor styles.
Joanna Gaines makes it work with anything farmhouse in many episodes of Fixer Upper. Traditional styles work too (that’s where it started). We think the German Smear Brick works anywhere!
So, don’t worry if it looks like it’s gone bad as you are in the middle of applying your mixture to your walls. That’s part of the overall look.
How To Create The German Schmear Look –Conclusion
The final result of using the German Schmear technique will give you a little of that old-world charm. Hey, I hope you have found this information helpful as you are now a bit more educated on the subject, I know I am!
It’s always best to review different methods people use so you could see which technique is right for you and your home.
Lastly, I would recommend German Schmear Brick as a DIY project since you do need advanced skills for the finished project to appear professionally done.
Remember to Pin this post for future reference or share it with a friend!
what to read next:
7 Home Updates You Can Do Yourself (+ 3 To Leave To The Pros)











Do you have any info for doing this on a river rock fireplace wall? I am planning on tackling this project on my wall which looks very dated and I think this could make it look great! What type of mortar do you recommend?
Hi Colleen, Would you mind sending me a photo so I could research it for you? My email address is Rebecca (@) restyledhomes.blog
Hi Rebecca,
I want to due this technique on stone. I have brown tone stone (Tuscan) and I would like to lighten
the stone up. I have tried mortar on a sample board and found that when it dried it looked very sand.
I am trying to get a smooth finish (no paint) can you tell me the brand of mortar you used.
Thank you
Mary
Hi Mary, It was probably due to the color choice or the water ratio. I’m going to email you personally so that you could provide me with a photo of your stone and your end goal.
I don’t currently have a brick backsplash. My plan is to purchase thin bricks to first create the backsplash and then apply the German schmear technique to those. Do I need to first grout the brick backsplash then go back and do the German schmear over the top of that? Or, do you do the grouting as you’re applying the German schmear process?
Hi, Lisa 🙂 It depends on the look you are aiming for. I would grout first since this would provide the best outcome. You will be able to control the appearance of German Schmear; instead of the grout lines “leveling up” to mortar you are TRYING to leave behind. If the grout is dry you could easily wipe away the extra.