
What Is Mod Podge and Why It’s AWESOME!
If you are wondering, What is Mod Podge? Here’s the low down!
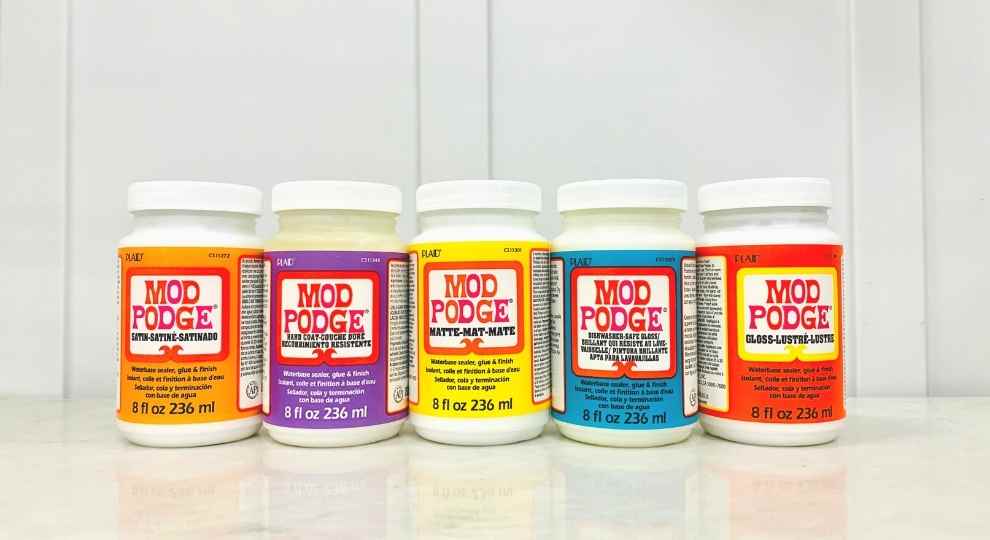
Mod Podge is a decoupage medium used for craft and DIY projects. It can be used as glue to adhere fabric, paper, and other items to most surfaces. It’s an all-in-one product that can also be used as a sealer to complete your project.
When applying this medium, do not be alarmed if you notice a white appearance since it will dry clear. It can be purchased in different finishes such as gloss or matte.
This site uses ads and affiliate content as an Amazon associate earning on qualifying purchases. Disclosure.
Is Mod Podge The Same As Glue?
No. Although it can be used as a glue; however, it has the added benefit of being a sealer and a finisher.
Many crafters will compare it to Elmer’s glue, but the truth of the matter is the ingredients are different.
Those ingredients include varnishes, which makes the formula superior to glues. It creates a stronger bond and allows for it to be an all-in-one product.
Should You Make Your Own Mod Podge Using A DIY Recipe?
For the reasons stated above, I would not.
Many people use glue and then dilute it with water for their recipe. What they are doing is diluting an already inferior product, which will cause their project not to hold up over time.
Lastly, the cost of Elmer’s glue is around the same price point, so I don’t think it’s worth it.
However, if you’re planning on doing some DIY projects for a party, that will have a short life span, then go for it.
Is Mod Podge Waterproof?
Although some crafters claim that ALL Mod Podge is waterproof, they are incorrect. Mod Podge is made of vinyl acetate along with several other ingredients. This combo creates a water-resistant topcoat.
It will be helpful to save these instructions on your DIY Crafts Pinterest board for later use.
Therefore, it is not waterproof and if submerged in water or exposed to water for an extended length of time….well, there goes your beautiful finished project. Further, if your project comes in contact with water, you may notice it may be cloudy.
I’m well aware that some newbie crafters recommend using any Mod Podge as a sealer for designs on dishes to make them dishwasher safe.
My response to this is I would advise against it for the following reasons. Even if your project survives a few runs in the dishwasher, only Mod Podge Dishwasher was created to be dishwasher safe.
However, it seems the company heard the cries of all crafters and released a Dishwasher Safe Mod Podge formula.
IMPORTANT: It has all the benefits of the regular formula, plus it can be placed on the TOP RACK our of dishwashers!
Second, when using this medium, please avoid using it on the rim of glasses or mugs. In other words, it should not come in contact with your mouth.
By the way, Mod Podge has created another product called Mod Podge Outdoor, which is more weather and water-resistant than is “their original formula product.”
Again, this product is NOT waterproof either but would hold up under, let’s say covered porches or patios.
And does a better job holding up against outdoor elements.
How To Use Mod Podge The Right Way
STEP 1 – Let The Creativity Games Begin
My creative process goes something like this. First, I find an area of my house that could use a little tweaking or a seasonal update.
For example, I’m planning on adding some shelving in one of my bathrooms to hold some necessities.
Therefore, I’ll be adding a few details to style the shelves for the Autumn season, such as a pumpkin or autumn art print – either choice is an excellent opportunity to use Mod Podge. Any Mod Podging Project will consist of two things. First, the base, such as using a pumpkin or canvas frame.
| Here are some ideas that would work well as a base item for MP applications |
|---|
| Canvas frames |
| Boxes, wood trays |
| Vases and terracotta pots |
| Mugs, cups, mason jars, and candle holders |
| Metal cans (such as a tomato sauce or corn cans) |
| Plates, coasters, or pieces of wood or plastic |
Second, the decorative element which is ideal would be flexible, thin, and porous. An example of such is found on my Painting Pumpkin Ideas post listed here.
If you try to use decorative elements that are too bulky, chances are it will fall off. But not to worry as I’ve listed items below that would work for you.
Side Note: Many puzzle lovers use MP Puzzle Saver to seal their finished puzzle.
| decorative elements for your Mod Podge Craft Project |
|---|
| Printed napkins or scrapbooking paper |
| Newspaper or tissue paper |
| Any type of fabric, including lace |
| Sand, salts, and glitter |
| Melted crayons |
| Nail polish for marbling, as seen on my painting pumpkin ideas post |
| Photos – use a copy instead of an original (see further instructions below) |
| Food coloring for tinting |
| Flowers or leaves |
| Acrylic Paints |
The above items also need to be prepared for the best application. For example, fabrics should be cleaned and ironed if required.
The washing process will remove excess dye and will assist in the dye, not bleeding. Depending on the look you are aiming for, ironing the fabric will help get the wrinkles out.
Photographs that are printed on photo paper should not be used as this would not allow the ink to transfer on the surface of choice.
It would be best to photocopy onto regular paper or print it using a laser printer.
Also, depending on your project, you may need to reverse your image before printing.
All other items above would need to be wiped down and allowed to dry.
STEP 2 – Prepare Your Workspace
Get all your supplies and prepare your workspace. This is a crucial step as you would not want to run out of materials or have your Mod Podge dry while you are working.
Pro Tip: My advice would be to have all your crafting supplies nearby to adjust your design if your inspiration guides you in another direction than you had initially planned for.
For example, maybe while transferring a photo onto the canvas, the ink from the photo is transferred partially and provided a vintage look that works even better than planned. After seeing the image on the canvas, you then could decide to add some staining effect to “sell the vintage look” and enhance the overall design.
Now, let’s review a few Mod Podge finishes in greater detail. All of the mediums can be used as adhesive glue and a topcoat finish.
| Here are some of the standard finishes: |
|---|
| “Classic” MP comes in both matte and glossy. For most Farmhouse looks, I would recommend going with a matte finish. |
| “Satin” gives you the best of both worlds. |
| “Hard Coat” provides you with a hard coat durable finish and comes in satin. This works well for furniture pieces. If it is a large piece, I would recommend using a different product for cost reasons. |
| “Outdoor” can hold up better in outdoor elements and is water-resistant, not waterproof. |
| “Sparkle” if for those glam projects since it contents glitter in it. If the sparkle, aka glitter, is not to your liking, you can add more glitter in the Mod Podge mix before applying your topcoat. |
| “Dishwasher” as it implies. Keep in mind it is recommended for items to be placed on the top rack of your dishwasher. Also, please note you should be thorough with your application. In other words, a few thin coats to make sure your project will be well protected against the “hot water” in the dishwasher. |
| “Glow-in-the-Dark” as it implies. You will need to paint multiple thin coats to make it work. |
What Tool Will Should I Use For Application?
My go-to is foam brushes, which you can purchase in bulk! If you’re working on a large project, I would use a paintbrush that has smooth and firm bristles.
A word of caution – you would not want to use brushes that are too stiff since they will leave behind brush strokes. Unless that’s what you are specifically going for!
Lastly, Mod Podge is a glue; it runs on the thicker side, so a soft brush will not work.
STEP 3 – The Process
Begin by applying a thin layer of Mod Podge to your base item.
Next, apply a thin layer to your decorative layering element, such as the scrap paper you intend to use.
Helpful Tips:
It’s best to work in sections. For example, if your project is double-sided, complete the application on one side first.
Now, lift the paper, fabric, or whatever you are Mod Podging to the base and press it wet-side-down. Press gently toward the edges to smooth out any wrinkles or bubbles.
Place the item in a dry undisturbed area to dry for at least the 20-30 minutes before proceeding.
Then proceed to brush on several layers of topcoat, allowing for a full hour in between each coat. Once the project is completed if any brush strokes are noticeable, use super fine sandpaper to remove and wipe the dust away.
Does Mod Podge Dry Clear?
Yes, Mod Podge dries clear. It is a water-based sealer and adhesive that is used to protect and decorate a variety of surfaces.
Mod Podge is non-toxic and easy to use, making it a popular choice for crafting projects. When it dries, Mod Podge forms a hard, clear coat that protects your project from scratches and moisture.
What Is Mod Podge Used For?
Mod Podge was invented by the company, epoxy polymers. It is a glue that can be used to adhere things to other objects.
This sounds like ordinary glue, but it’s not. What makes mod podge different is that it creates a sealant coat on top of whatever you are gluing.
This layer seals in the glue, which protects it from the environment.
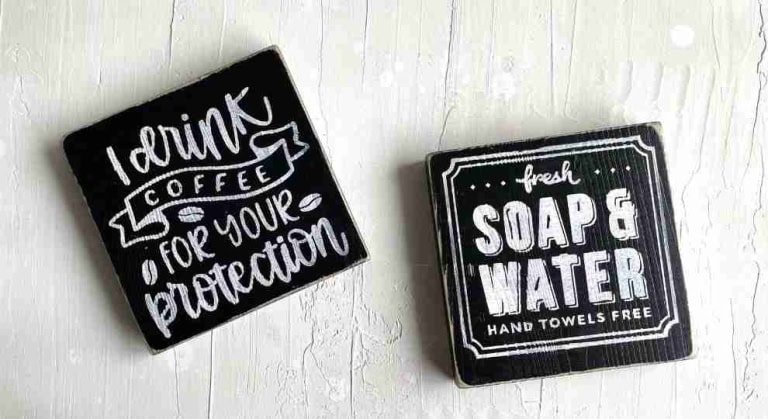
Mod podge is used for craft projects where you need to glue something onto a surface and want it to be protected as well. You can use mod podge on many things including plastic, ceramic, glass, metal, fabric, and painted wood.
Mod Podge was invented in 1950 by Samuel Schultz.
Is Mod Podge The Same As Decoupage?
Mod Podge is a type of decoupage glue, but there are many other types of decoupage glue on the market.
Some glues are better for certain applications than others. For example, Mod Podge is great for using with photos because it dries clear.
What Are Alternatives for Mod Podge?
Some popular alternatives to Mod Podge are Elmer’s Glue All, Martha Stewart Glue Dots, and 3M Spray Mount.
These products can all be used to adhere paper cut-outs or photos to surfaces like wood, metal or glass. They can also be used as a sealant or finish over the top of your project.
In Conclusion
It’s pretty easy to get HOOKED on this DIY Miracle product as it checks off all the right boxes. Mod Podge is inexpensive, an all-in-one product that is super easy to apply.
Modge Podge is a great product for crafts. It can be used as an adhesive, a sealant, or a finish.
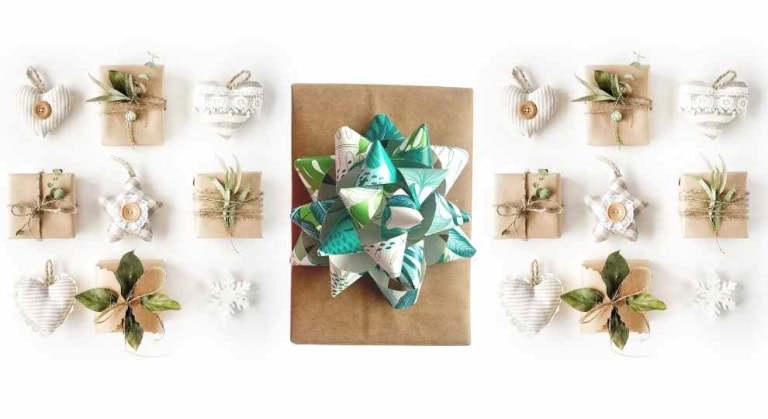
It comes in both glossy and matte finishes, so you can choose the look you want. Some popular projects that use Modge Podge are decoupaging jewelry making, and home decorating.
We will be filming a series of DIY home crafting projects using this super-star DIY product. If you have some requests or questions, please leave your comments below.
One reason why we love this product so much is because it’s so versatile and affordable. Plus, you could make the cutest DIY gifts with it – don’t worry, we’re going to show you how!

4 Comments