Small Office Design: RV Home Office Makeover
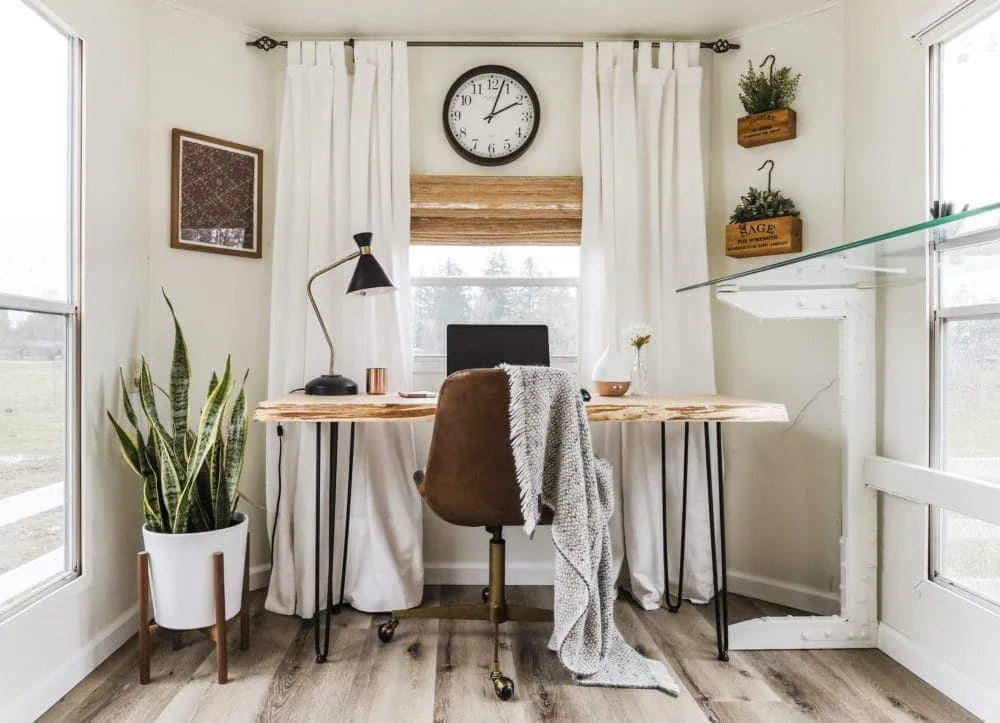
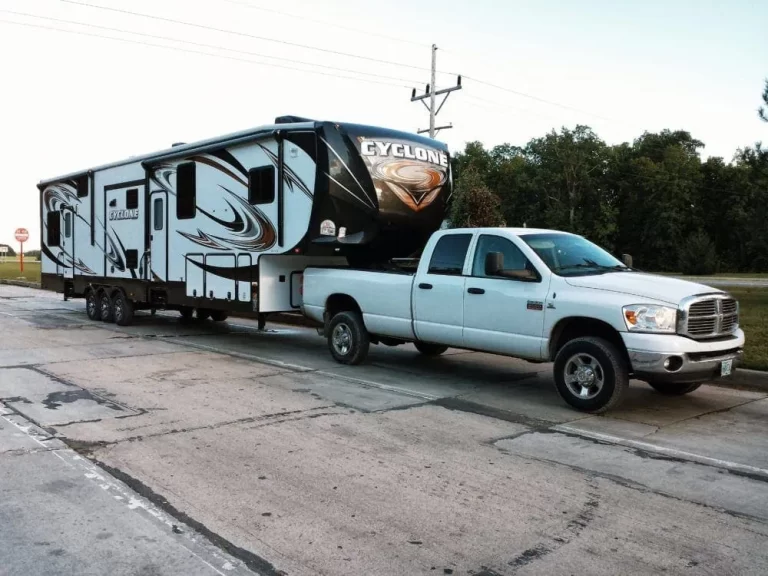
Interested in some small office design inspo? Well, my husband and I both work from home, while living full-time in a renovated park-model RV! During the remodeling process, we completely gutted the trailer to start over from scratch. We mapped out an office space at the very front of the trailer. It’s tiny, but it has floor-to-ceiling windows that let in tons of natural light.
This is the last big reveal in our RV Remodel Series, and this one is all about the small but functional workspace we created.
Note: all sources are listed at the bottom of the post.
This site uses ads and affiliate content as an Amazon associate earning on qualifying purchases. Disclosure.
Work From Home with This RV Tiny Home Office
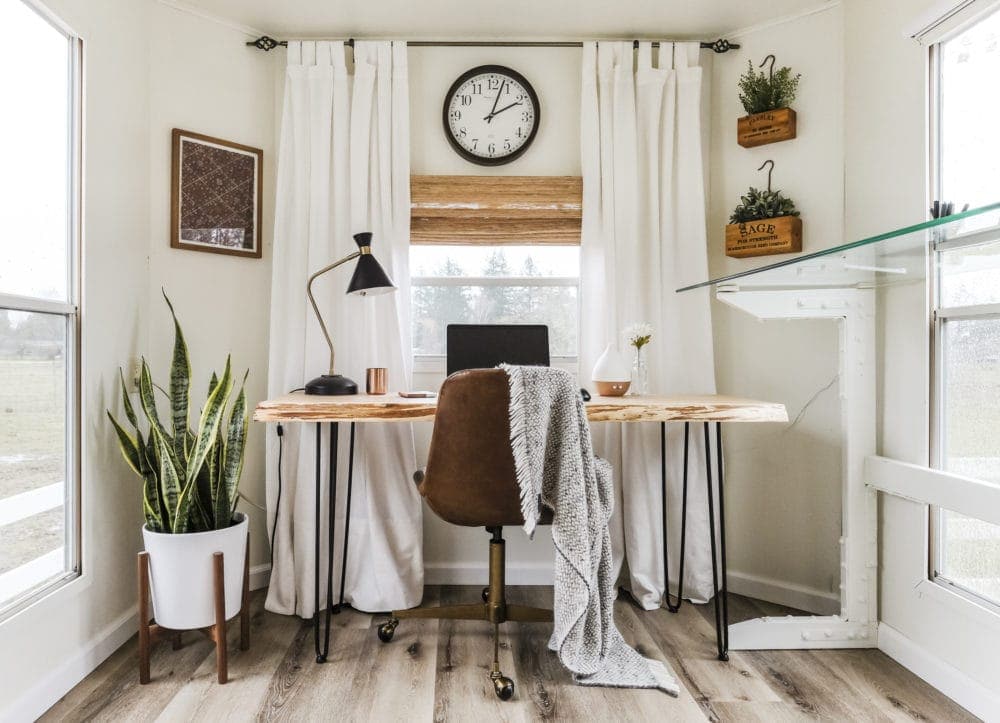
Our goals for the office makeover were:
- Keep the space light and airy.
- Incorporate a live edge desktop.
- Utilize my favorite mid-century modern plant stand with a snake plant.
- Create two highly functional workstations
- Install woven window coverings
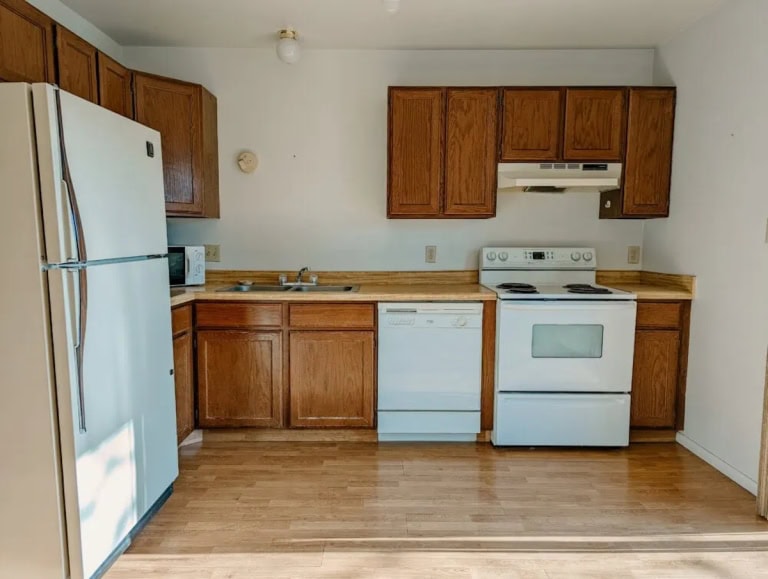
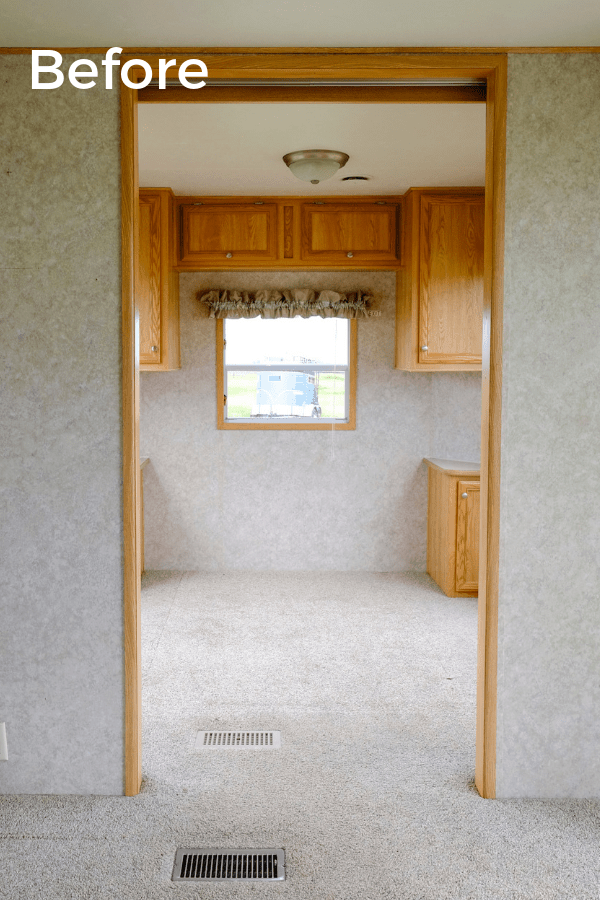
Here’s a look at how this space was setup originally. Before the renovations, this was a bedroom with carpet floors, built-in cabinetry, and window valances that were, well, UGLY.
Pssstttt.. Thinking of doing an RV renovation yourself? Download this handy checklist to make sure you avoid missing these common RV mistakes!
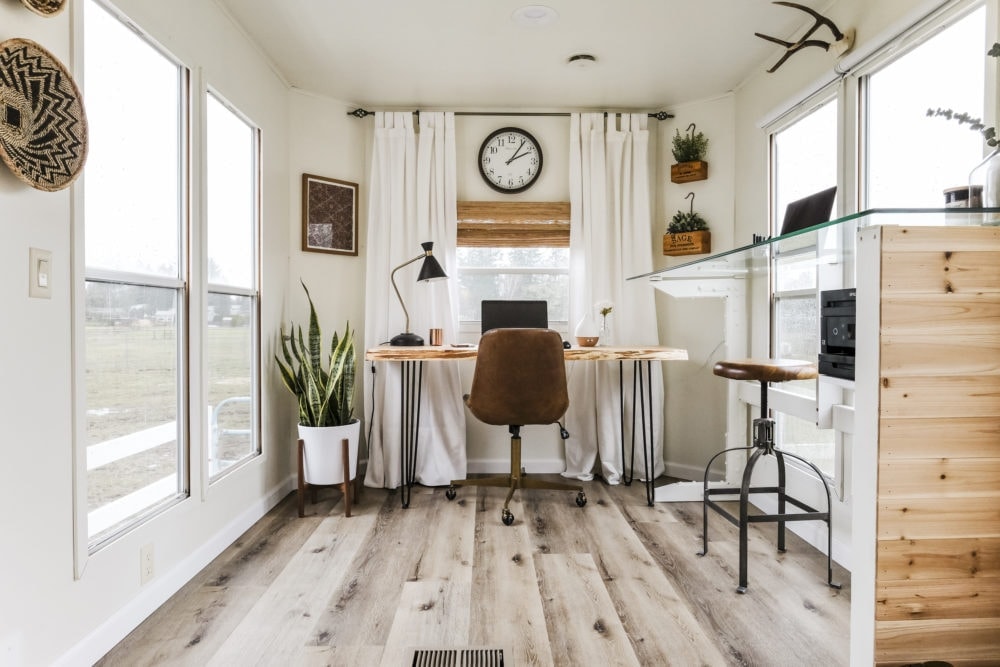
By removing the walls and door, we were able to really open this space up and make it flow effortlessly into the rest of the living space.
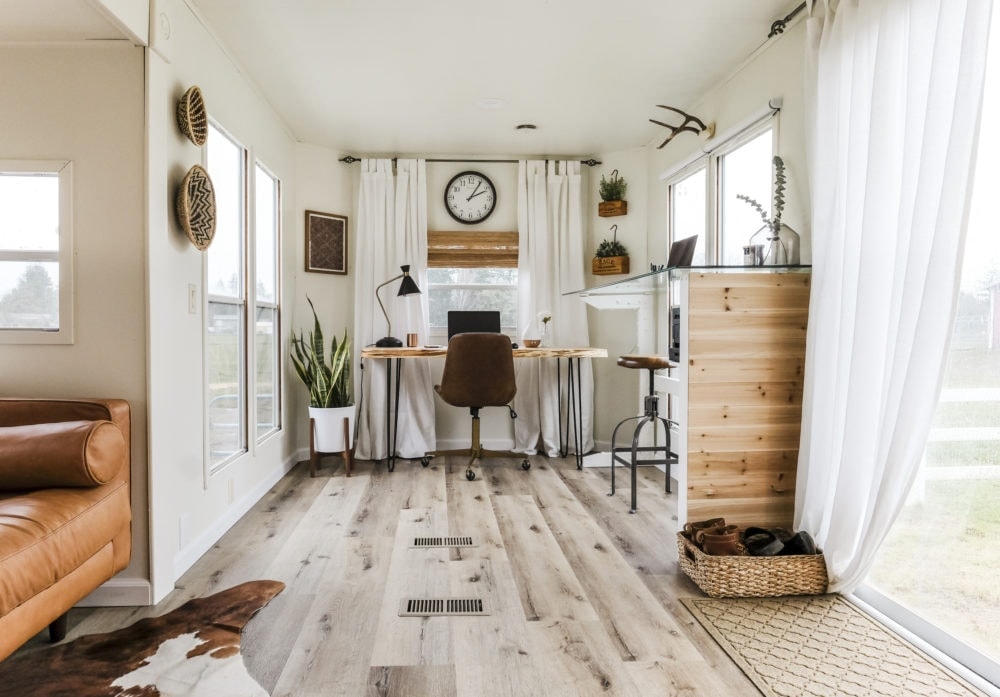
The open concept ‘floor-plan’ makes this room room feel much larger than it really is – which is critical when designing RV spaces.
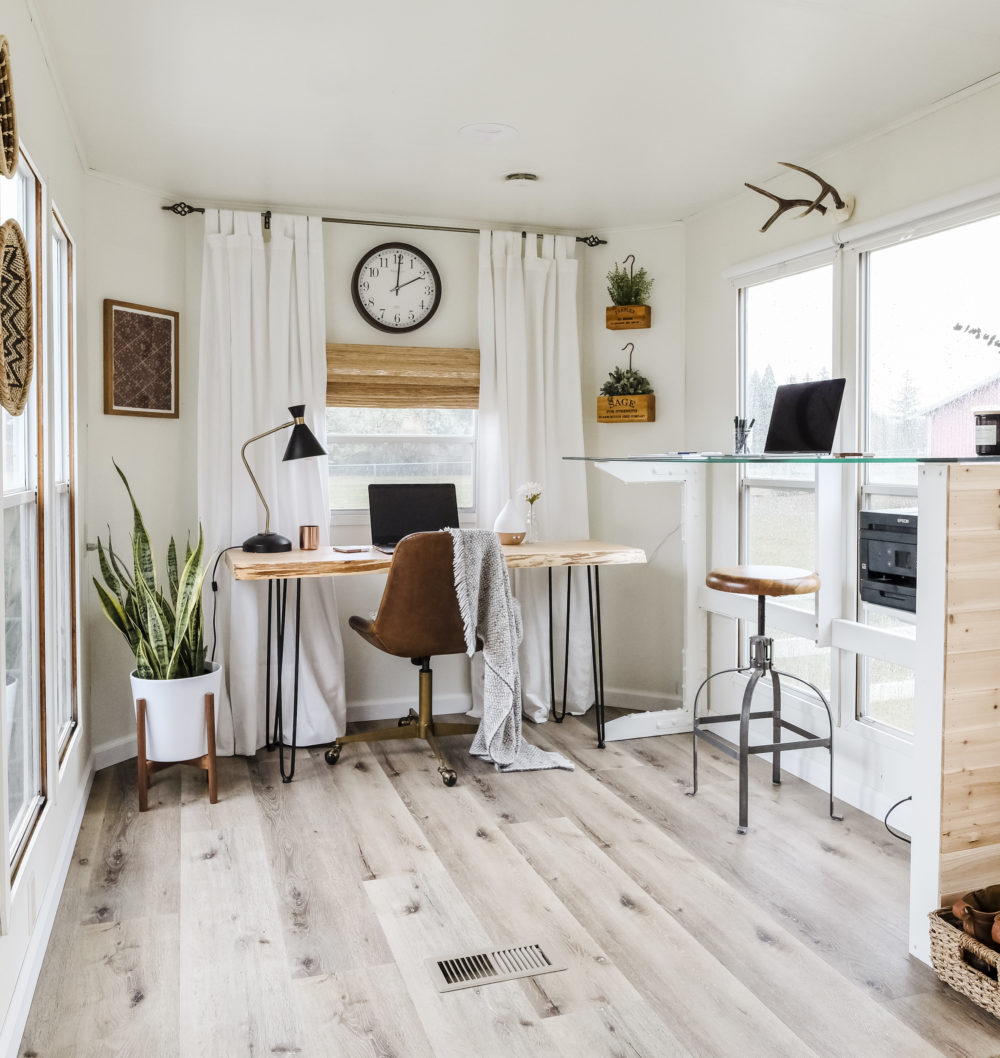
It was important to customize this space to work well for both my husband, and myself. Our biggest challenge was coming up with a design that would accommodate two separate desks, with one of them at standing height.
Update: We’ve since remodeled a second RV! You can get all of the details on our 5th Wheel Remodel here.
Our RV home office needed to be pretty unique, and we were dealing relatively small space, so both desks had to be custom built. This allowed us to make desks that fit the room perfectly. We made both desks slightly narrow so they didn’t feel bulky and maximized floor space.
Her Desk
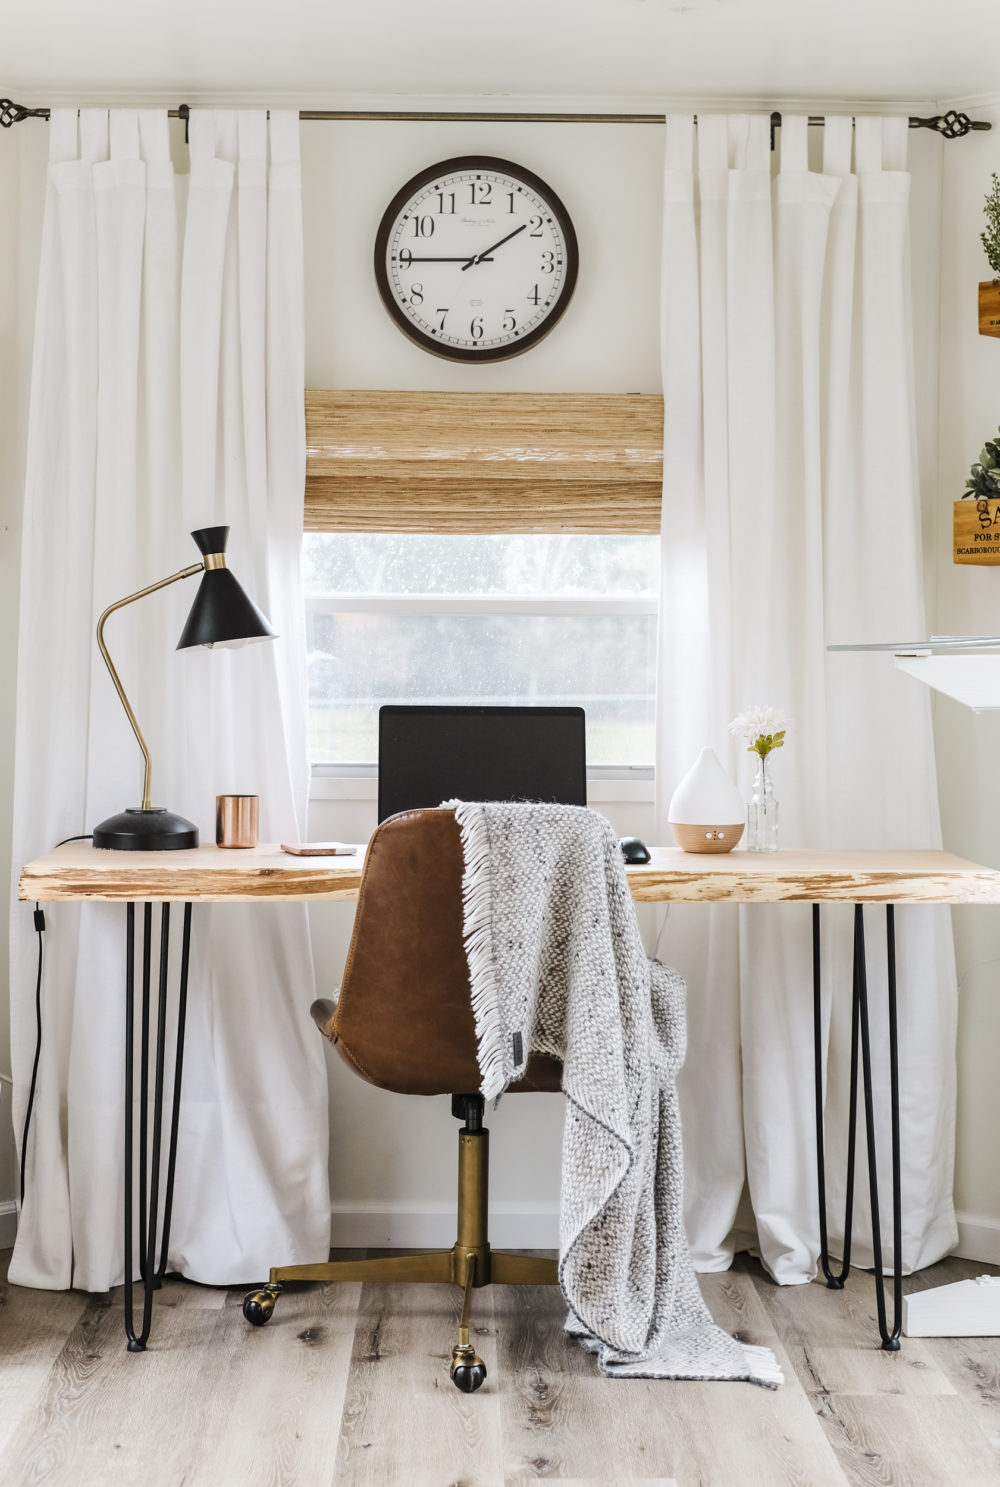
I only had one thing in mind for my desk – a natural live edge desktop. I’d been wanting to do a project with a live edge forever, but hadn’t found the right project yet.
After striking out at multiple specialty lumber stores, we finally found a live edge slab that was the right size and the right price. The wood is Western Red Cedar, and we purchased it for $150 from Crosscut Hardwoods in Portland, OR.
Mike got to work preparing the wood. The live edge still had the chunky tree bark on it, so it needed to be carefully removed using a scraper.Once the bark was removed, it revealed a smooth live edge finish. The top of the board that would serve as the desktop needed to be smoothed out with sandpaper.
Next, he sealed it using Varathane Ultimate Polyurethane in crystal clear satin (Amazon). This finish turned out absolutely perfect! The satin polyurethane isn’t very noticeable, so it almost looks like bare wood – but with some added durability and waterproofing.
Finally, we attached these hairpin legs I found on Amazon to give the desk a nice modern look.
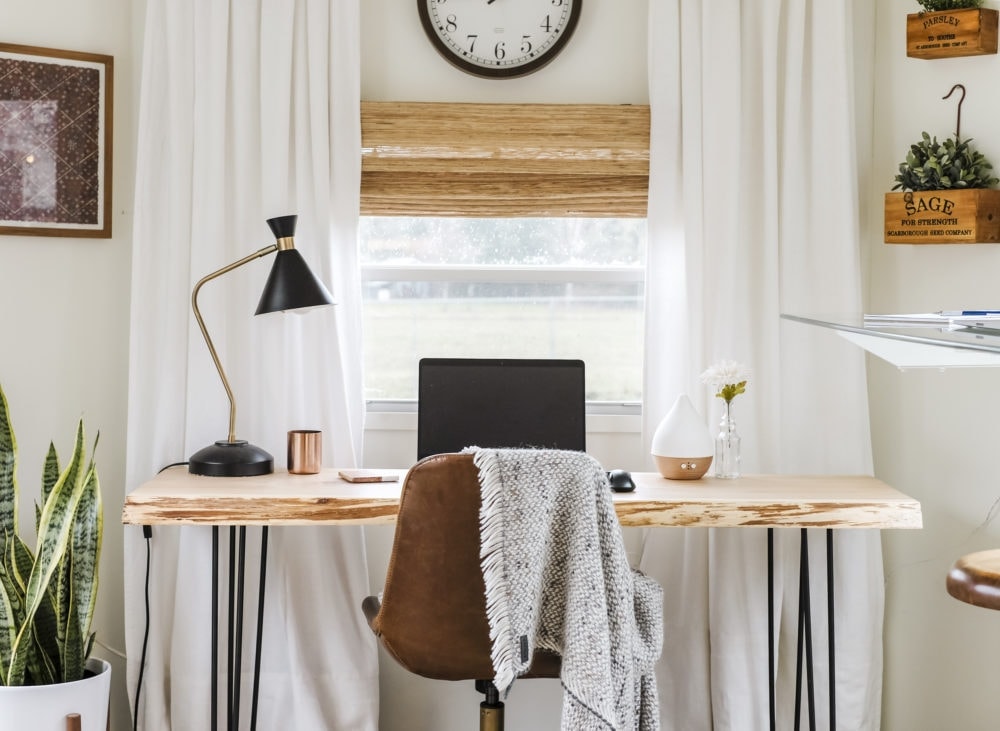
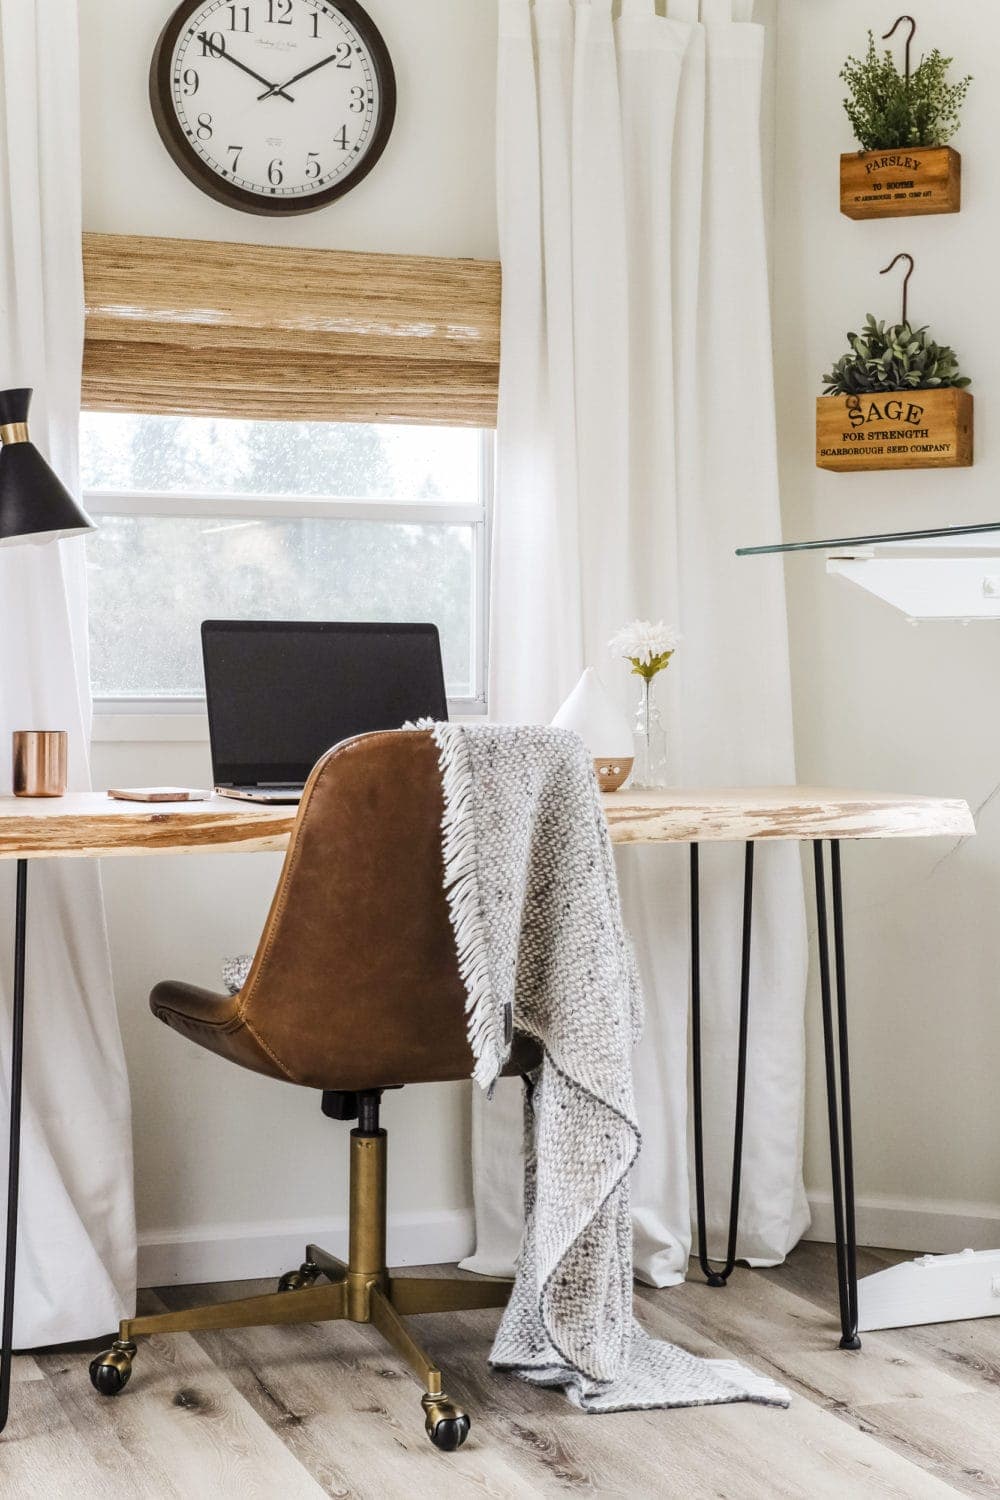
I am so thrilled with how it turned out!
Update: We loved these modern desk legs so much we used them again on another custom built desk in our second renovated RV project. Highly recommend!
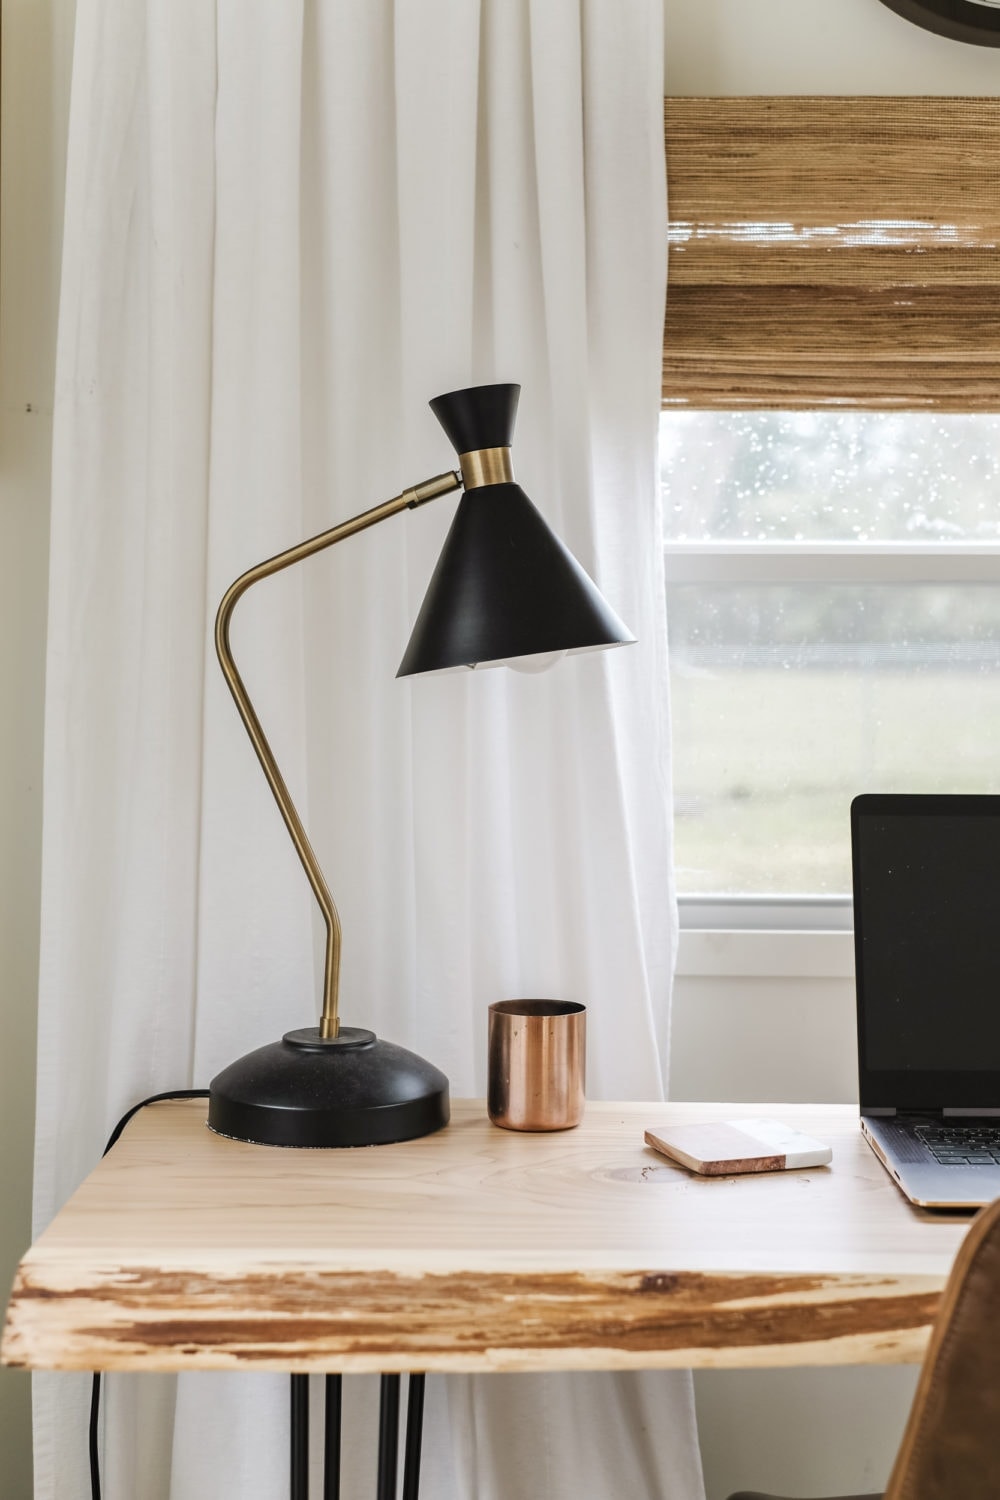
I added a few accessories including a desk lamp (similar), this rose gold candle (Amazon), my favorite neutral oil diffuser (similar), and a small vintage glass bottle vase (from this set on Amazon) with a floral stem.
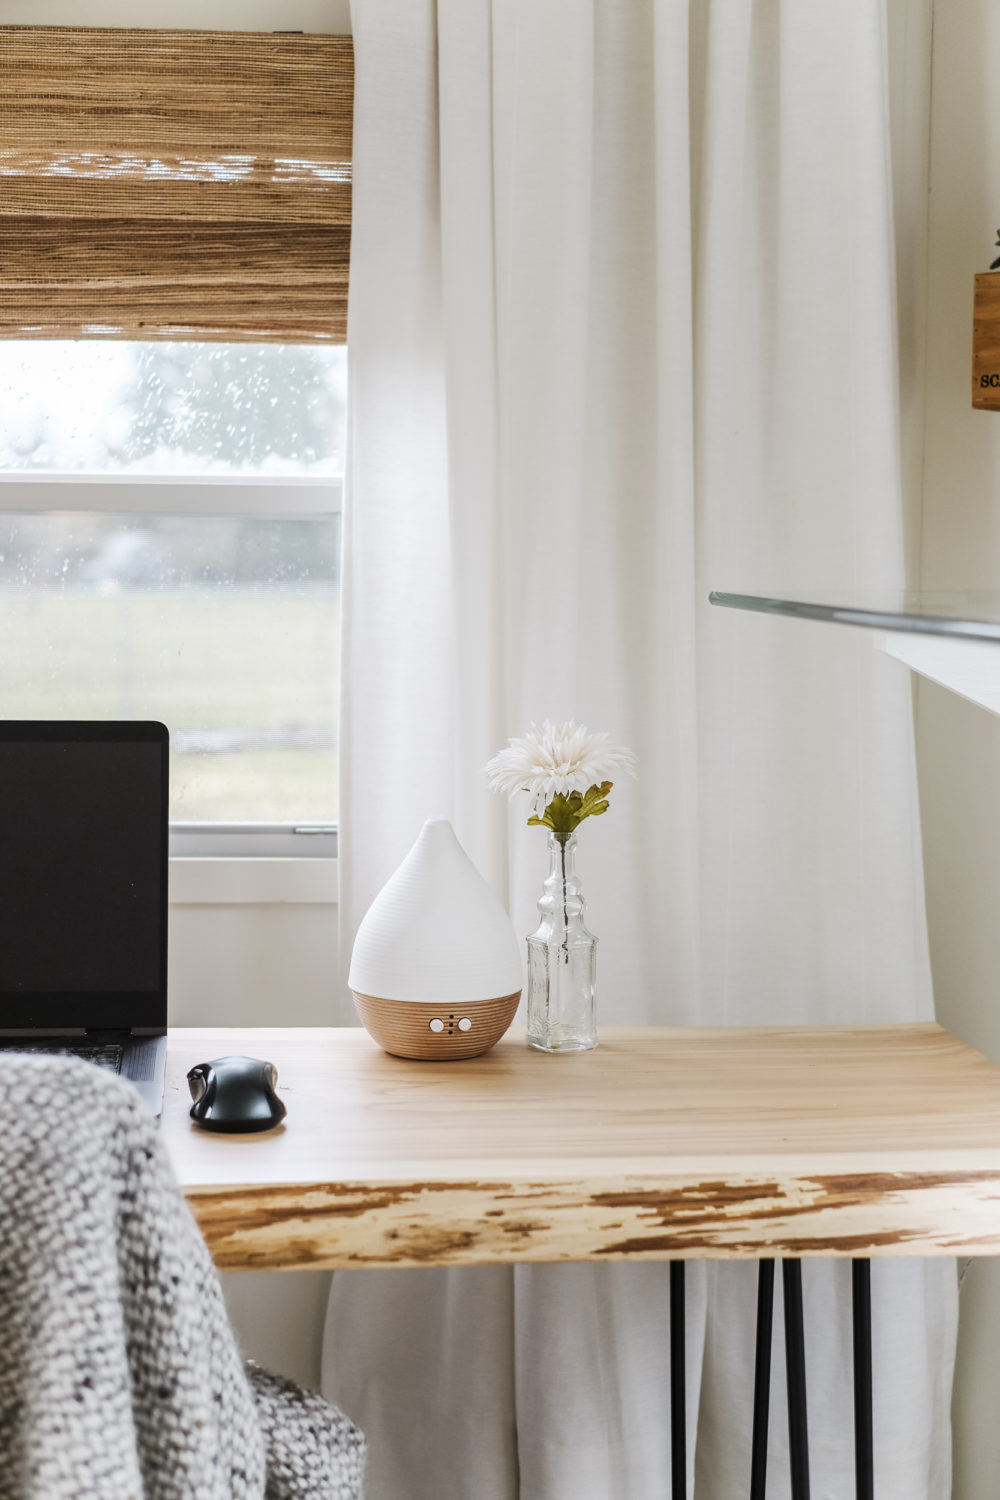
And my favorite final touch is the cognac leather office chair which is so comfy! I love that it’s on wheels and the leather finish makes it look really high end.
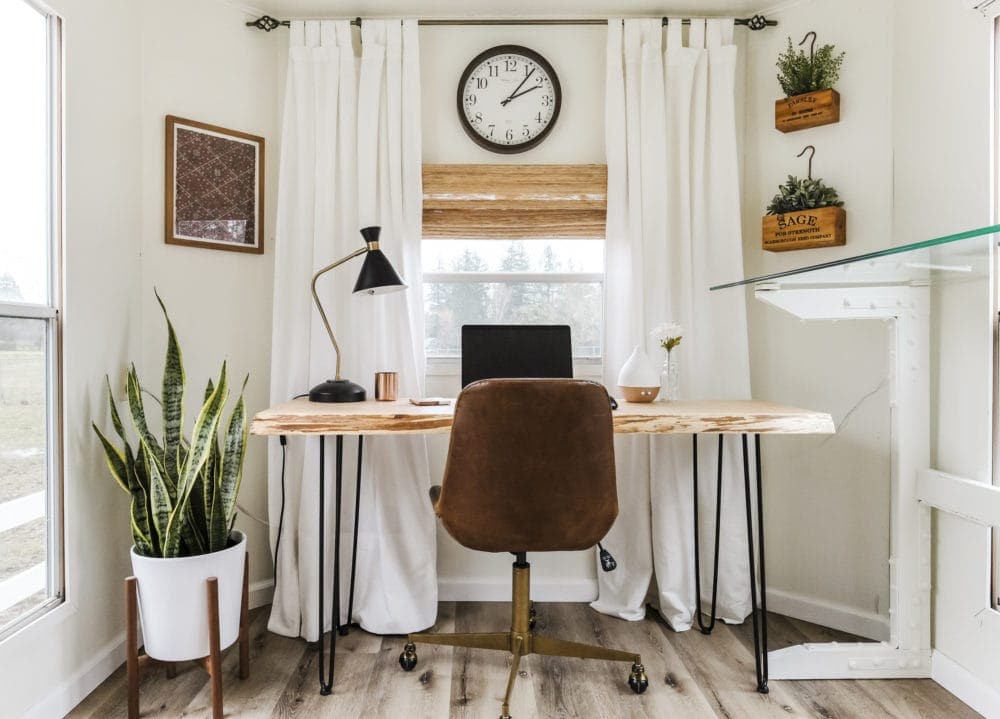
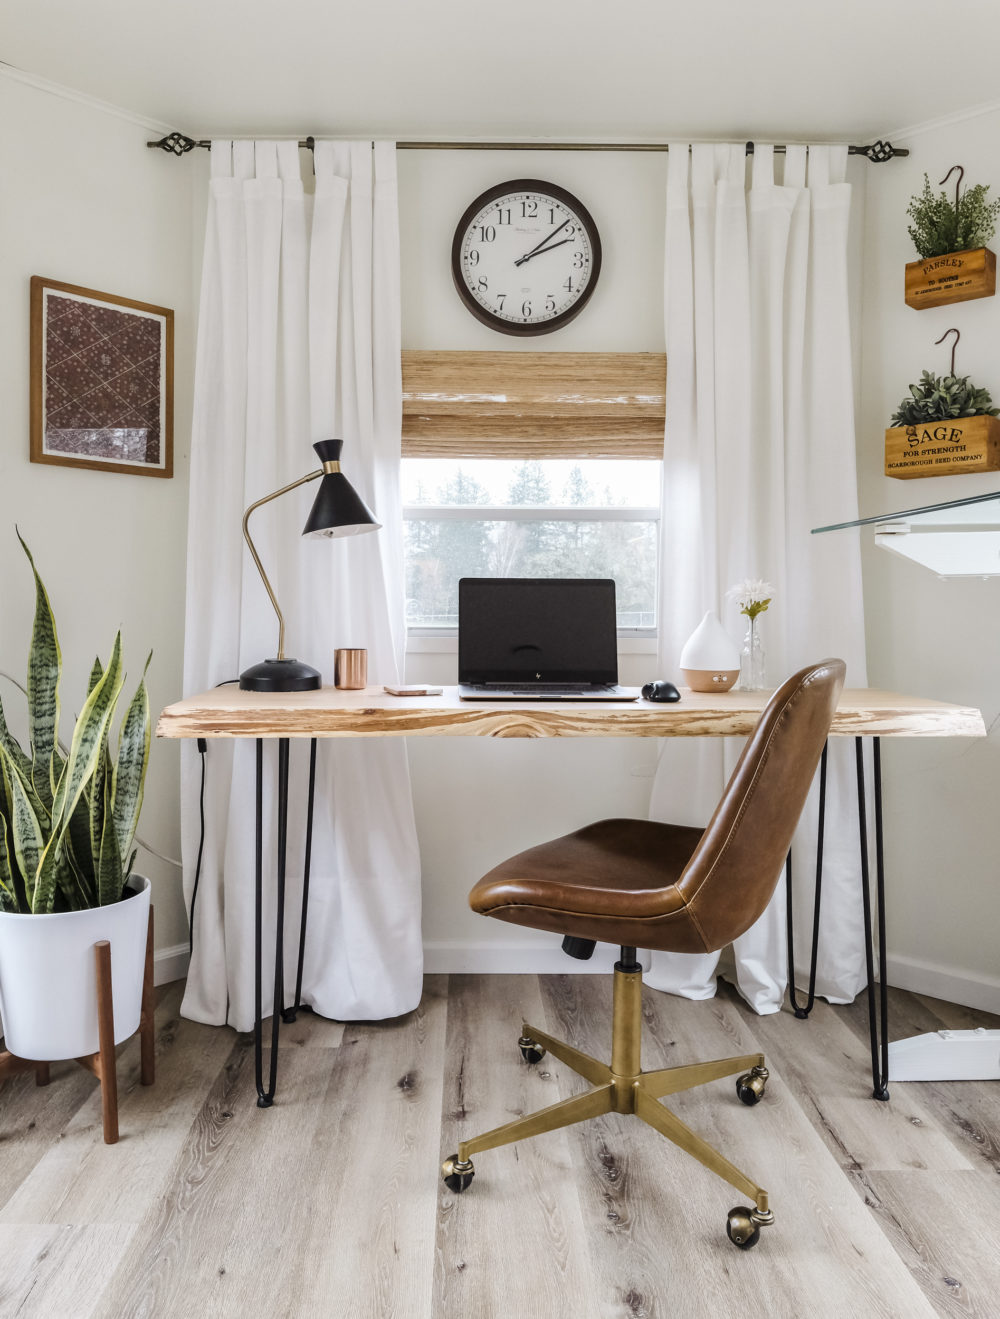
Update: Yep, we loved this chair so much we bought a matching one to go with our 2-person desk setup in our remodeled 5th wheel. You cannot beat the quality and comfortability!
His Desk
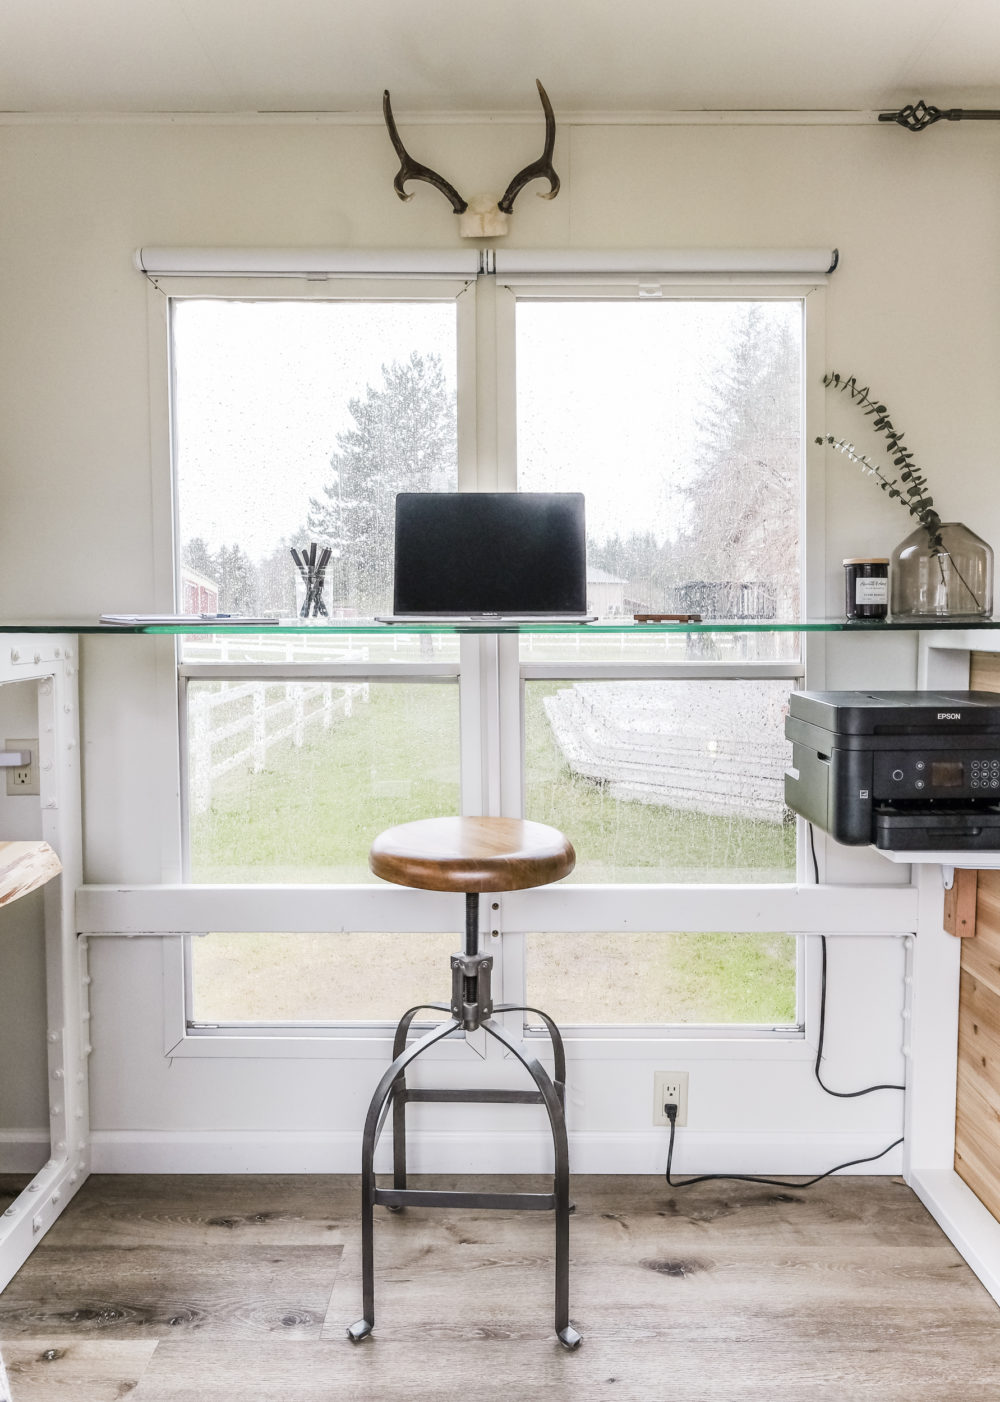
When designing Mike’s desk, he knew he wanted it to be standing height. Another requirement was that it needed to desktop to be as long as possible so he could spread out and have lots of room and feel productive.
After measuring the room, it was clear that his desk needed to go along one of the side walls. Originally we had planned on our desks being on opposing walls, but that just wasn’t realistic once we measured everything out and accounted for the space our bodies would actually take up when at our desks. We literally would have been back to back.
That’s when we came up with this unique idea for his desk to sort of ‘float’ over the edge of my desk.
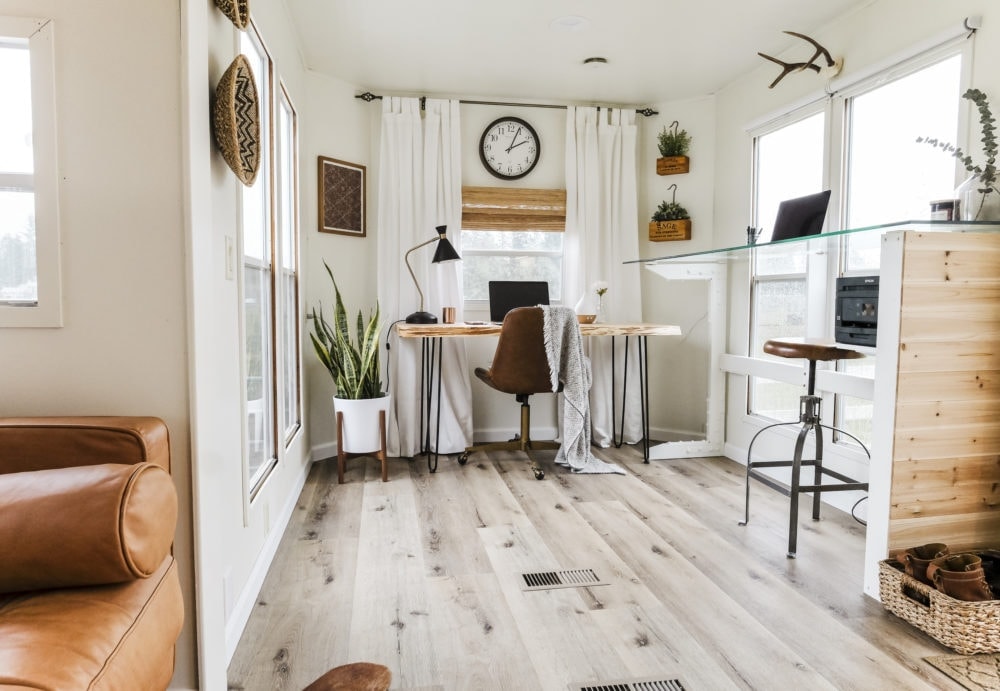
We chose a glass top for his desktop to try and keep the space feeling really open and airy. Because his desk would be fairly over-sized for the space, a seemingly see-through desk made for a great option!

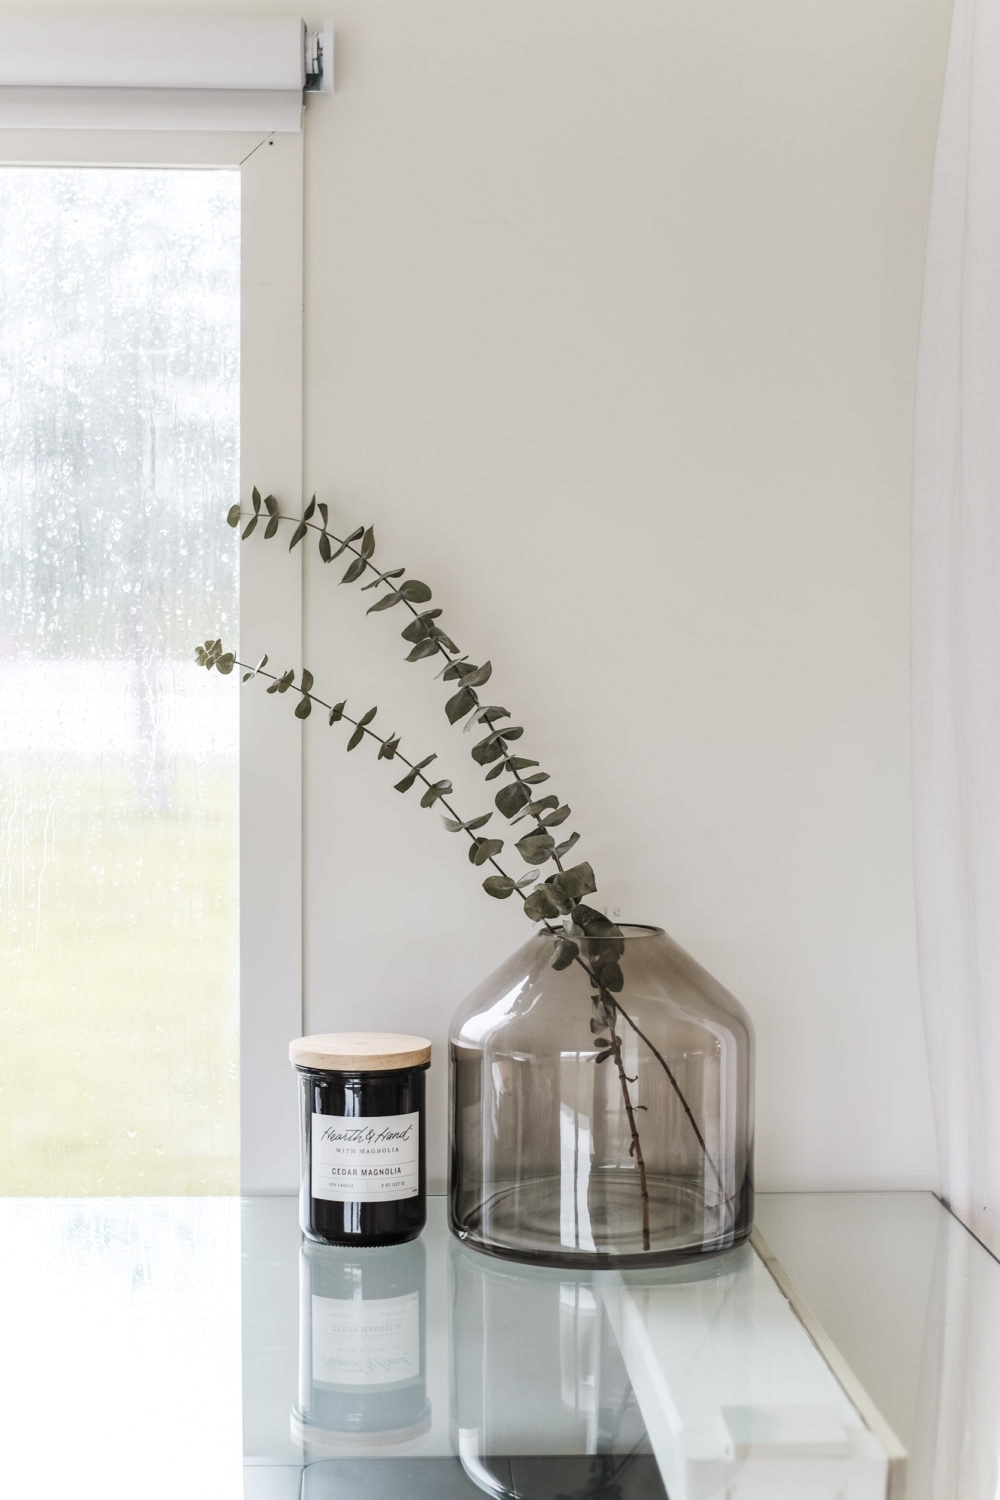
Mike put a lot of effort into designing the desk legs so that they would sort of disappear into the background and be as low profile as possible. We painted everything the same color of white to match the walls (Sherwin Williams Alabaster).
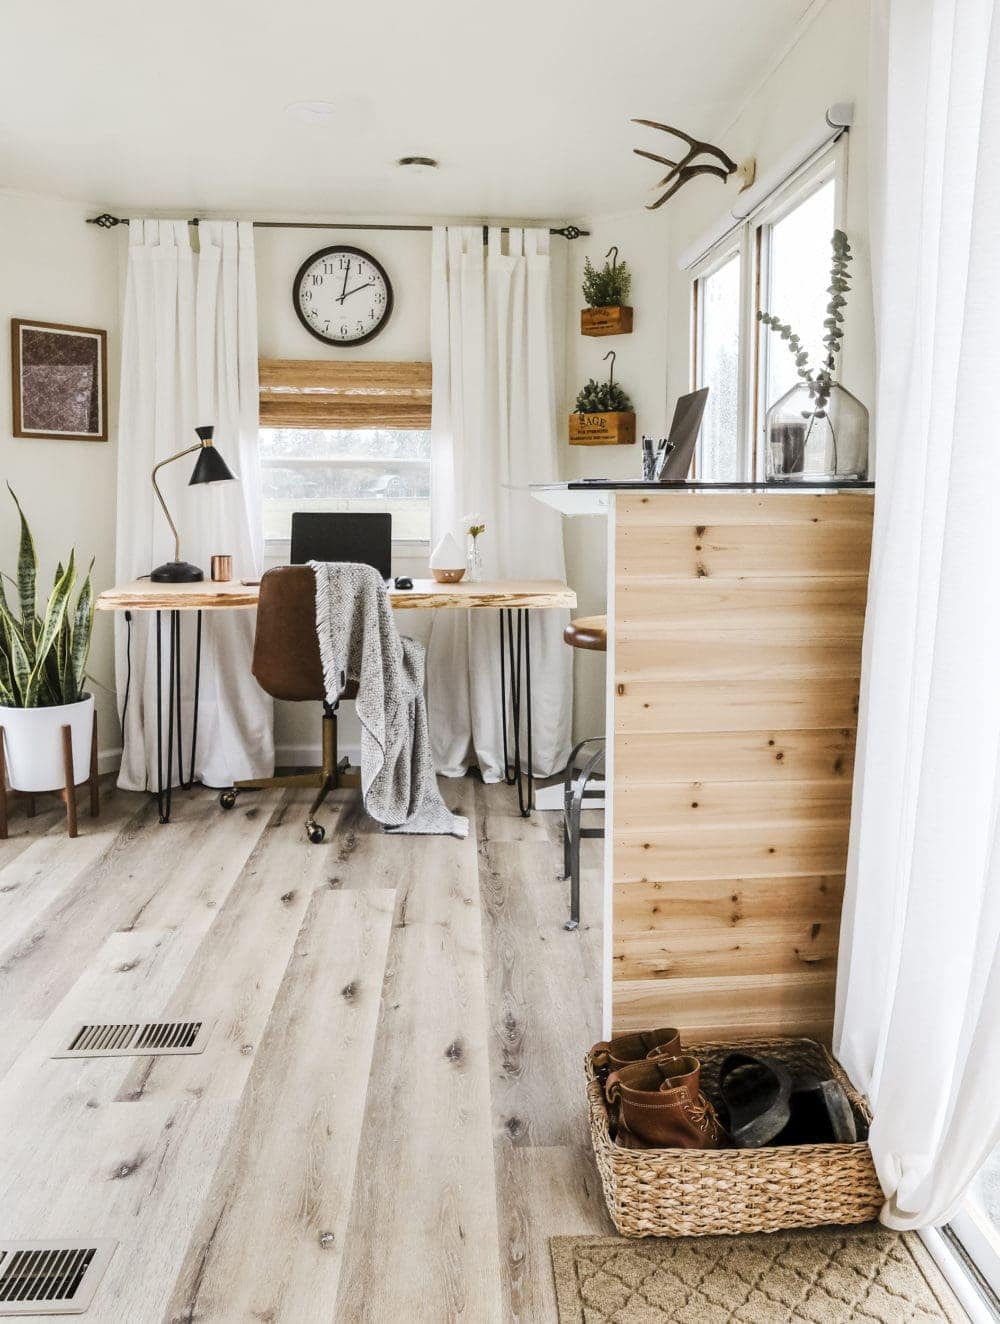
Then on the right side of his desk, we decided to wall it off with some cedar shiplap to hide our favorite printer and cords from the rest of the living space. I love this pop of warm wood tones!
For the times he’d prefer to sit, this adjustable farmhouse style bar stool (similar) is tucked under the desk.
Home Office Accessories
When it came to decorating this space, my main goal was to keep it simple.
I started by hanging my favorite white curtains on the back wall to really cozy up the space.
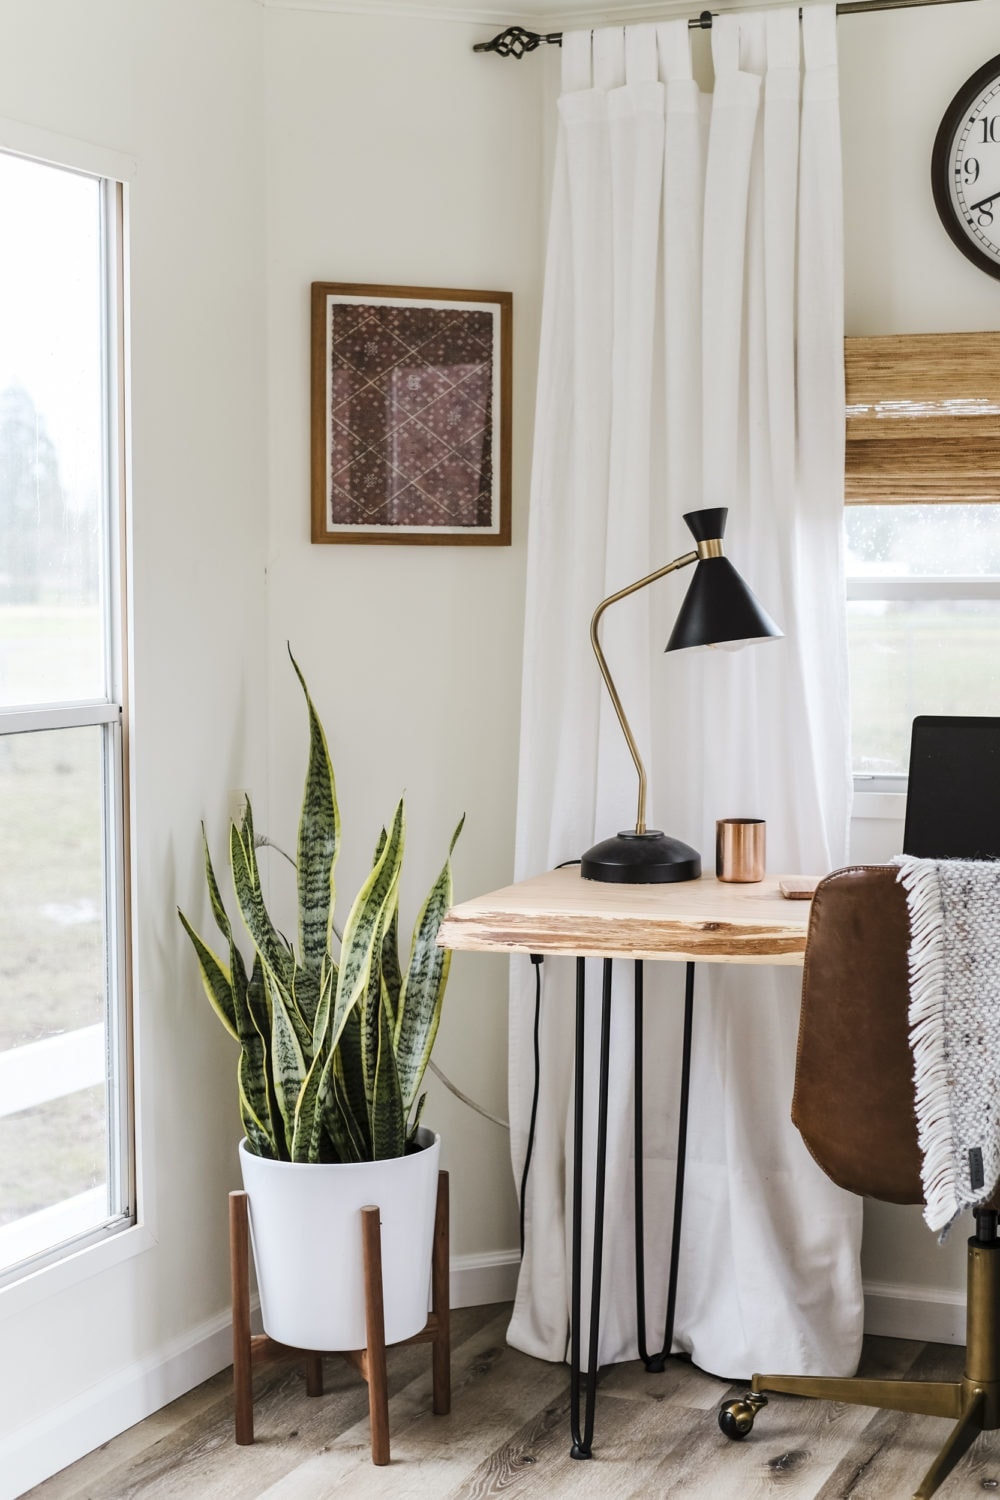
To add some contrast I picked out some custom woven shades from SelectBlinds. I selected the Designer Series Woven Wood Shades in Antigua Natural. I love how much texture they bring to the space, and they come in handy when the Oregon sun decides to shine!
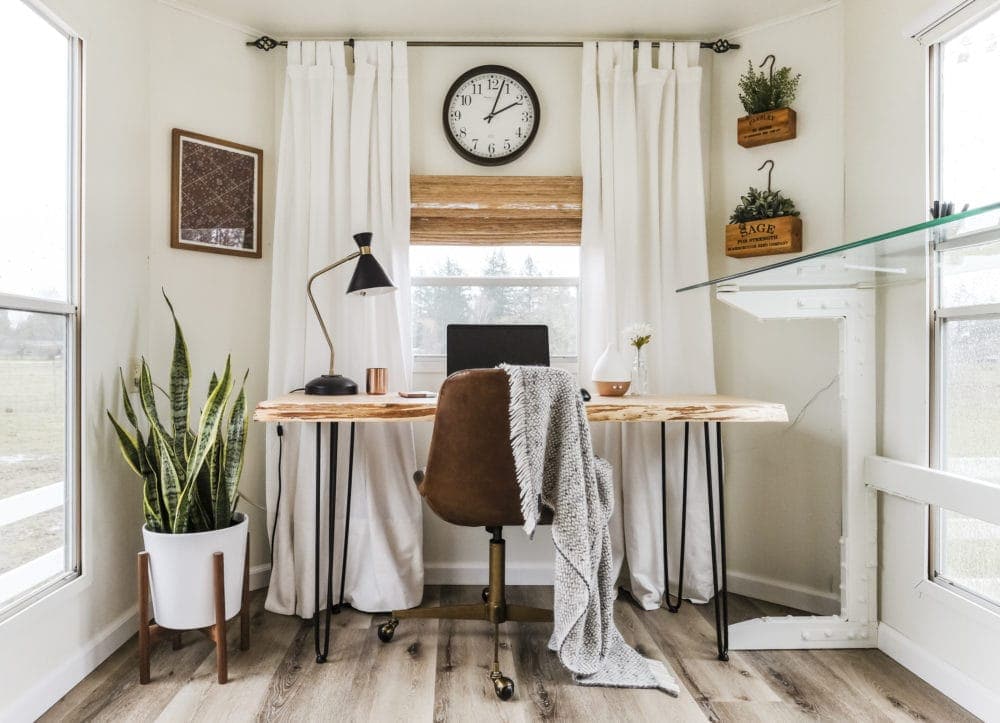
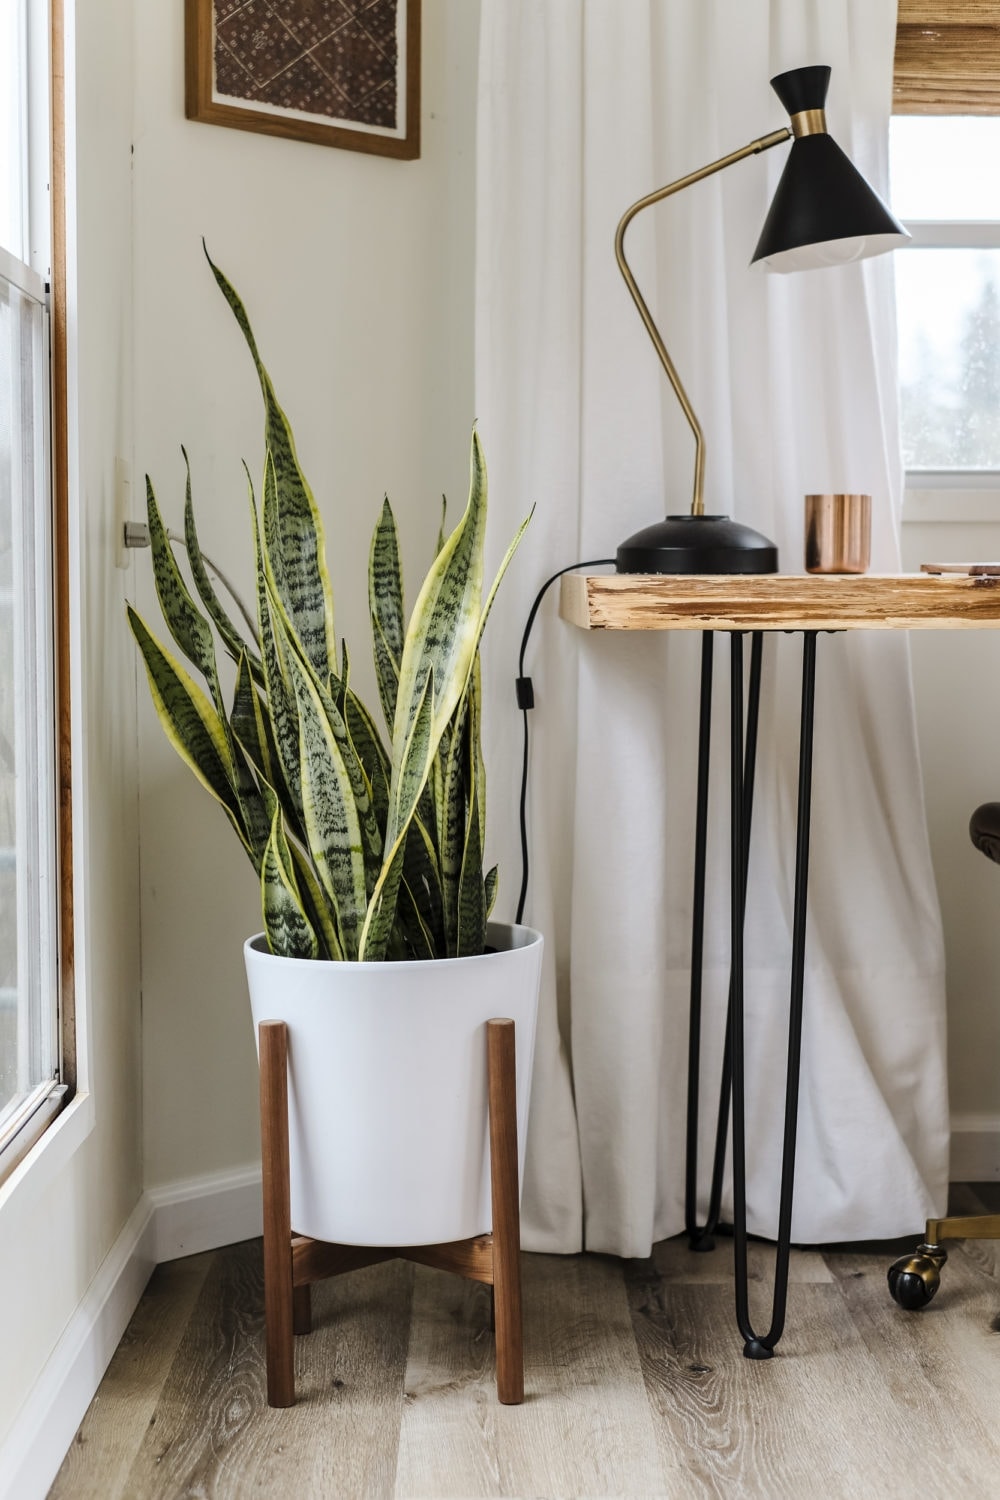
My trusty snake plant (read: the only plant I’ve managed to keep alive) freshened up the space. You may recognize it from our master bedroom in our old house! 🙂
I love the look of this wood midcentury plant stand paired with a white ceramic planter pot to elevate the plant up off the ground.
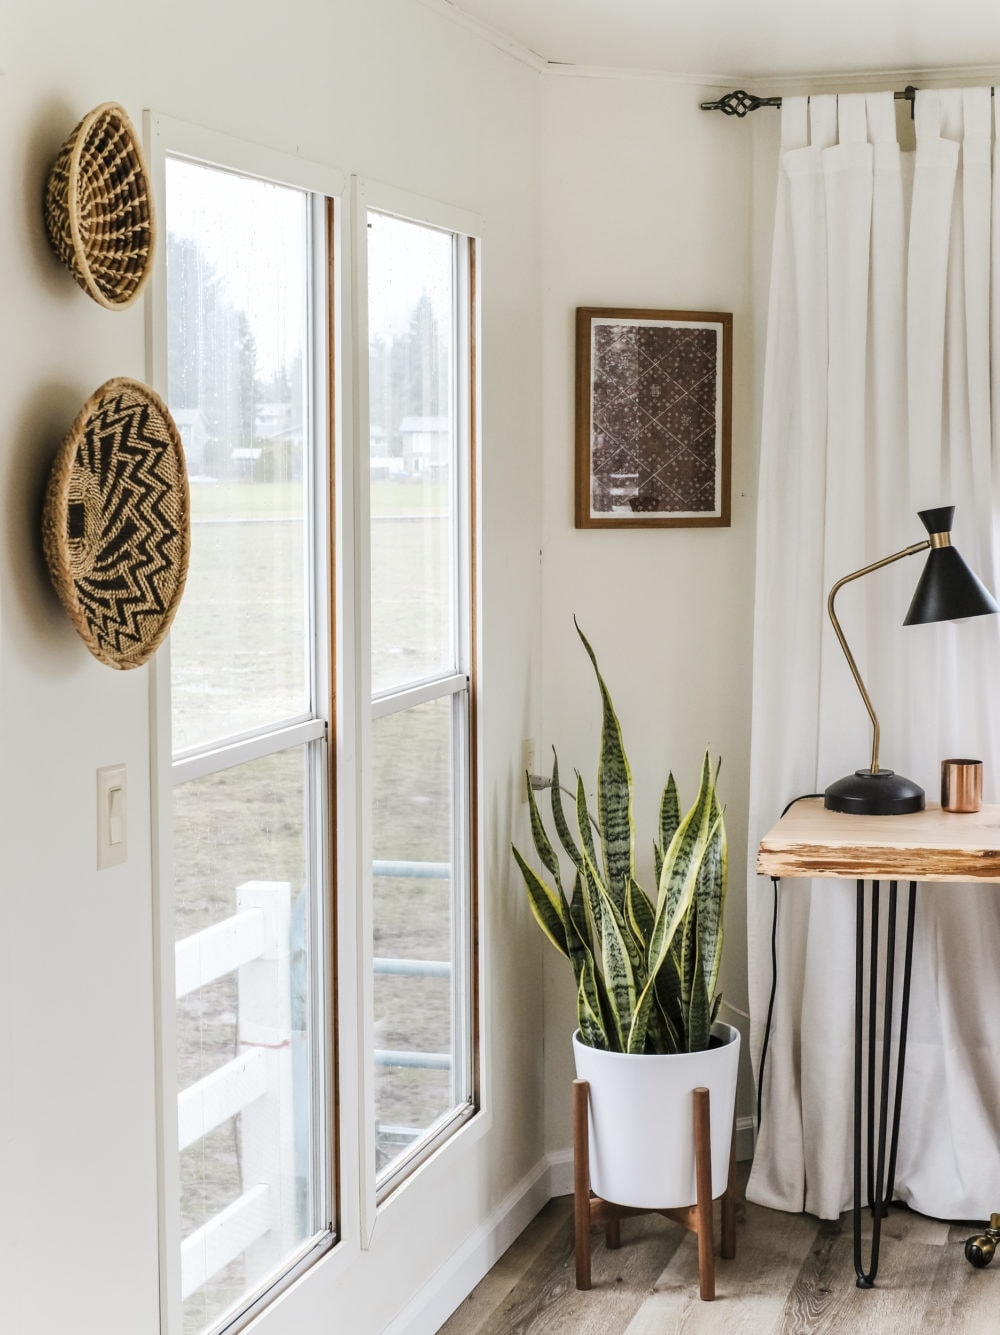
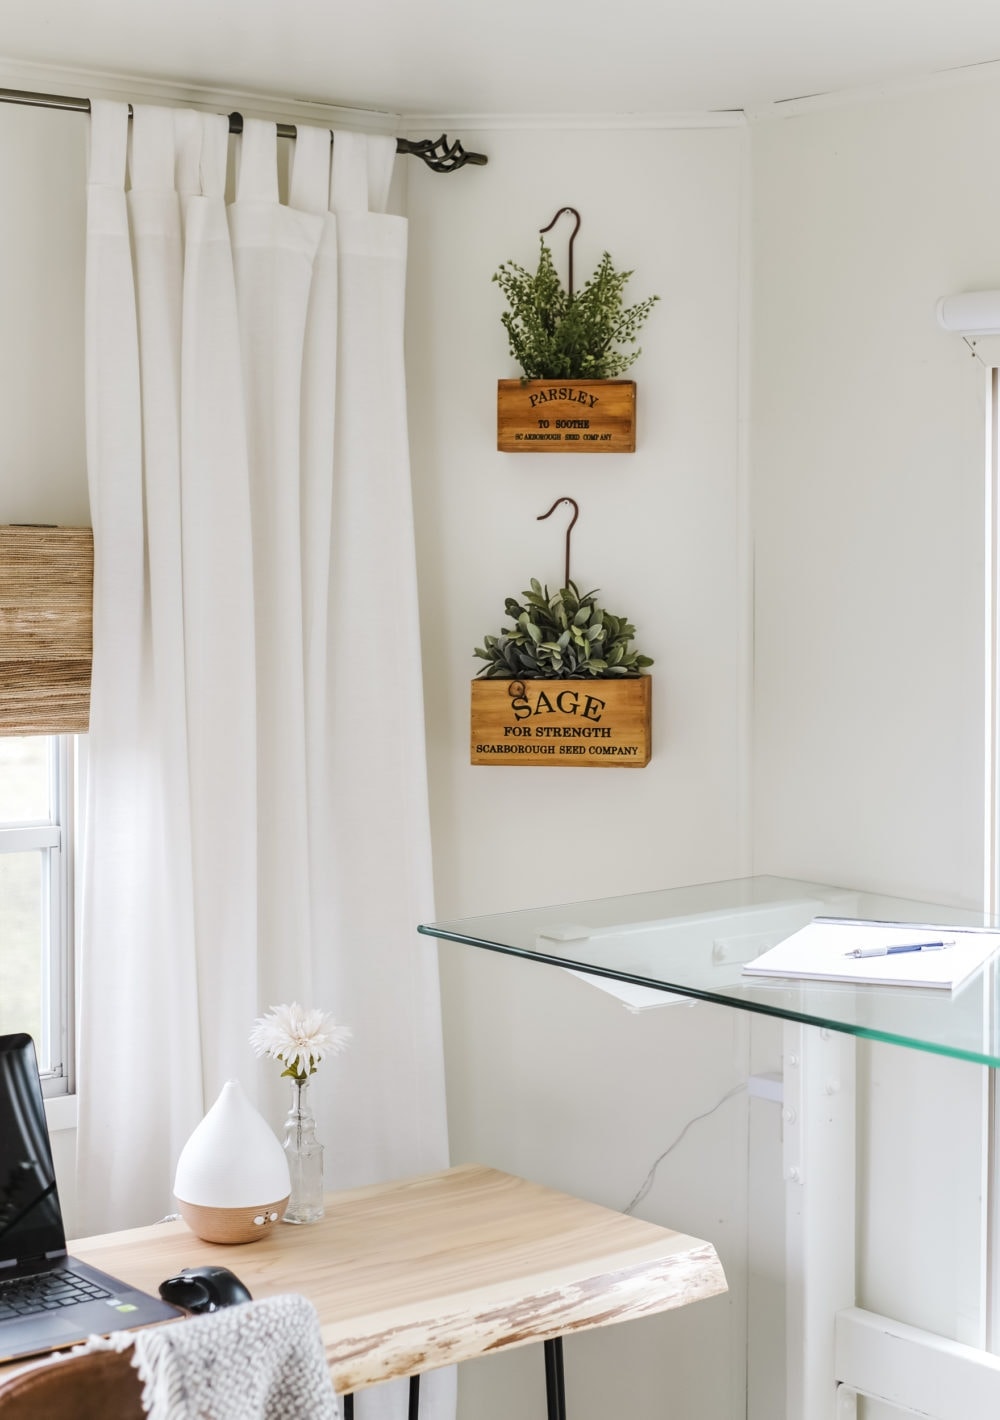
As for wall decor, a couple of thrifted baskets, a framed art piece, and some herb boxes add visual interest.
We also added Mike’s deer mount above his desk, because ya know.. manly stuff. 😉
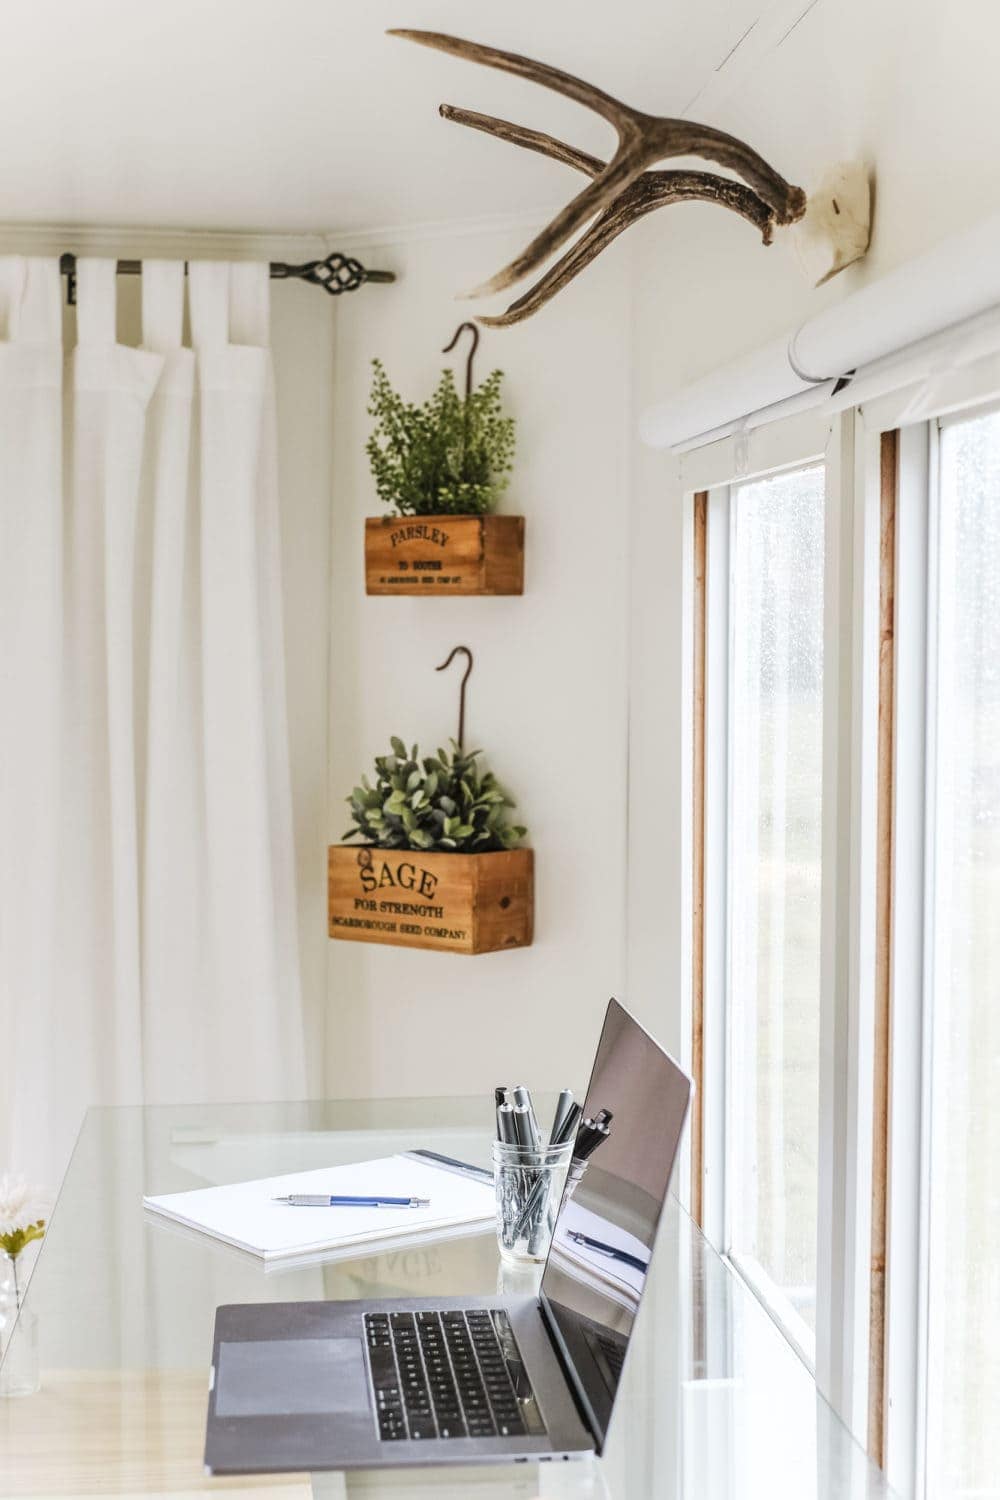
Speaking of Mike’s desk, for his window coverings we chose some minimal blackout roller shades. These are great for keeping the sun out when needed, and when not in use you almost don’t even notice they’re there!
I’ve linked all of the sources below, but first let’s look at a side by side before and after!
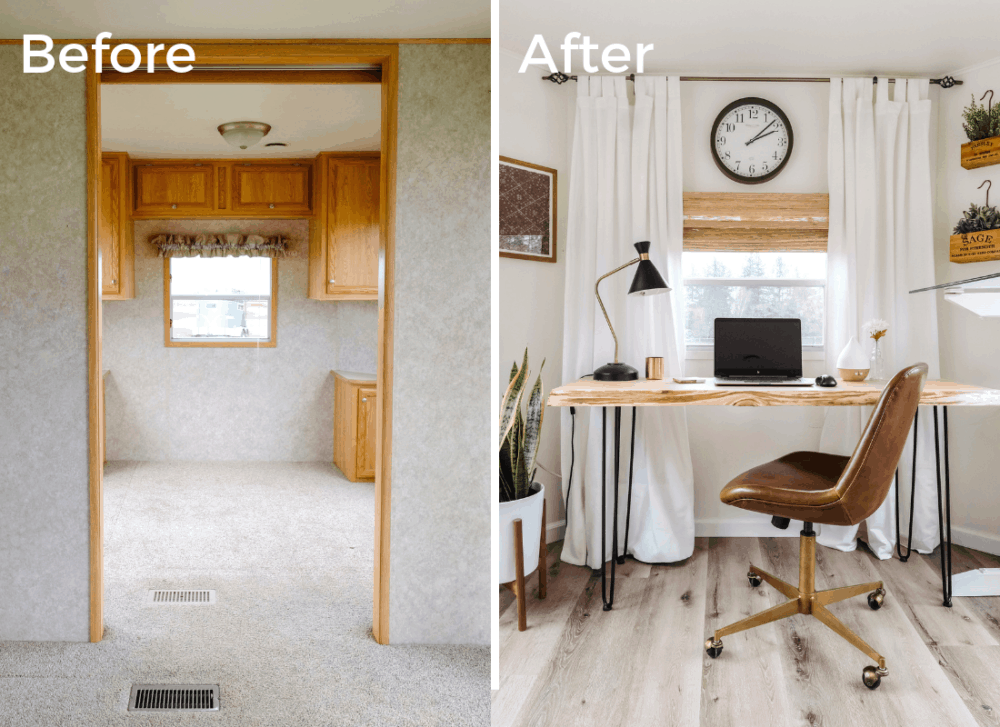
You can really see how much more open the space feels with those walls down in this comparison:
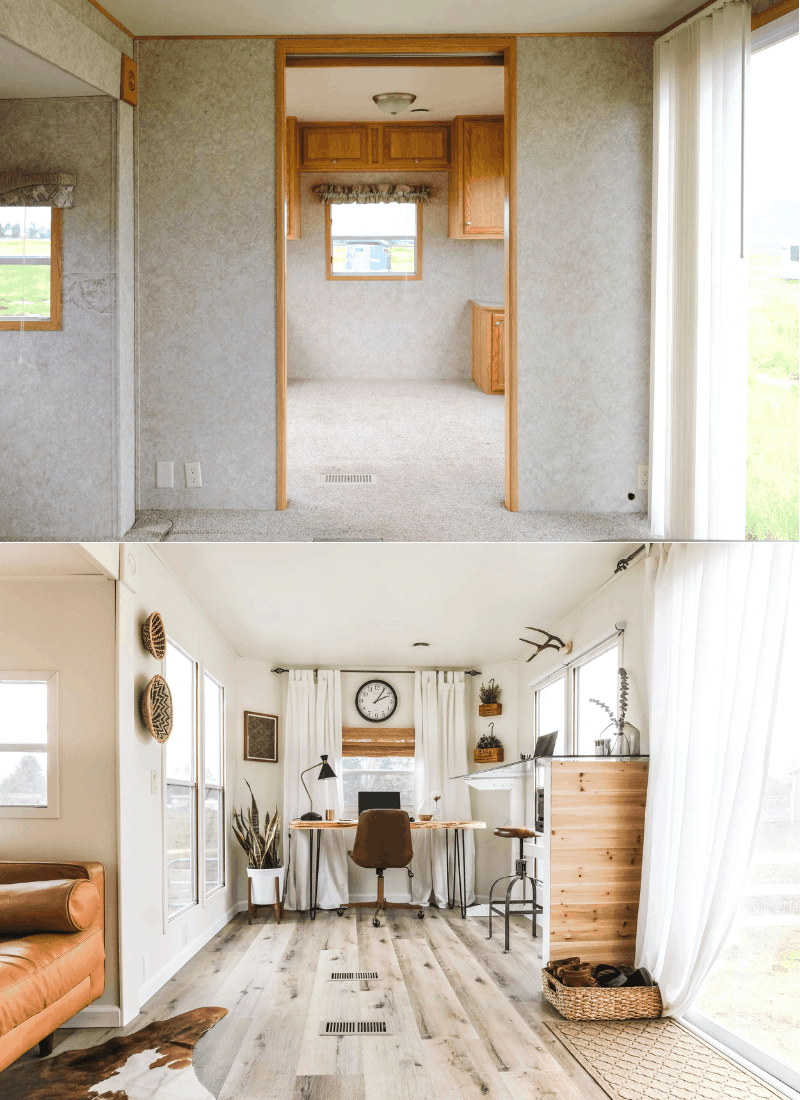
Below is a full source list for our RV Home Office Makeover:
- Wall/cabinet color: Sherwin Williams Alabaster
- Floors: 9″ wide planks in the Cascade Series by Urban Floors
- Live edge slab – Western Red Cedar
- Wood sealant
- Hairpin desk legs
- Leather desk chair
- White curtains
- Curtain rod
- Woven shades in Antigua Natural
- Desk lamp (similar)
- Rose gold candle
- Diffuser (similar)
- Small bottle vase
- Coaster
- 2″ x 4″ boards for Mike’s desk base
- Glass desktop – 3/8″ forged glass, 22″ x 80″
- Cedar shiplap
- Mason jar
- Graph paper pad
- Magnolia candle
- Medium vase
- Eucalyptus
- Bar stool (similar)
- Printer/Scanner
- Snake plant
- White ceramic planter
- Mid-century plant stand
- Baskets on wall (thrifted, but here’s a similar option)
- Wall print (similar)
- Herb boxes (available on Decor Steals on a rotating basis)
- Artificial sage plant
- Artificial parsley
- Wall clock (similar)
- Blackout roller shades
- Shoe basket
- Entry doormat
- Leather sofa
- Cowhide rug (similar)
Shop the post below!
I hope you enjoyed our home office tour! This is where we spend the majority of our day and I couldn’t be happier with how it came together.
I hope it gave you some home office inspiration you can use in your own space!
If you’ve missed any of our previous RV posts, you can catch up and get more details about each of the projects here:
- Why We Chose to Live In An RV (Again!)
- How to Paint RV Interior Walls
- Planning An RV Makeover
- RV Bathroom Reveal
- Thanksgiving in the RV
- RV Kitchen Remodel Reveal
- 3 Ways to Style a Pouf in a Small Living Room
- RV Bedroom Remodel Reveal
