How To Antique A Mirror With Bleach

If you try to Google how do you antique an existing mirror, you’ll probably be overwhelmed by the various methods out there. Many DIYers teach methods using harsh and dangerous chemicals like muriatic acid. Please save yourself the headaches; a mixture of regular bleach and water works perfectly! Second, it’s important to mention that each mirror will turn out differently as no two mirrors are alike.
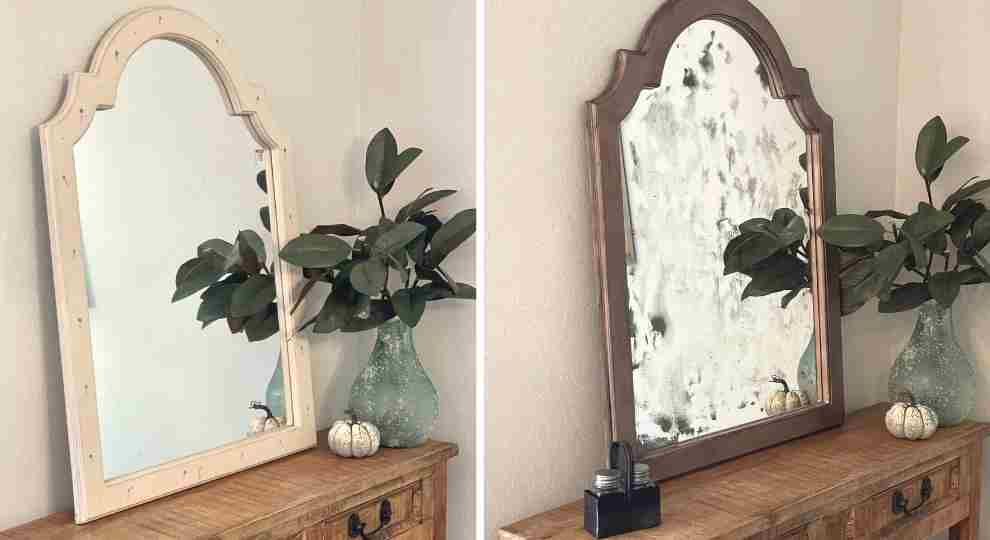
For example, I found this mirror at my local Goodwill store, and it was a bit problematic! First, I did not realize that the frame was glued to the mirror at the time of purchase, and the mirror backing, which needs to be removed using a paint stripper, was a very thick glue-like coating.
Therefore, I wanted to document my first attempt at antiquing a mirror and provide you with my suggestions to improve the final results.
This site uses ads and affiliate content as an Amazon associate earning on qualifying purchases. Disclosure.
Spoiler Alert: I will be adding a rub-on furniture transfer, which is currently on its way.
How Do You Antique An Existing Mirror?
Step 1 – Gather Your Supplies
| Supplies Used |
|---|
| Mirror and transfer |
| Citristrip Paint Stripper |
| Plastic Putty Knife Set |
| Rags |
| Gloves |
| Bleach |
| Spray Bottle |
| Spray Paint |
Step 2 – Prep Your Workspace
This DIY project can get a bit messy so prepare your workspace accordingly. If you’re unable to remove the mirror from the wood frame, I would highly suggest protecting the frame by using painter’s tape.
Next, lay your mirror face down on your covered work area and remove the backing or paper to access the mirror.
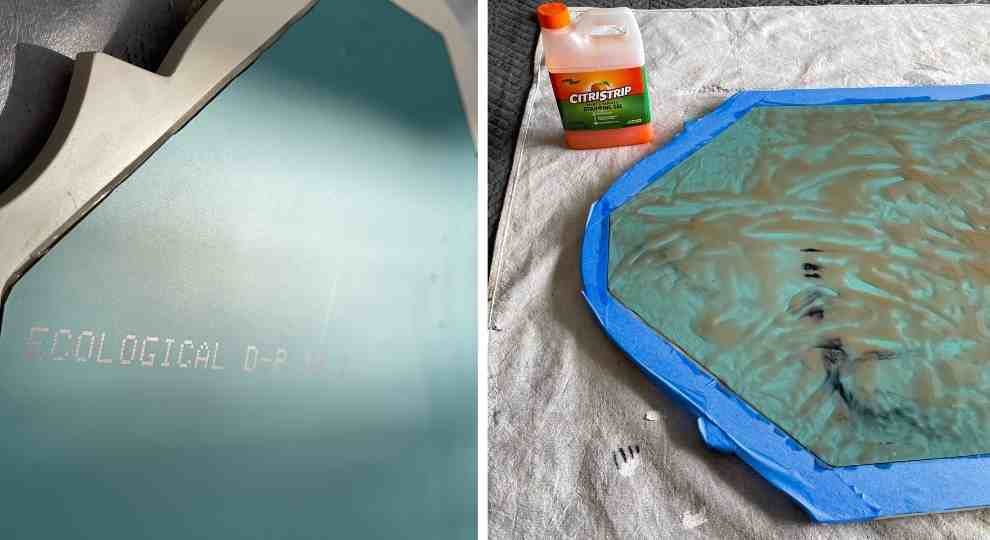
Step 3 – Apply The Paint Stripper Gel
Pour a generous amount of Citristrip Paint Stripper on the back and brush the gel all over the mirror.
Allow the Citristrip Paint Stripper to work for at least 45 minutes. In my case, I needed to wait 3 1/2 hours for the stripper to break down the rubberized glue-like coating. This was unusual, and I tested the mirror every 30 minutes to make sure the mirror finish was still intact.
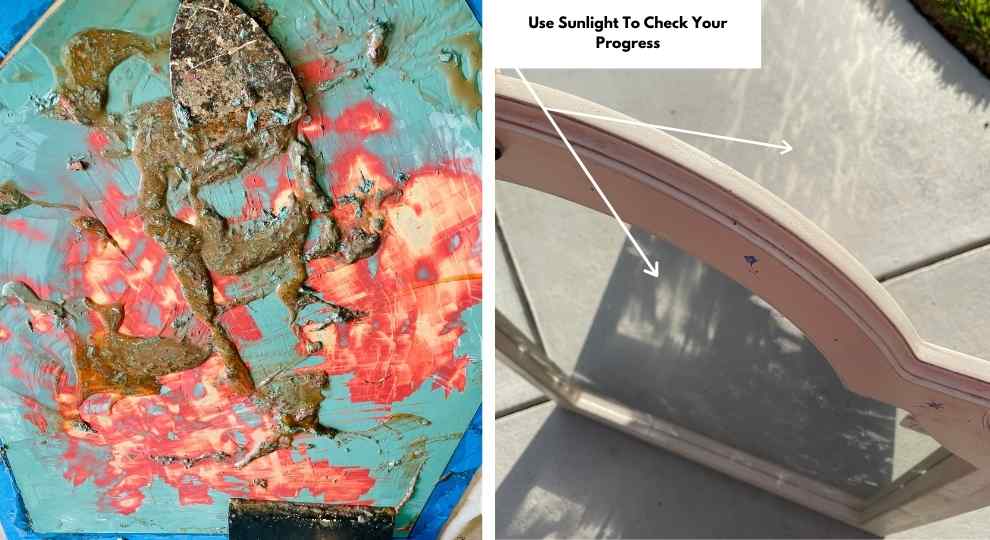
Step 4 – How To Safely Scrap The Mirror
The mirror used in my tutorial was usually tricky, and as mentioned above, I needed to wait 7x’s longer than usual to allow the stripper to work. I had to use a metal putty knife and apply medium pressure to remove the backing. The backing was more of a glue than a coating.
However, 99.9% of mirrors can safely be scraped using light to medium pressure, a 4-inch plastic knife, and wrapping a rag around it. This method did not work for this mirror, but it’s my recommendation to avoid scratching the mirror.
Once you are satisfied or have removed most of the backing, you’ll want to use a clean rag to remove all the stripping gel.
Lastly, wash down the mirror with a clean wet rag. This is important since the mirror antiquing process needs a clean surface in order for it to work.
Step 5 – Create Your Bleach Solution
Begin with a clean spray bottle and add 50% bleach and 50% water.
Step 6 – Begin To Antique A Mirror With Beach
Before spraying the solution on your mirror, spray the solution into the sink a few times. I speak from experience as a few sprays from my bottle came out as “streams” instead of a fine mist. The bleach works within seconds and you will begin to see dark spots as the bleach does its job.
Please, do not rush this process. Take a few minutes to review the progress as your patience will have the greatest impact on this project.
Once you are satisfied, you can cover the mirror with paper towels to absorb the beach and wipe it off. Then rinse the bleach areas with water carefully.
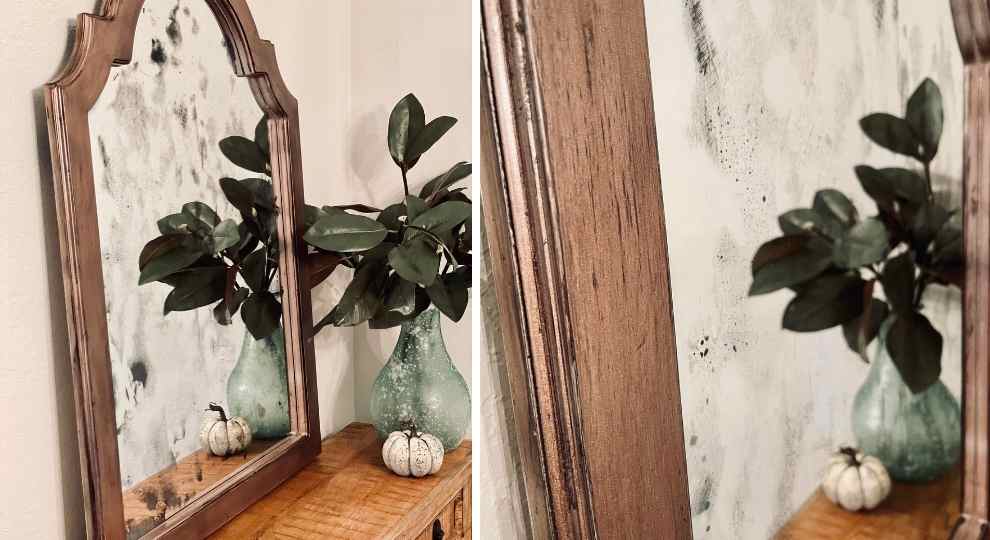
- Areas where the bleach was sprayed which removed mirrored finish. Your paint color will be visible in these areas.
- The larger darker spots are where the bleach was heavily sprayed or came out of the spray bottle in the form of a stream instead of a fine mist.
Step 7 – Paint The Mirror
Here is where you can become artistic. I tried a few different colors for this step; for future projects, I will stick to a flat soft metallic iron color paint or black.
You will want to mist the mirrors lightly with each spray paint. Every so often, stand the mirror up to see your progress.
Lastly, paint the back of the mirror black to complete the look of your antique mirror.
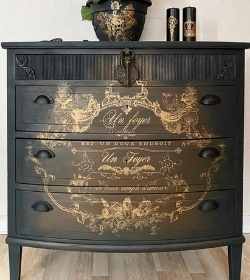
Give The Wood Frame A Make Over
Oooo my goodness! This project gave me such a headache I told my husband I was planning on digging a hole in our backyard so I could bury it. I changed the color 3x’s.
First, it was black, then white and then bronze.
I still wasn’t happy with it so I sanded the frame with a light sandpaper and wipe it with black paint. At this point, I started to “like it.” Okay, I still feel this mirror needs some improvement so I’ve order a French Decal which should be arriving soon and will update the post once it arrives.
In Conclusion
If you plan on antiquing a mirror please use the bleach method. Remember that each piece will come out differently, and you’ll learn a few things along the way.
You know what they say – “Practice makes perfect!”
For home-related DIY, tips and inspiration stop by often. In the meantime, check our post on Learn Exactly How To Make A Custom Shower Curtain {Without Sewing}