Easy DIY Homemade Vanilla Extract Recipe
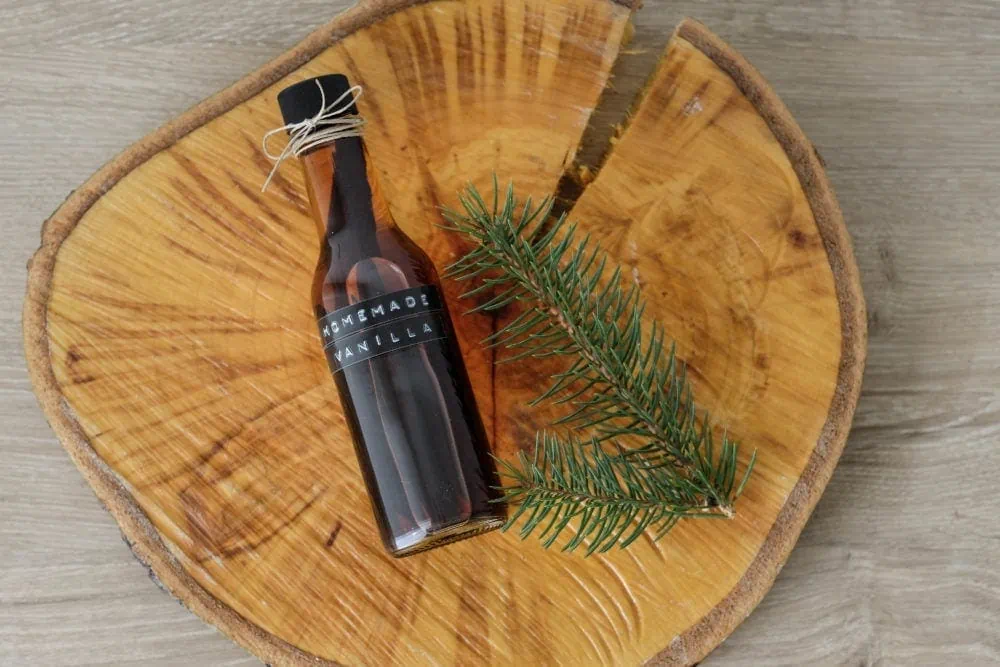
Making vanilla extract at home isn’t anything new. In fact, there are quite a few recipes already online. But today I thought I would share my version of how to make homemade vanilla extract and why I prefer it over store-bought. 🙂
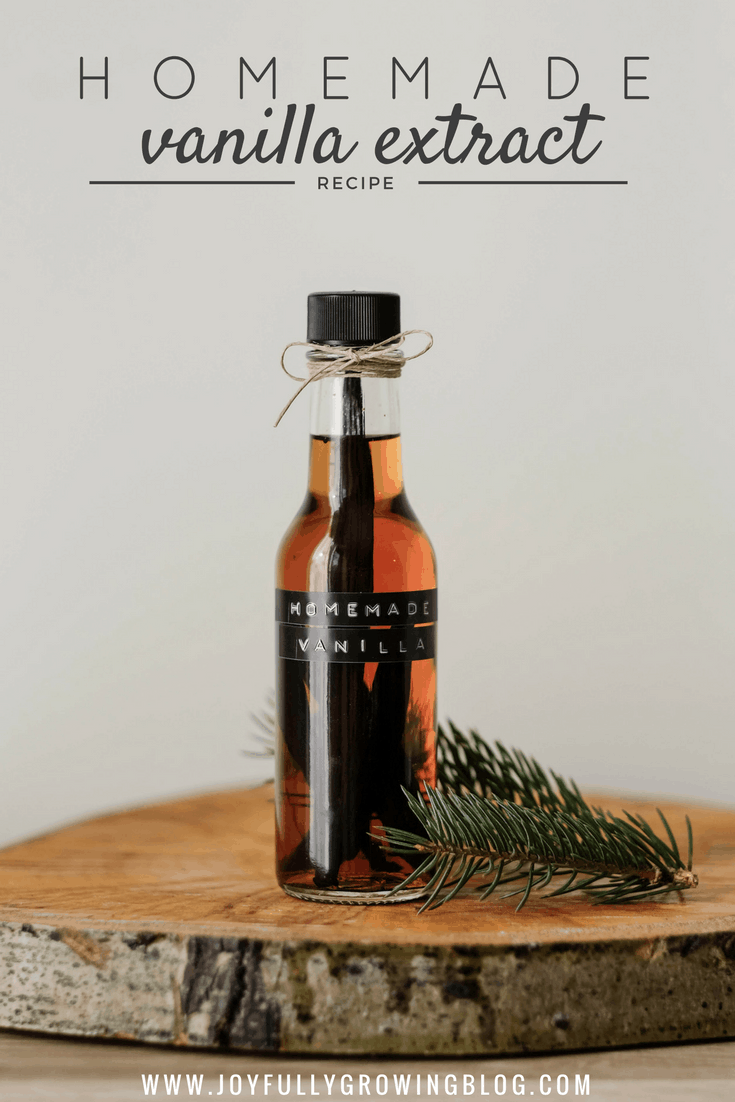
If you’ve ever bought vanilla extract at the store, then you know how expensive it can be. I first discovered the concept of DIY homemade vanilla because I was tired of wasting money.
This site uses ads and affiliate content as an Amazon associate earning on qualifying purchases. Disclosure.
The simple 2-ingredient recipe intrigued me (that’s right, only 2 ingredients!). Now I wouldn’t dream of paying top dollar at the store! This simple recipe is also a wonderful gift idea.
Last year I made a few small batches and gifted them to my girlfriends for Christmas. They were a huge hit! Everyone was impressed by my homemade efforts and after smelling the sweet aroma they couldn’t wait to get home and bake a holiday treat.
So if you are looking for a way to cut costs in the kitchen, or need a simple and meaningful gift idea for a loved one, try out this homemade vanilla recipe for yourself!
How to make DIY vanilla Extract
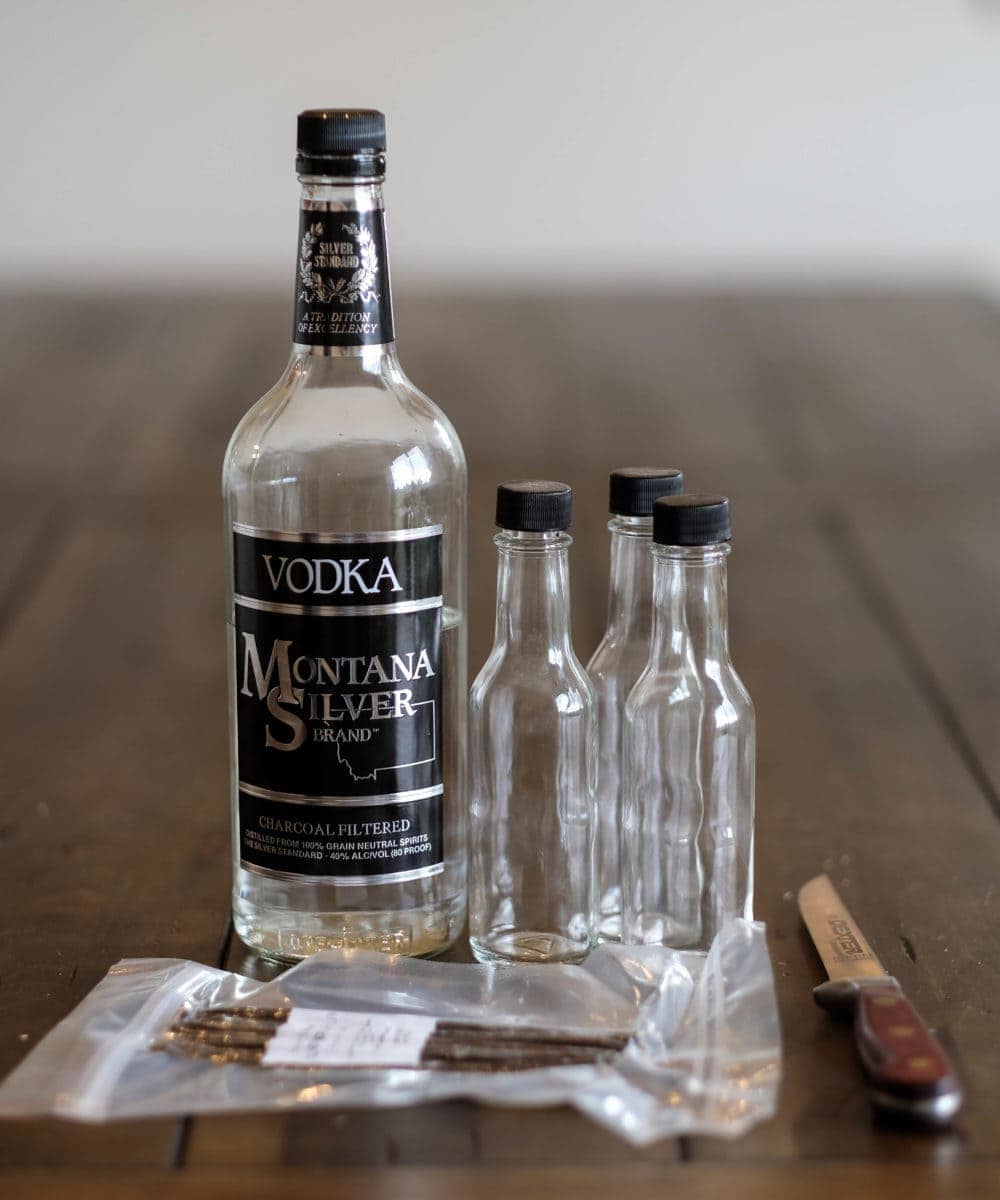
Supplies:
- Vodka – (Any unflavored vodka will do, there’s no need to get the really fancy stuff)
- Vanilla beans – (I order these ones)
- Glass bottles – (If you’re making a large batch, mason jars work great. For gifting, I like to use these 5oz bottles with dripper inserts.)
- Sharp knife
The amount you’re making will determine how many beans you’ll need. The package I used came with 10 beans which worked perfectly for four 5oz bottles. It is easy to scale this recipe up or down, the proportions are 3 whole vanilla beans per 1 cup (8 oz) vodka, or 1 1/2 vanilla beans per 1/2 cup (4 oz) vodka.
Let’s get started, the steps are simple!
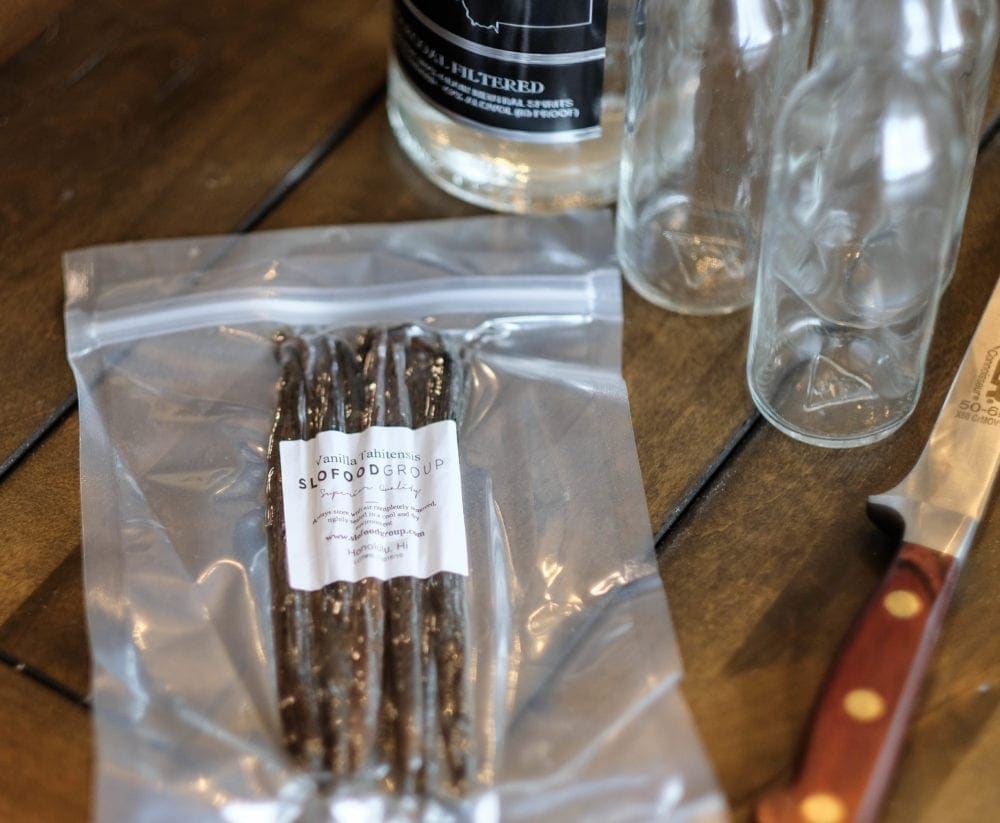
Step 1: Cut The Beans
Split each bean lengthwise with a sharp knife and add to the empty bottles following the ratio above. If your bottles are short you can first cut the beans down in size so that they fit.
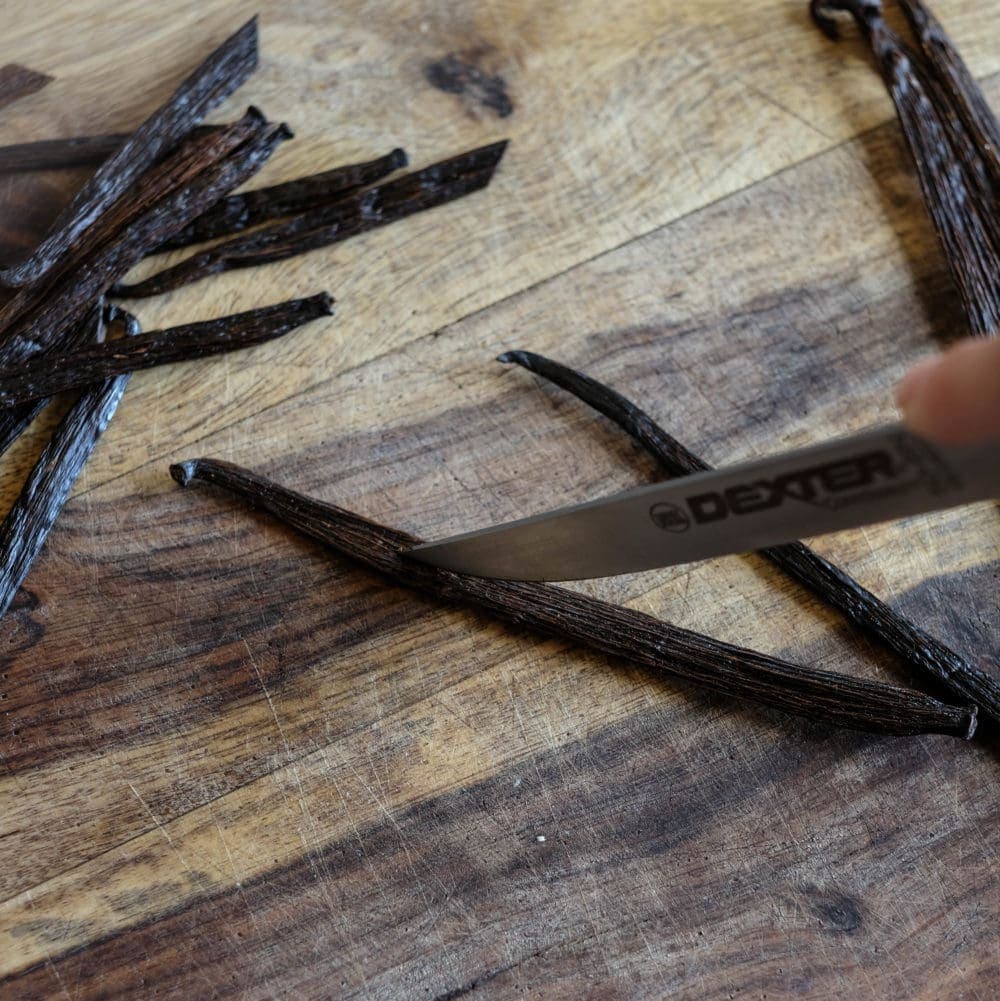
Step 2: Add The Vanilla Beans
Now that you’ve cut the vanilla beans down to size, you can put them in the bottles. Don’t worry too much about being super exact with the number of beans in each bottle, it’s really hard to mess this recipe up (my kind of recipe!!).
If your ratio of beans to vodka is off by a little bit, the bottles with fewer vanilla beans will end up taking a little bit longer before they are ready to be used. Likewise, the bottles with more beans will be ready in less time.
Step 3: Fill The Bottles With Vodka
Next, fill your bottles with vodka! If you’ve planned out your ratio properly and added about the right number of beans to each bottle, then this step is super easy. You don’t even need to worry about measuring. Just fill them up!
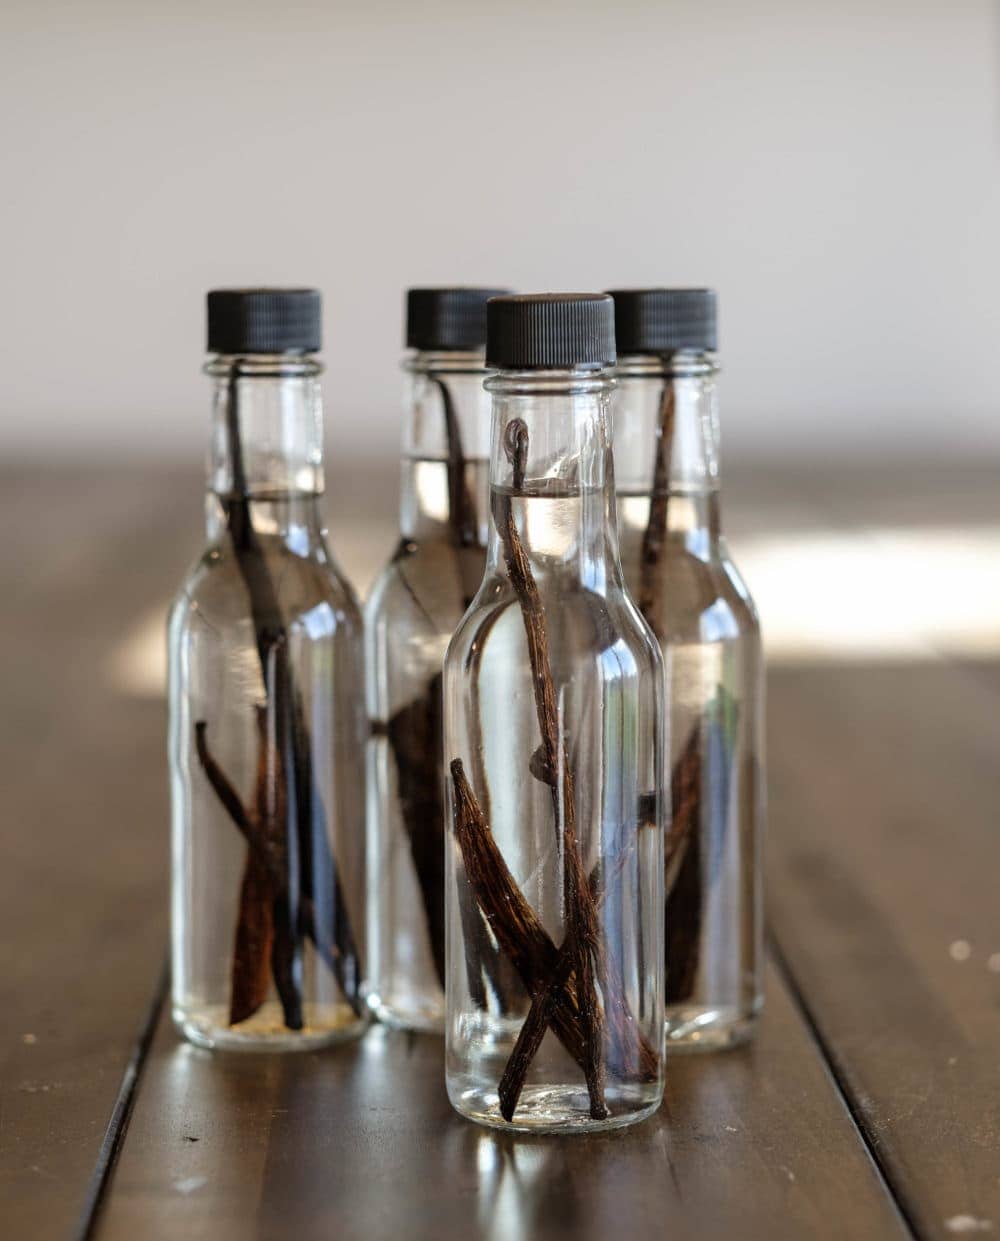
Step 4: Store / Brew
Be sure to store in a cool dark place, and give the bottles a shake every so often. After about 2 months, the homemade vanilla extract is ready to use! You can tell when they are ready based on how dark the color of the vanilla extract is getting.
Step 5 (Optional): Label The Bottles
I like to label my vanilla using my trusty DYMO embossed label maker from Amazon. To make them a little fancier, you can add some twine and a gift tag or throw them into a cute gift bag.
If you’re giving these bottles of homemade vanilla extract as a gift, make sure you let the person know when the vanilla will be ready. Or, you can use the embossed label maker to add a date right onto the bottle.
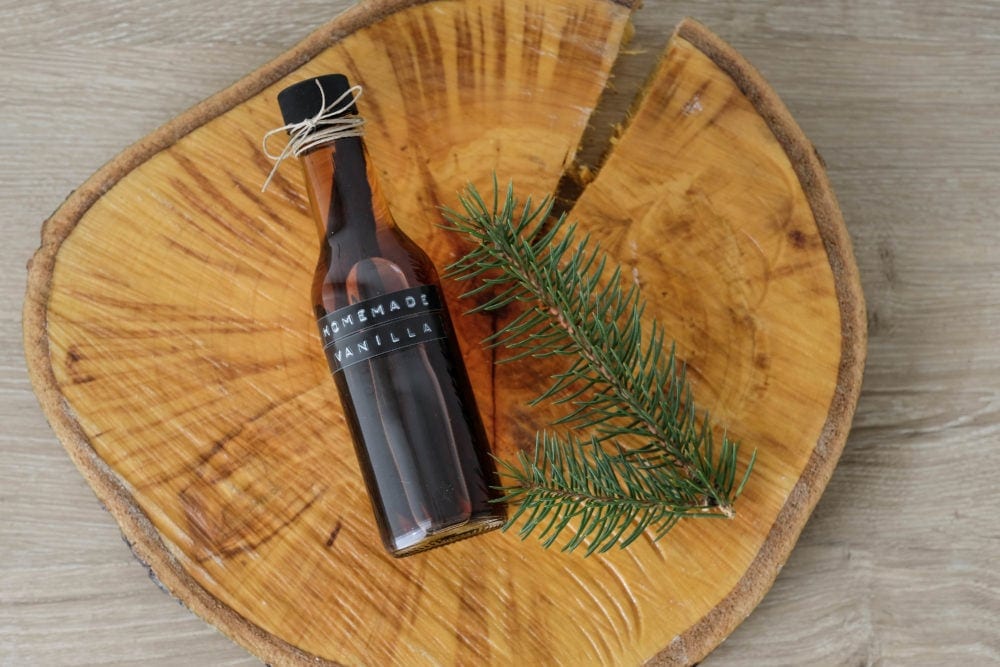
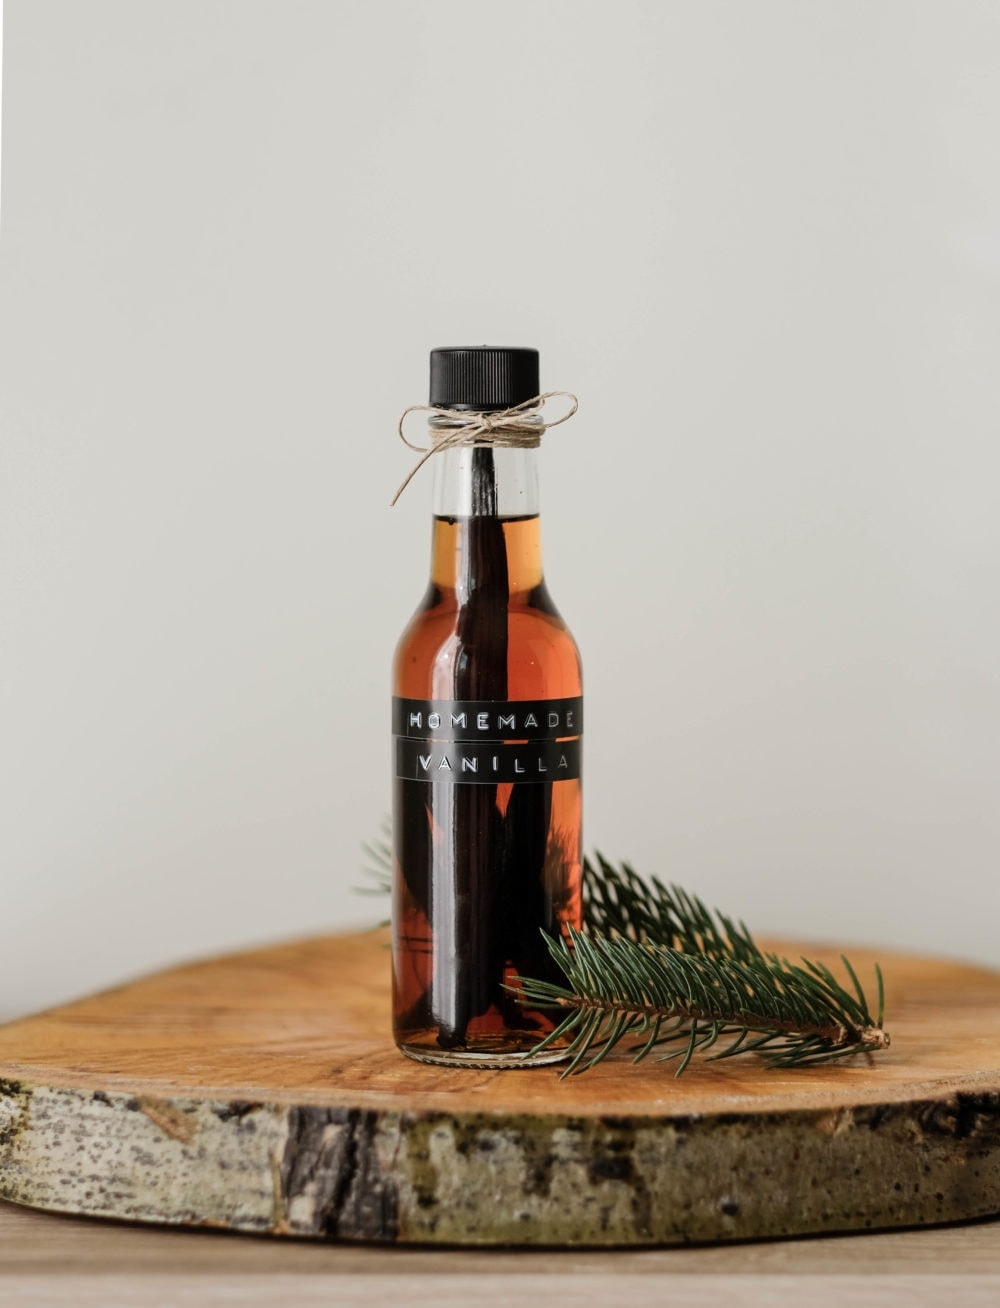
There you have it! A simple tutorial on how to make a homemade vanilla extract (it also makes the perfect thoughtful gift!). I can’t wait for you to try it out for yourself!
Looking for more homemade gift ideas? I recommend checking out my 5 Minute DIY Sugar Scrub Recipe next!
