How To Build A Wood Accent Wall | Easy DIY Tutorial
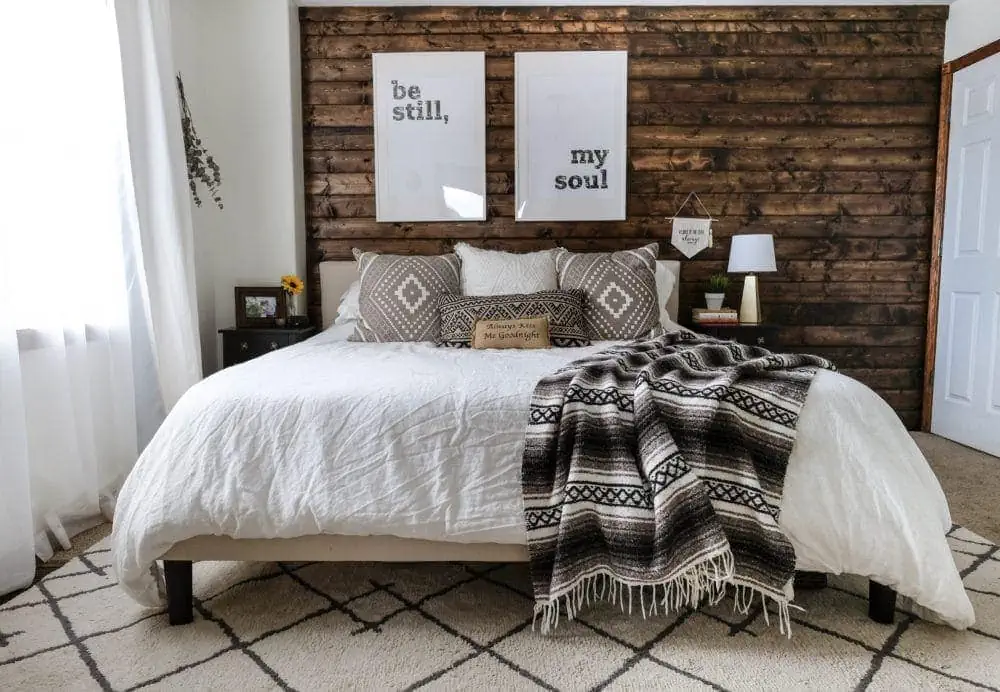
This DIY wood accent wall tutorial is so easy! Checkout the tutorial to see how to add a wood wall to any room using tongue and groove boards. It’s easier than you would think.
One of my favorite ways to add warm rich texture to a space is to bring in wood accents. Wood crates, wood picture frames, wood furniture, and yes, even wood WALLS. Building a wood accent wall can be an amazing upgrade for any room.
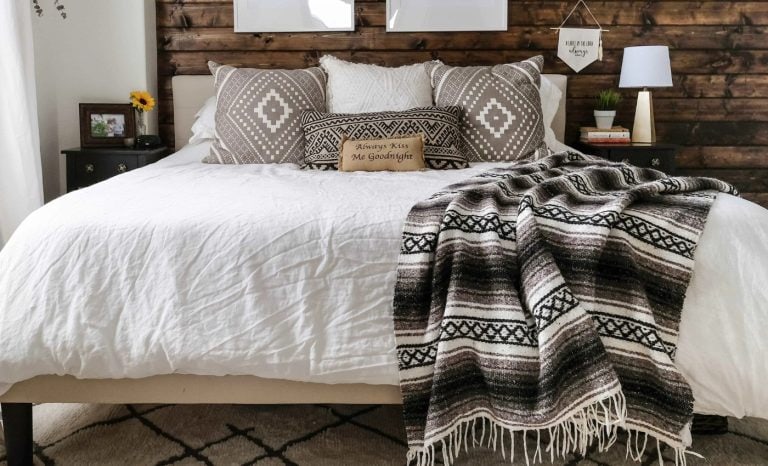
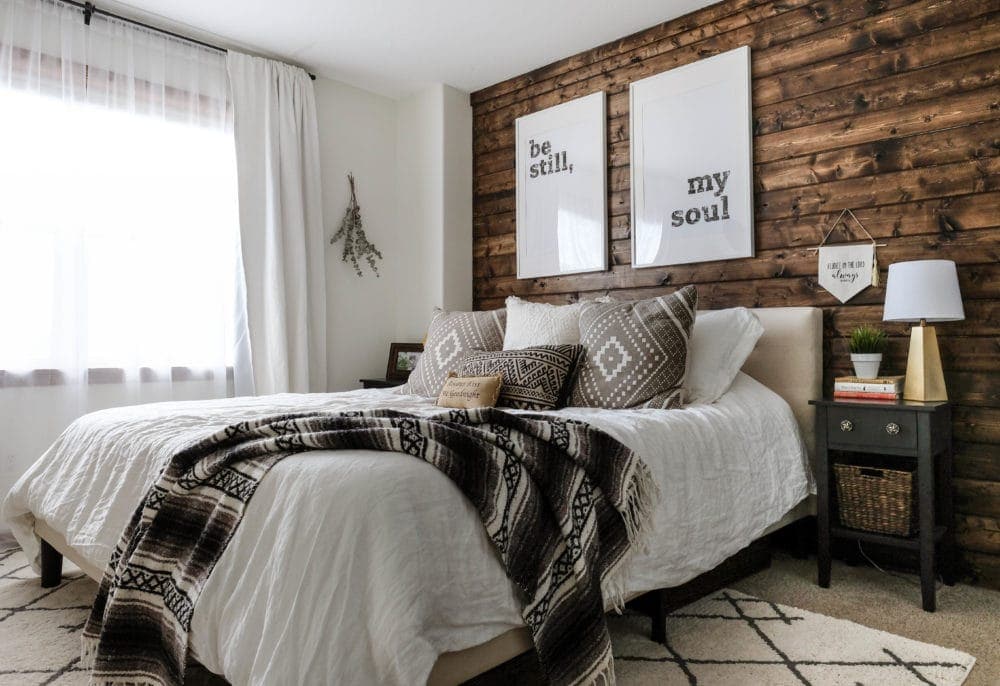
If you’re looking for a simple way to make a big impact, a DIY wood accent wall is the perfect choice. We added inexpensive shiplap to a wall in our master bedroom and I am 100% obsessed with how it turned out. The entire project was completed in a weekend!
This site uses ads and affiliate content as an Amazon associate earning on qualifying purchases. Disclosure.
DIY Wood Accent Wall Tutorial with Shiplap Planks
Supplies needed:
- 1″x6″ tongue and groove boards
- Miter Saw
- 15ga Finish Nailer
- 2″ finish nails
- Stud finder
- Level
- Hammer
- AlwaysSharp Carpenter’s Pencil
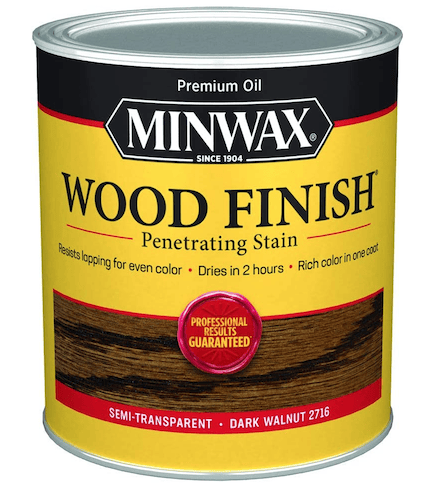
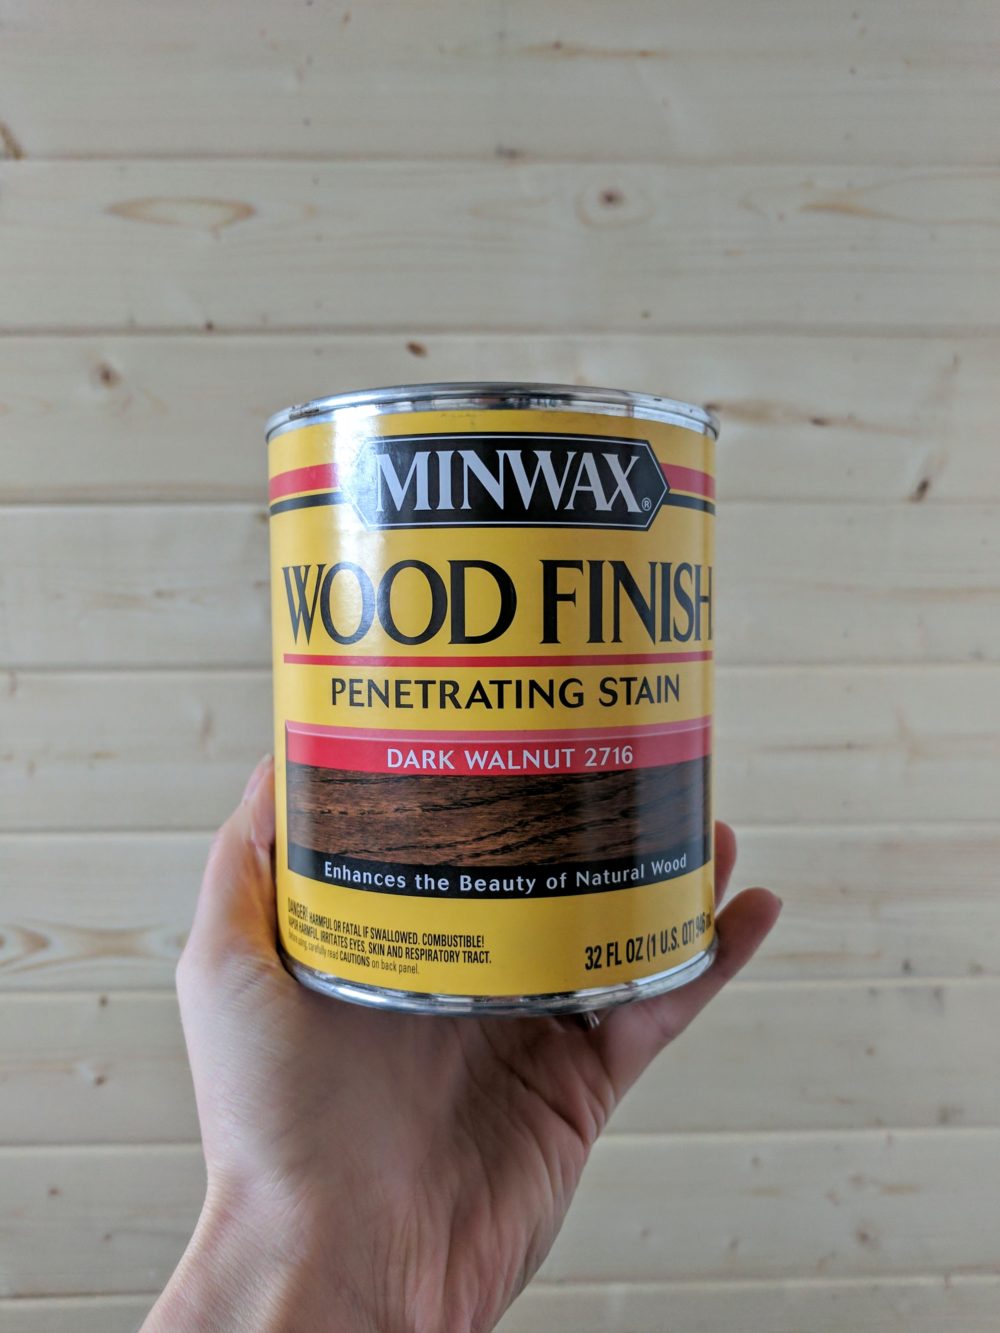
- MiniWax Dark Walnut
- Miniwax Wipe-on Poly Finish Clear
- Paint brush
- Tack Cloth (Rags)
Step 1: Mark The Studs
For this accent wall, we chose to use 1″ x 6″ tongue and groove boards. Using tongue and groove makes the installation process fast, simple and cost effective.
Before putting any wood planks up on the wall, the first step is to locate studs inside the wall behind the sheetrock. This magnetic stud finder we always use works great! Make large, easy to see marks on the wall using a pencil or a Sharpie.
In this step, you want to mark every stud from top to bottom along the whole accent wall. This will make it easy to see where to nail when you’re installing the boards.
Tip: find a stud and make a mark at the top of the wall, and then the bottom. Use a long level or a chalk line to connect your two marks!
Step 2: Cutting The Boards
In our home, the wall we chose to cover was just under 12 feet long. This wall was a great length because we were able to use 12 foot boards. They did need to be cut down to size, but it allowed us to make a perfect accent wall with no seams.
For walls longer than 12 feet, I would recommend using 8 foot boards and staggering the seams. When the seams between boards are staggered out and not lined, they are less noticeable. Don’t worry, your wall will look great with, or without seams!
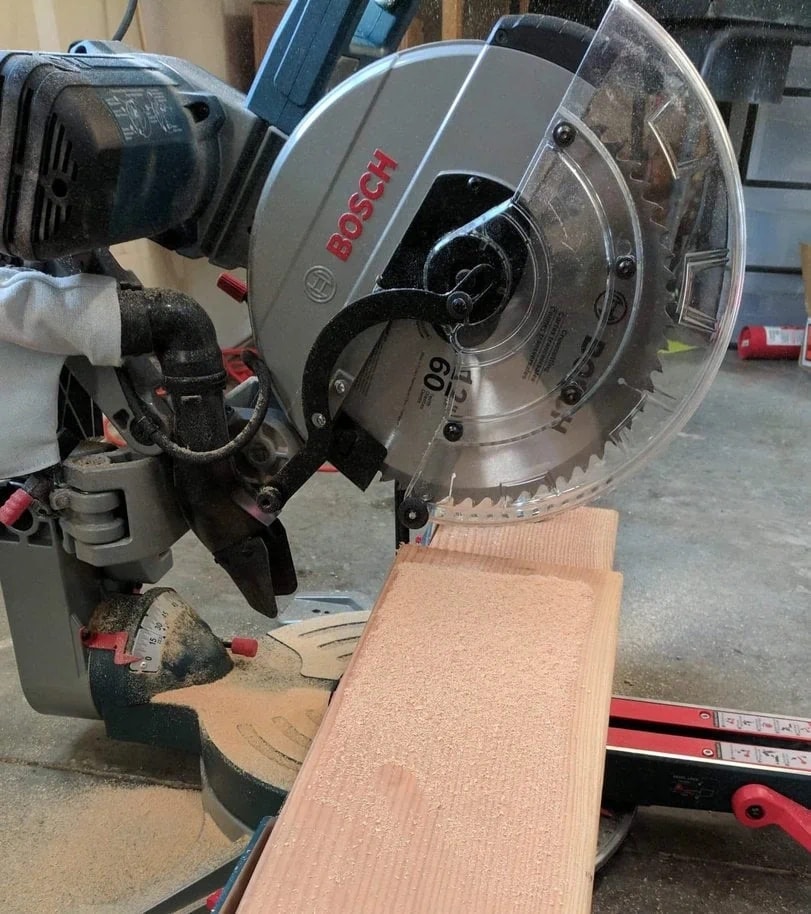
To cut the tongue and groove boards, we used a Bosch 12″ Miter Saw. The miter saw made it easy to get perfect 90 degree cuts. If you don’t have a power tool-obsessed husband like me, a basic circular saw and a speed square will work just fine.
Measure, and then cut the boards to fit the length of your wall. Plan to leave a 1/8″ inch gap on both sides. This will help the board to fit properly, and prevent scuffing the other walls during installation. Try to make all measurements and cuts very precise. Clean cuts and straight lines will help to make this wood accent wall look amazing!
Related: How To Create A DIY Distressed Wood Beam Mantel On The Cheap
Step 3: Installing Tongue and Groove Boards
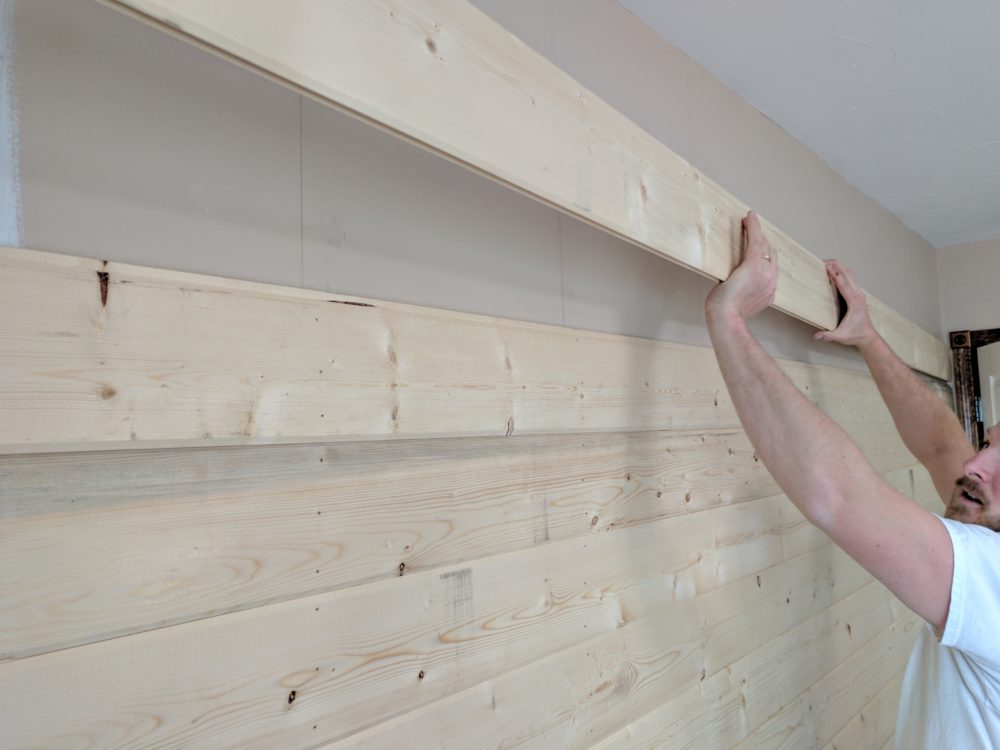
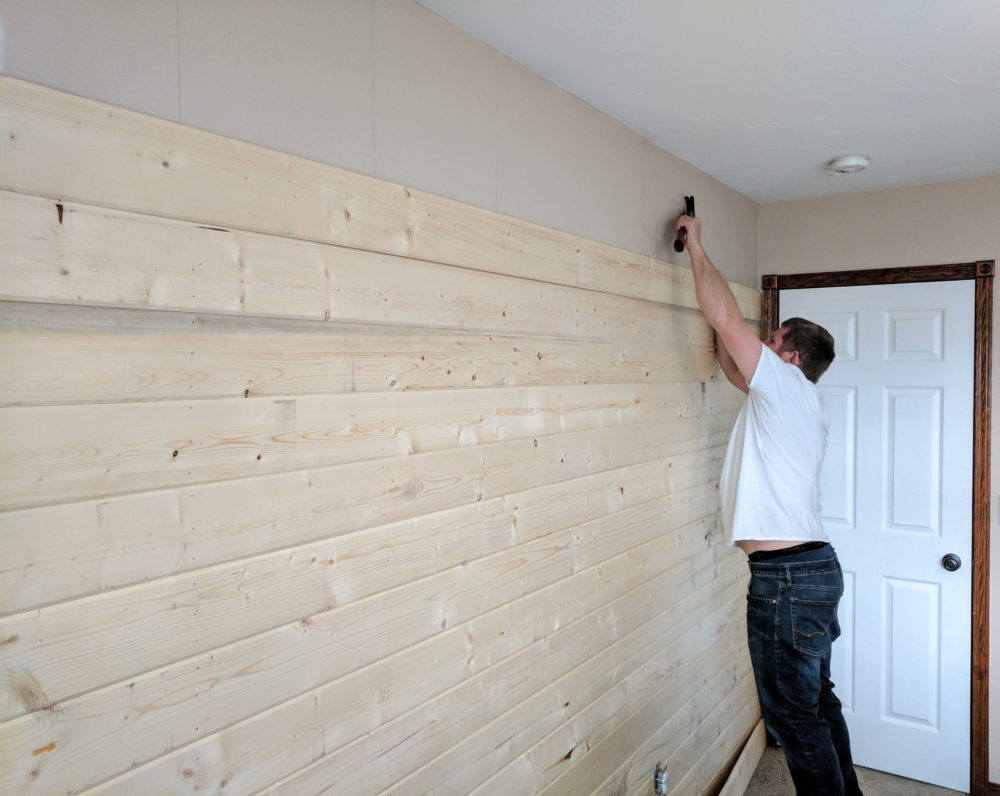
Before you start the wood accent wall installation, remove any baseboards. Start on the bottom of the wall and place the first board directly on the floor. The ‘tongue’ side of the board should be facing up, with ‘grooves’ side facing down.
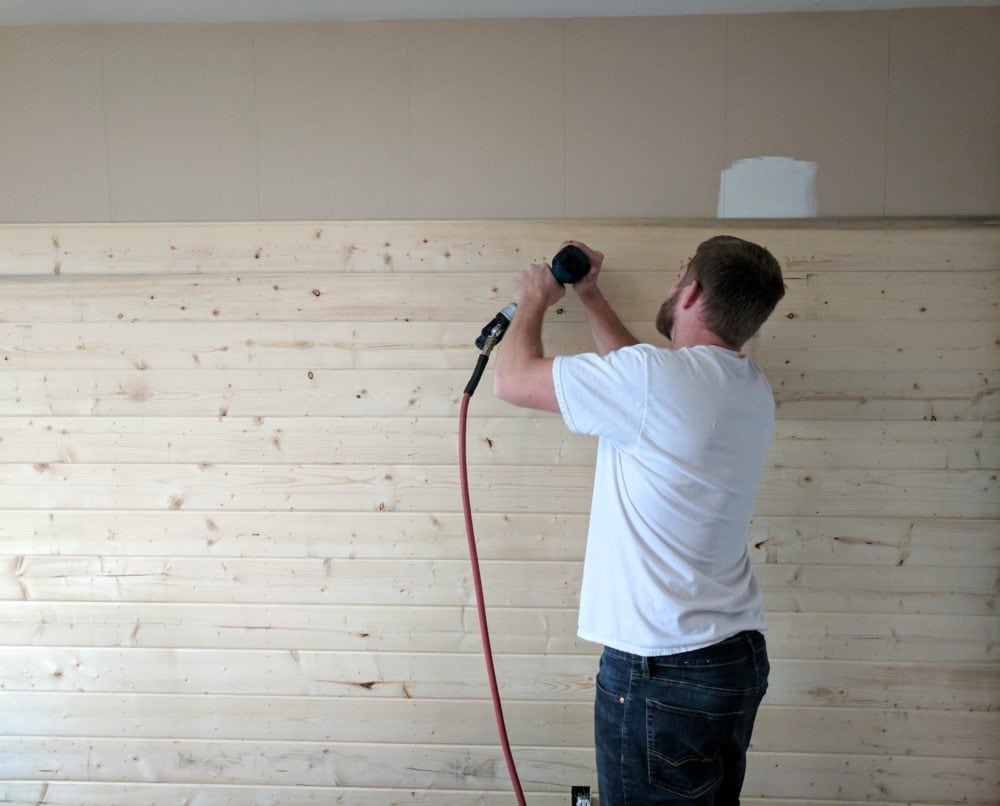
Make sure the bottom board is straight and sitting firmly on the floor. It’s important that the bottom board be perfectly straight, because it will affect all of the boards on top of it. Once you have the first board in place, use a nail gun to fasten it to the wall.
The stud lines you marked on the wall previously will make it easy hit the studs. Install three nails into each stud along the length of the board.
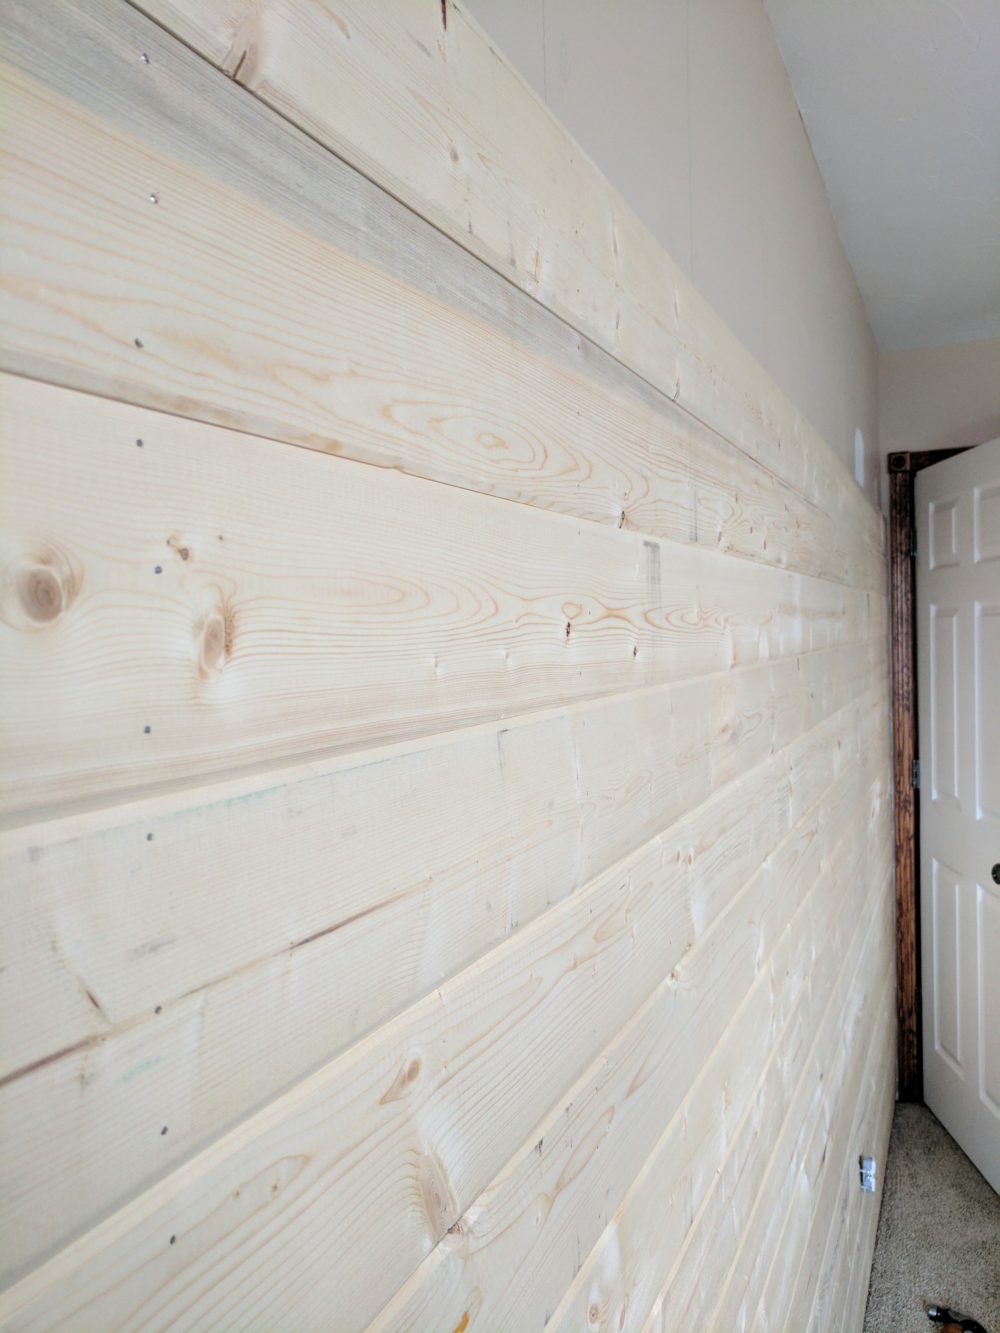
When you add the second board, make sure that the tongue is once again up, and the grooves are down. Set the board down into the tongue of the fist board. Press down firmly until the grooves have slid all the way into place. The tongue and grooves should fit tightly together with no gap.
If you notice an uneven gap, you may need to use a hammer to tap the board down into place.
Step 4: Install Around Electrical Outlets
Repeat the previous step, adding boards and working your way up the wall. If there are any electrical outlets or electrical switches, you will need to make cutouts. Cutting in electrical outlets can be a little scary at first, but don’t be intimidated!
Once you’ve reached an electrical box, measure carefully to see where on the board you need to make a cutout. Measure and cut a board BEFORE you install it onto the wall. This will make the process much easier, and safer. A Jigsaw is a good choice for these smaller cutouts.
If an electrical box falls between two boards, the process is similar. Cut the bottom half of the electrical outlet into the first board in the same way. Once you’ve installed that board on the wall, you can then cut the next board to make the top half of the cutout.
Step 5: The Top Trim Board
When you reach the top of the wall and cannot add another full board, in most cases you will need to rip a board down to size to fill in the top gap. If you get really lucky and the last full board fits perfectly with no gap, then don’t worry about this step.
The last board can be a little tricky, especially if you live in an older home where the walls and ceilings aren’t perfectly plumb and straight. Measure the gap between the top board, and the ceiling.
Measure this distance at several locations along the accent wall. Ideally, if all the measurements are within about 1/4″ then you can rip the board to size using a table saw (if you have one).
If you don’t have a table saw, a circular saw fence is another great option. This is also known as a rip guide. Make sure to get the accessory that will work with your specific type of circular saw.
If your measurements are more than 1/4″ different, then you will need to cut the top board at a slight angle to make the board fit. This can be accomplished by marking the board with your custom measurements using a chalk line, and then cutting along the chalk line mark.
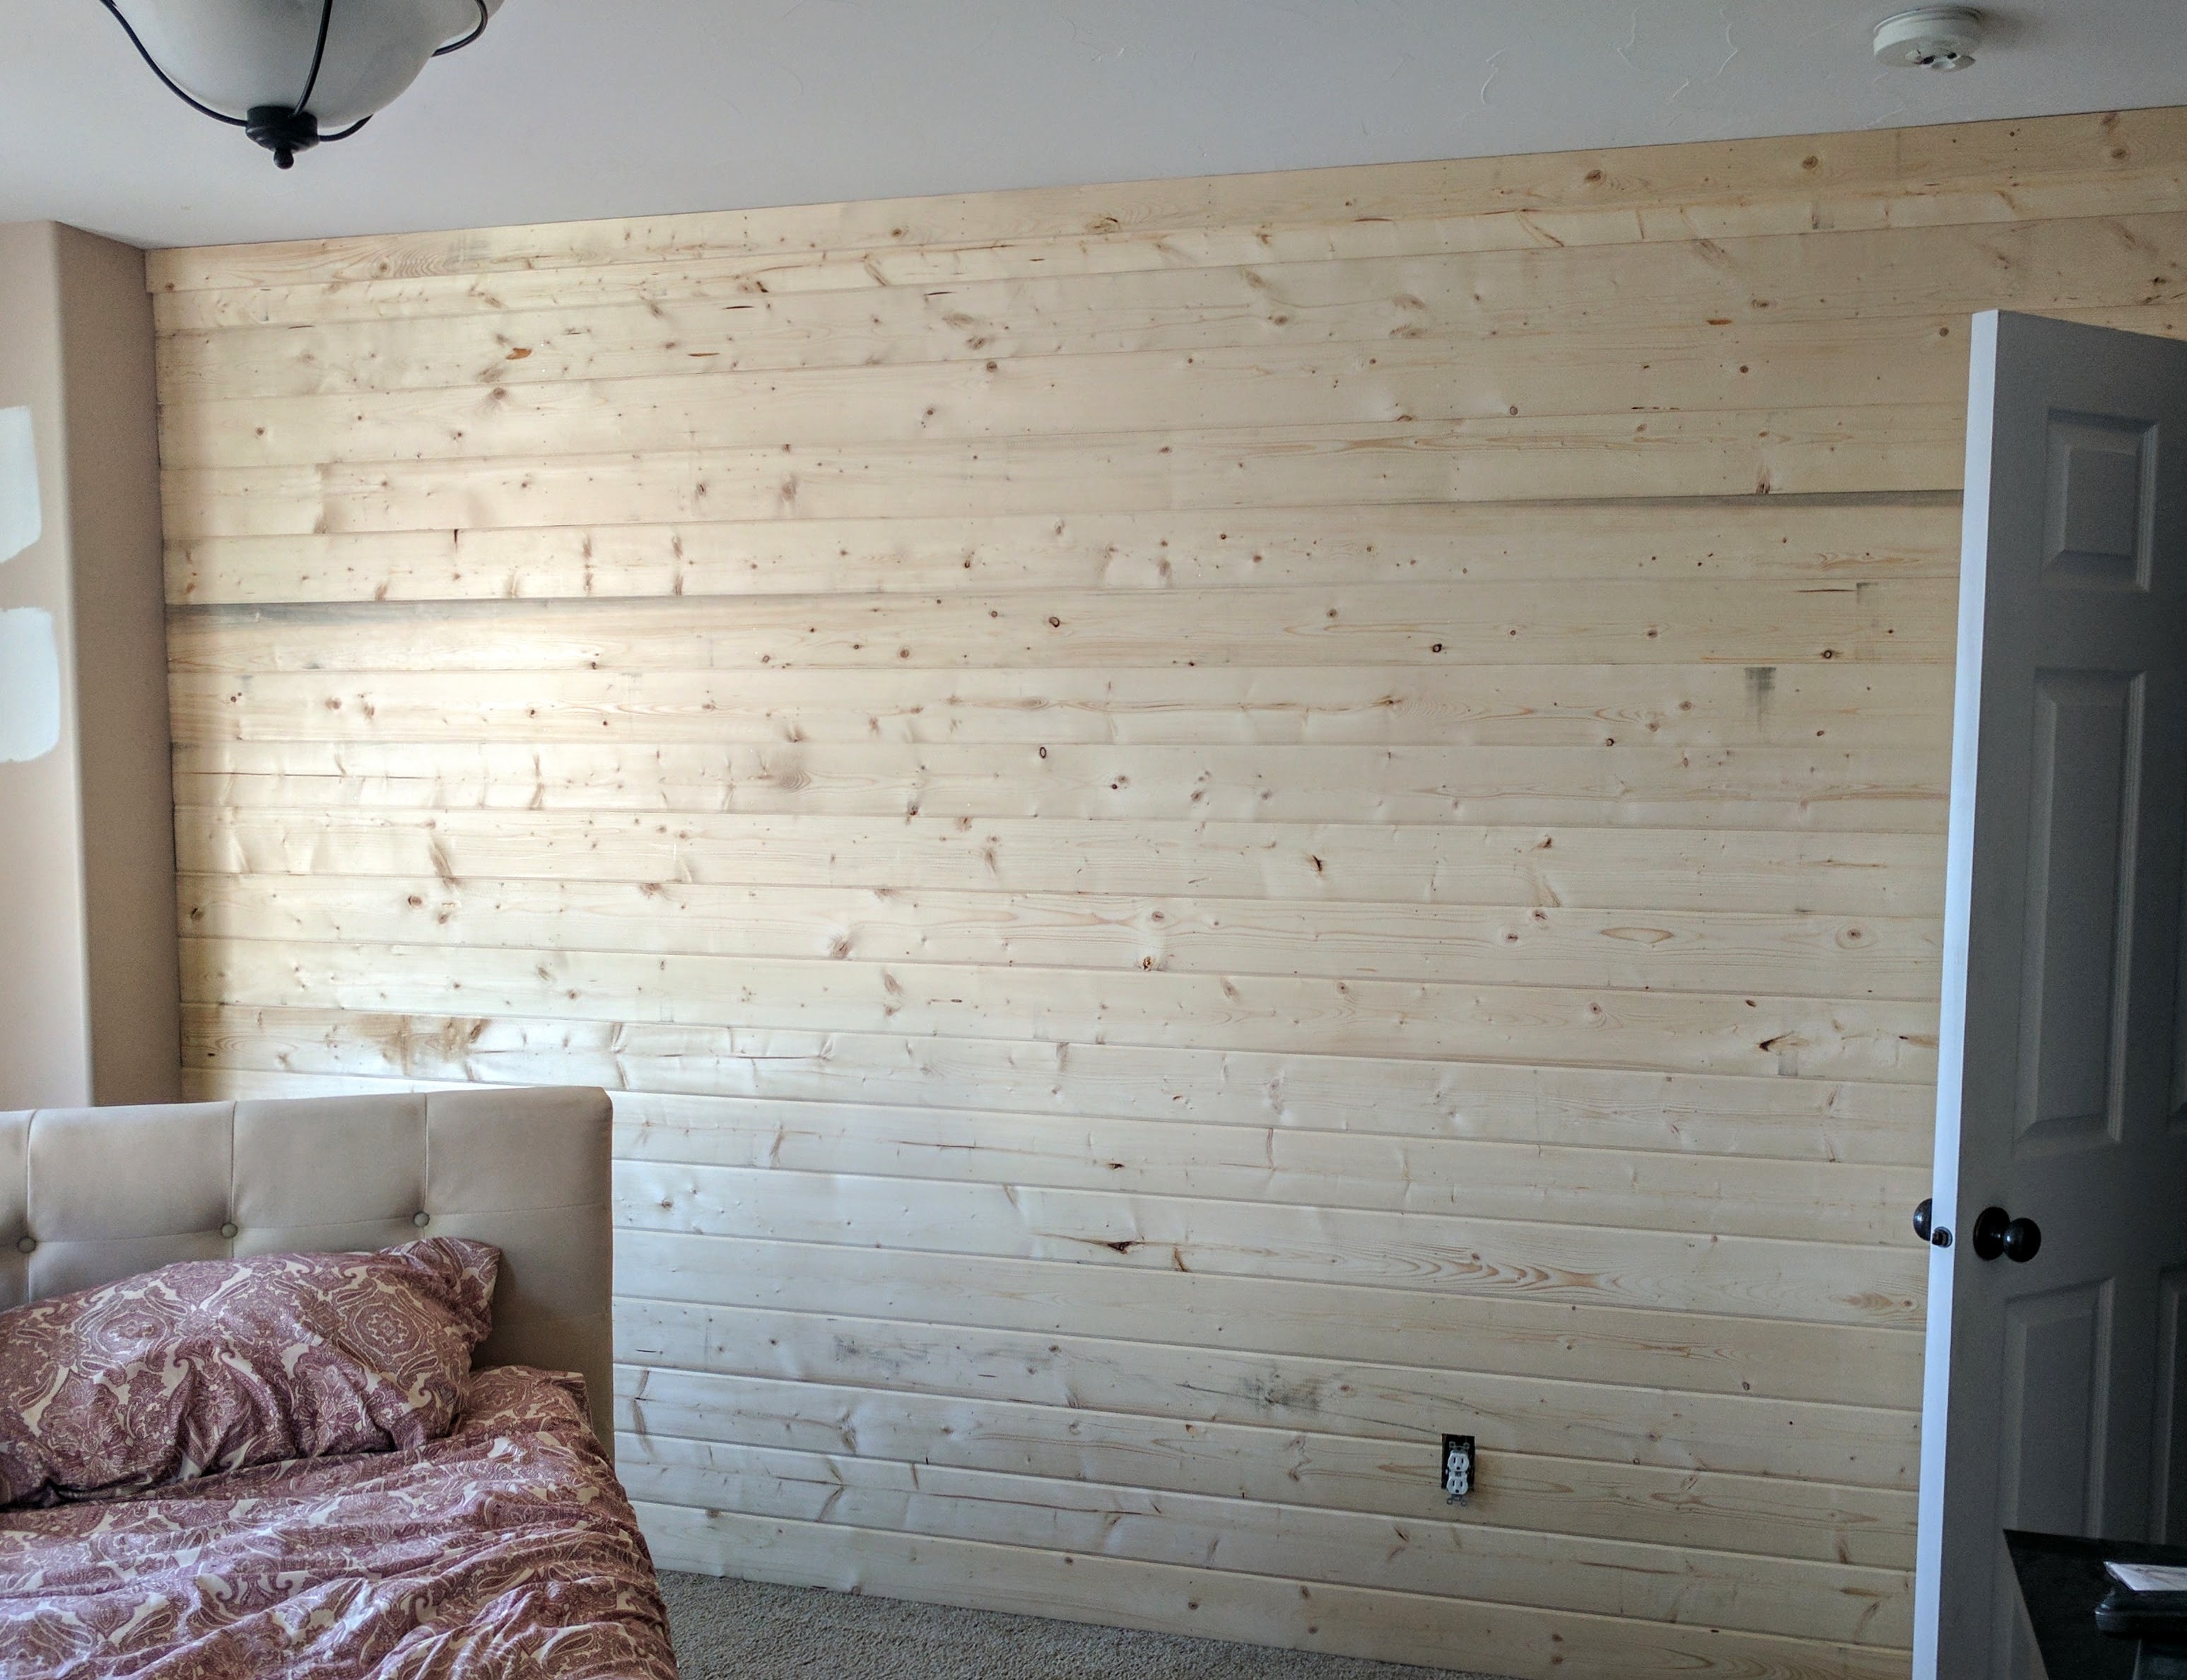
To add a nice finished look, we installed a 1″ x 4″ trim board at the top of the accent wall. You could also use a piece of actual trim, or crown moulding, depending on the exact look you’re going for.
Step 6: Apply Stain
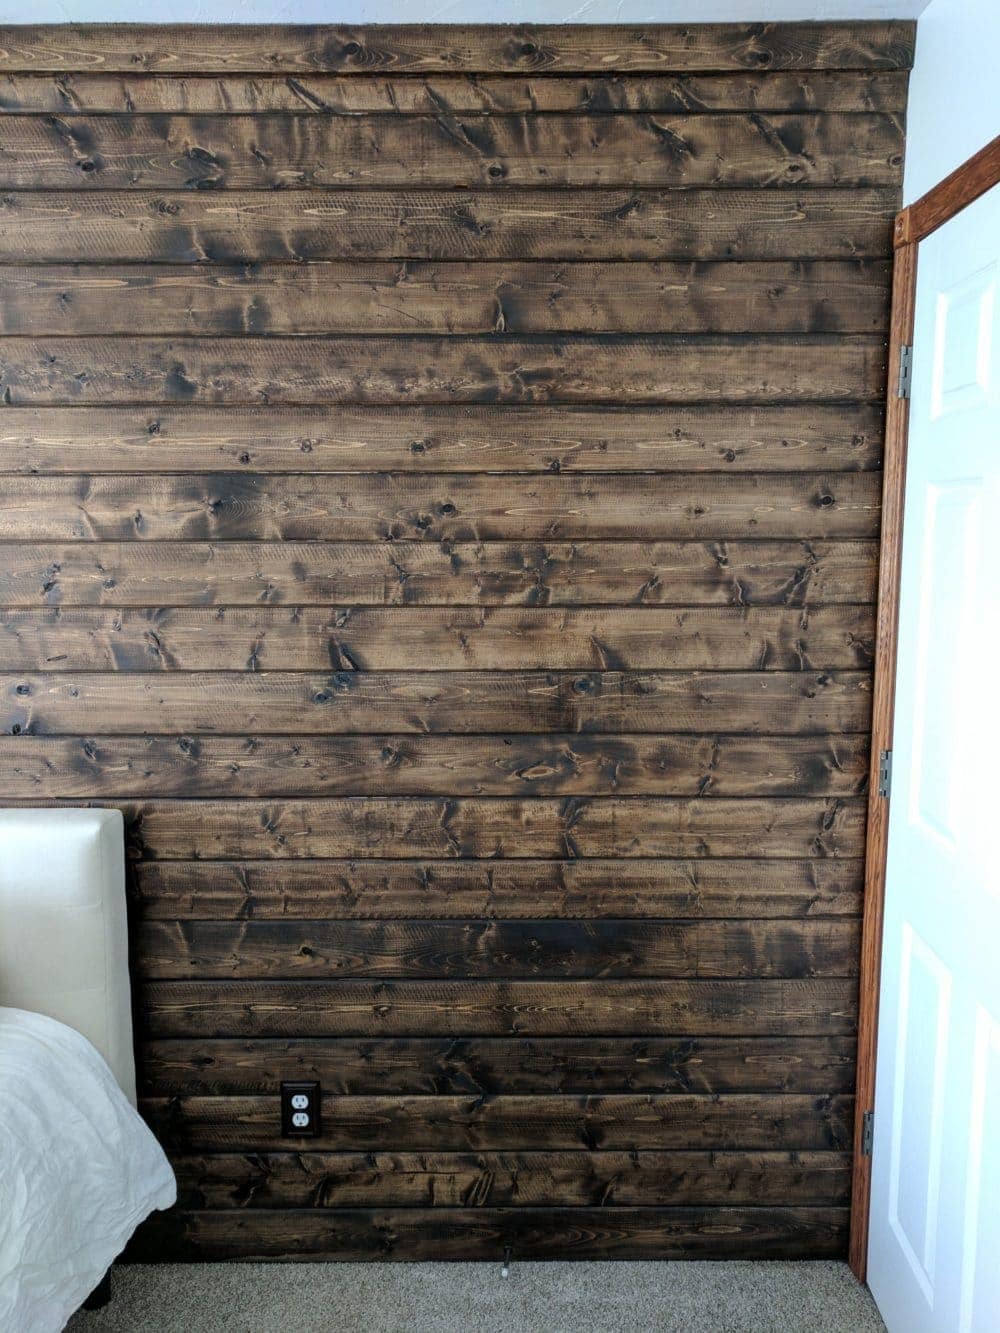
The next step was to apply stain to the wood accent wall. This part was my favorite. The rustic look I was going for started coming together in this step. I could now almost envision the finished product.
You can apply the stain before or after installing the wood accent wall – I chose to do it afterward. Mostly because we did this project during the winter and I didn’t want to be working in a freezing cold garage.
Although, if I could do it again, I would have braved the cold to avoid the strong odor in our bedroom! It took DAYS to fully air out. We ended up having to sleep in our guest room for a few nights while the smell from the stain and sealant was dissipating.
We used Miniwax Dark Walnut stain, but any color will work. This is your chance to get creative, so use whatever color you like best! Dark walnut is the same stain we used to finish our DIY distressed wood beam mantle.
Using a paintbrush, apply stain to your brand-new wood accent wall. Make sure to let it sit for a few minutes to let the wood soak up the stain. Once it has soaked into the wood, wipe off any excess. An old T-shirt or rag works great for this.
RELATED: Easy DIY Blanket Ladder Step-By-Step Guide
Step 7: Sealing The Wood
After your stain is dry, go back and apply 1 – 2 coats of sealant to protect the wood. I used Miniwax Wipe-on Poly Finish Clear and ended up doing two coats, just to be safe.
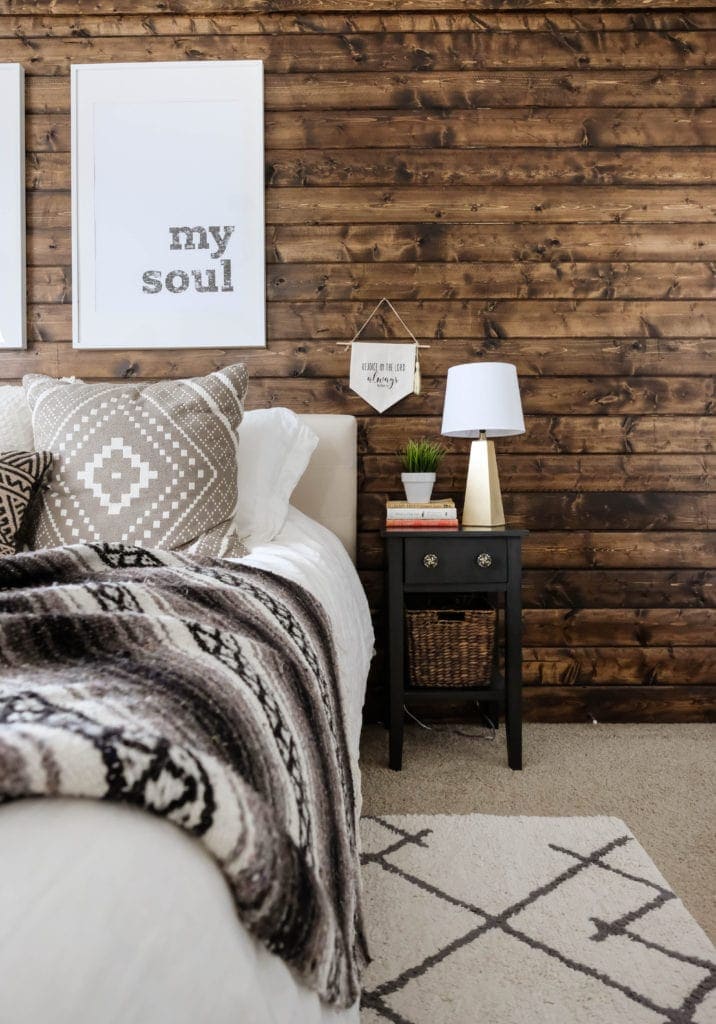
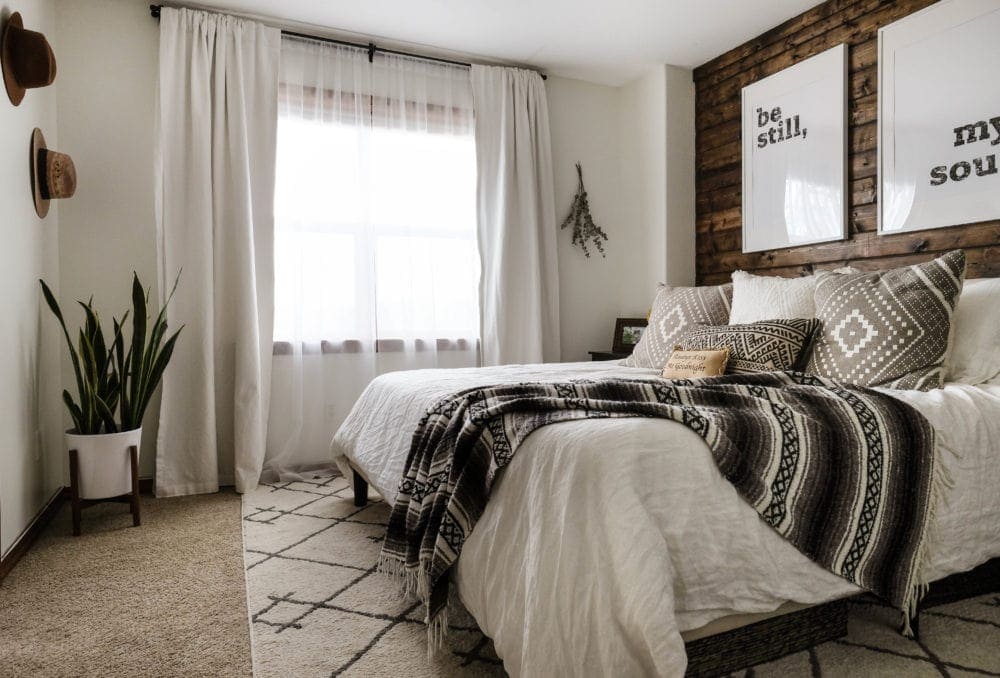
Once the sealant dries, you can stand back and admire your brand new beautiful wood accent wall.
Related: How to Style a Modern Farmhouse Guest Bedroom
There you have it! This wood plank accent wall project was so simple, yet made a BIG impact! See the full reveal of our rustic master bedroom for all the decor sources!
To see how these wood planks look when painted white, head over to our budget kitchen makeover reveal next!
Want my A-to-Z blueprint on how to design a room that’s beautiful and stylish?
