How To Hang Things On RV Walls | Pictures, Shelves & More!

We’ll show you how to install things on RV walls – whether it’s light or heavy, there’s a perfect solution for you! For lighter things like pictures, you can use an adhesive product that will not damage the walls, but for heavier items like shelving, you’ll want to use anchors and screws.
This article is available in video format below, or if you prefer the written tutorial, keep scrolling, and let’s get started!
There’s a few different ways to mount things on RV walls that work really well. In the first section will cover some adhesive options. Adhesives work well for lighter items, but they have their limits.
This site uses ads and affiliate content as an Amazon associate earning on qualifying purchases. Disclosure.
If you need to install anything heavier than a small picture frame, anchors and screws are the way to go!
How To Hang Pictures on RV Walls
If you really want to avoid holes in your camper walls, 3M Command Strips are the best, strongest adhesive product around. I’ve personally used these Command Strips many times, in both of our RVs, and they always work well.
3M Command Strips are designed with hooks & loops (similar to velcro). The strips should be installed at the top AND bottom of a picture frame so that it stays securely mounted to the wall while traveling. Before installing, make sure to clean the wall and the frame to ensure good adhesion.
While this method does work extremely well, it has its limitations. It will only work well with light weight items, and the strips can fail over time (especially if your RV is not climate-controlled year-round and is subjected to extreme temperature variations).
For heavier items, or to go with more secure mounting method that isn’t sensitive to time or temperature, use RV wall anchors!
How To Hang Heavy Things On RV Walls
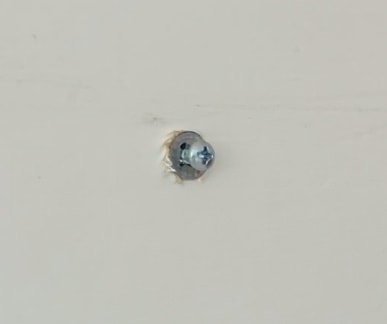
Moderately heavy things can be hung on RV walls when fastened properly. Just like the walls in your home, they’re constructed with studs.
Fastening directly to a stud in the wall is the strongest, most secure method. However, finding studs in RV walls can sometimes be challenging.
To find a stud in an RV wall, a high quality stud finder is the most reliable method. Using wall anchors is the next best thing.
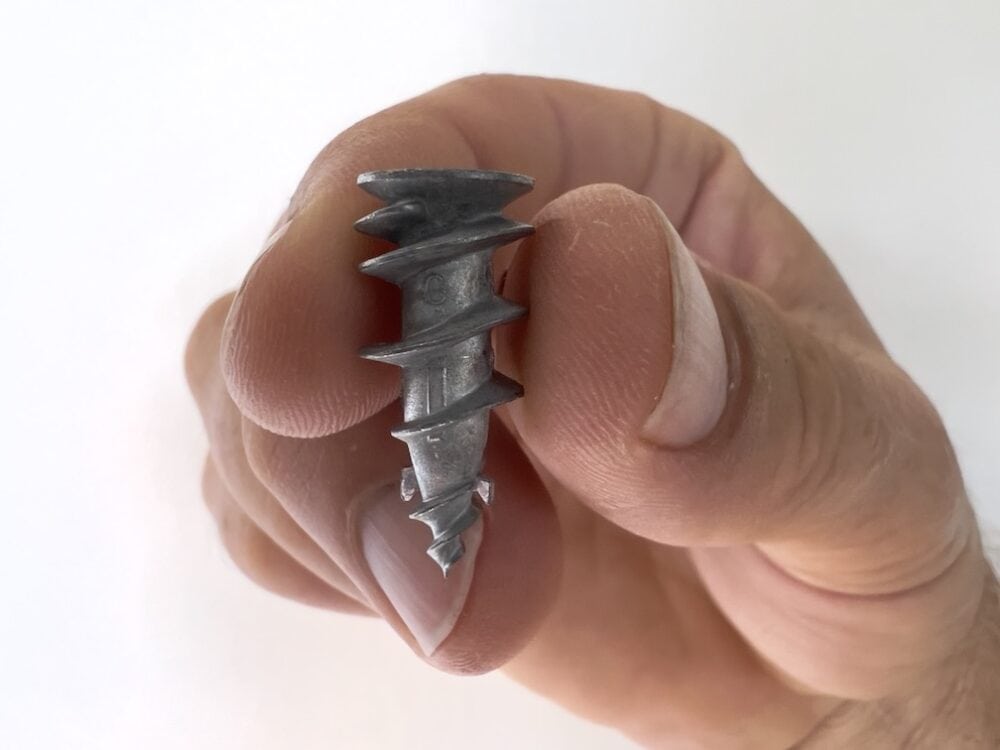
Hollow door anchors √ are perfect for use in RVs and they are quite strong as well. They’re designed to be installed in a hollow door, which is similar to an RV wall panel.
The anchors can easily be screwed into the wall using either a drill, or a simple screwdriver will work as well.
Most RV Walls are only about 2.5″ thick. I recommend using a screw 1″ or shorter to ensure the screw will not go all the way through!
A scenario can arise where you are trying install an anchor, and you don’t realize it, but there is a stud in that location. The anchor will drill through the outer layer of wood on the wall, but then hit the stud and spin, unable to progress further.
If this happens, you can fasten directly to the stud (no anchor required). To do this, start by drilling a small pilot hole using a metal drill bit, and then install a sheet metal screw. You can use the same screws that come with your hollow door anchor kit (just without the anchor).
Can you put screws in RV walls?
Yes! You can definitely install screws in RV walls, but some caution should be used. Most RV walls are only about 2.5″ thick. I recommend using a screw that is 1″ or shorter to ensure the screw will not go all the way through!
What Screws Can I Use In RV Walls?
The interior walls of an RV are made using a thin layer of plywood-mounted metal studs (some older RV’s used wood studs.
This thin layer of plywood works perfectly with wood screws. One consideration is that the plywood thin and it’s not particularly strong.
Any wood screw should work (provided it isn’t too long), but my preferred style is a #12 x 3/4″ wood screw.
Thanks for reading! If you liked this you might be interested in: RV Remodel Ideas & Tips | 9 Projects To Transform Your RV


