RV Kitchen Remodel Reveal
Remodeling An RV Kitchen – Before And After
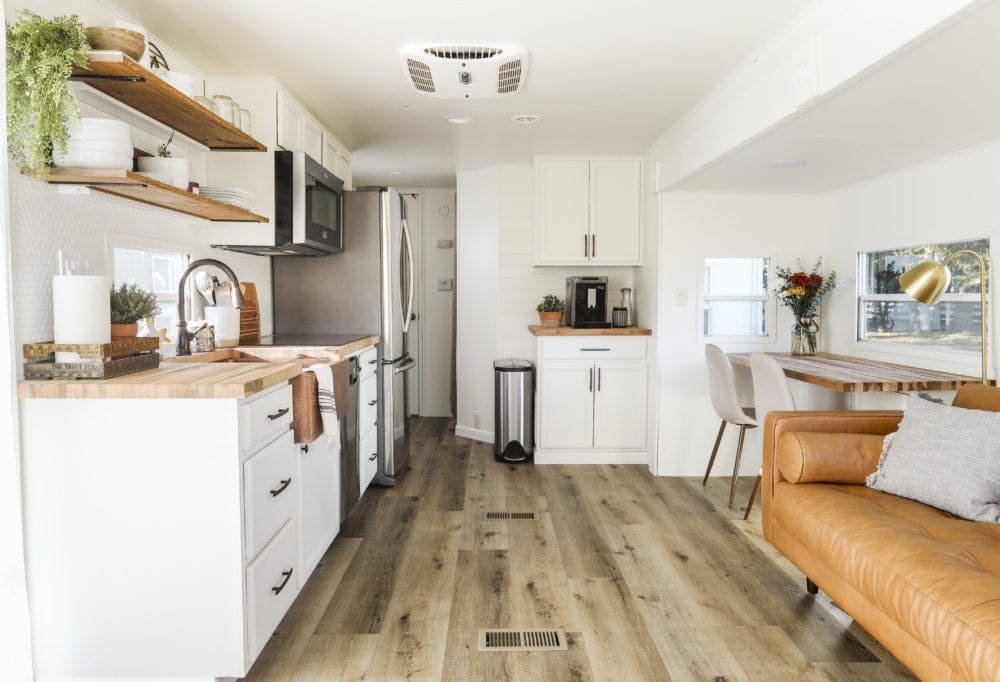
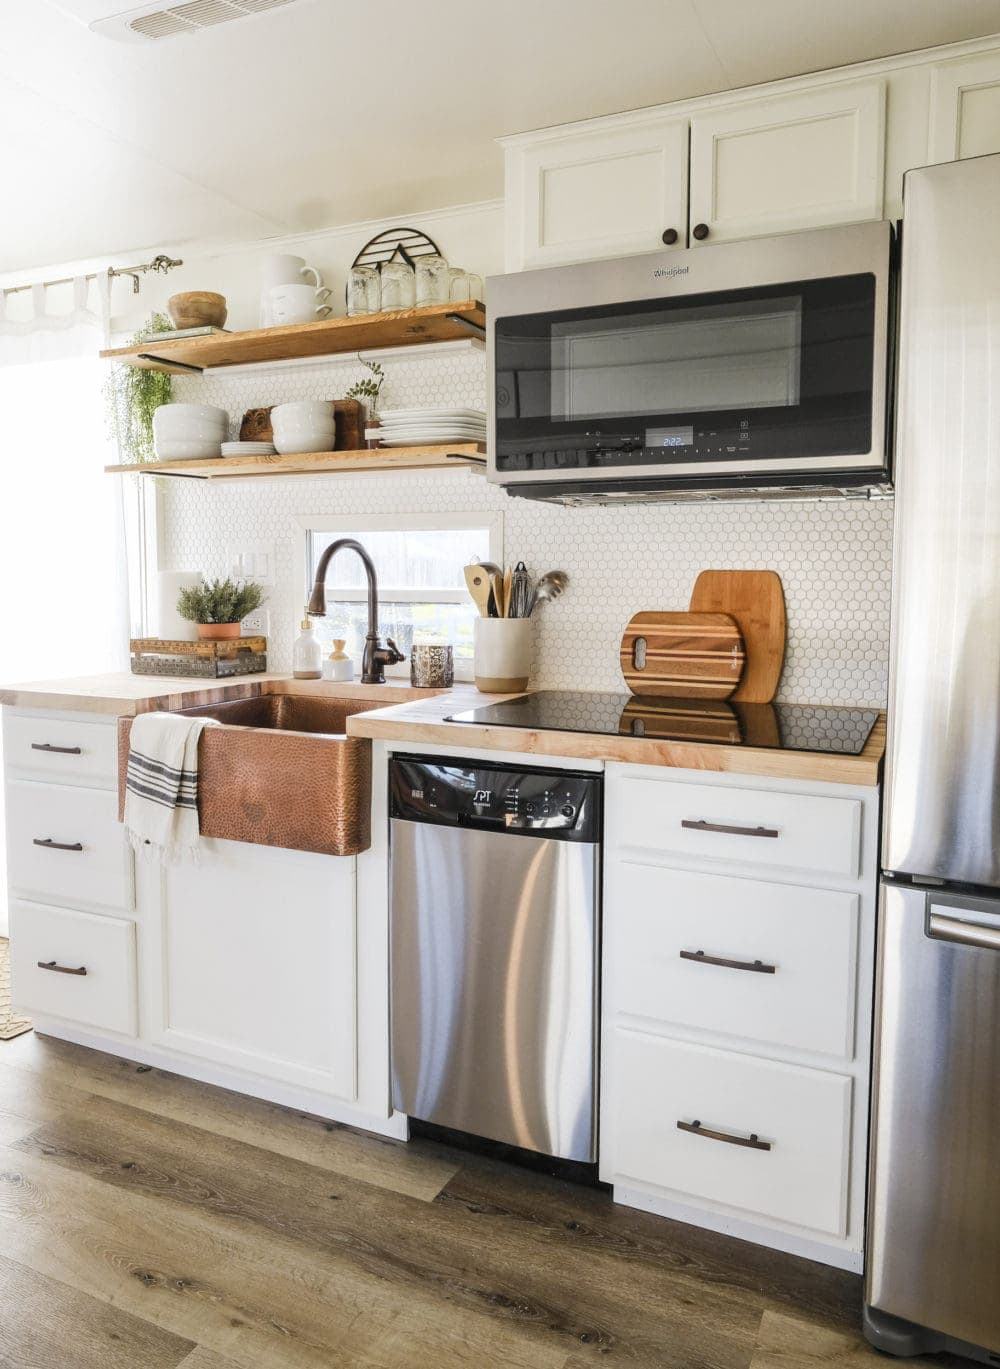
Come on in and tour our RV kitchen remodel. The renovation features new cabinets, a beautiful copper farmhouse-style sink, hexagon tile backsplash, butcher block countertops, all new appliances, and open shelving! You won’t believe we fit all this in a camper!
Welcome to our RV kitchen remodel! We’re sharing all of the details about the projects that went into this RV kitchen remodel.
If you’ve been thinking about renovating a RV, we hope that you’ll find some ideas and inspiration from our renovation.
This site uses ads and affiliate content as an Amazon associate earning on qualifying purchases. Disclosure.
This kitchen in this RV was 100% gutted so that we could do a clean sheet redesign. We wanted an open concept floor plan, and residential appliances to ensure that the trailer would hold to full time living.
A special thanks to Urban Floor, Sinkology and Cascade Iron Co. for providing products for this RV kitchen makeover.
I have been sharing the progress of this RV kitchen makeover on my Instagram stories (be sure to follow me over there for daily updates and to see behind the scenes), and I am SO excited to finally be revealing this RV kitchen here on the blog! Yay!
Note: all sources are listed at the bottom of the post!
Pssstttt.. Thinking of doing an RV renovation yourself? Download this handy checklist to make sure you avoid missing these common RV mistakes!
RV Kitchen Renovation Before and After
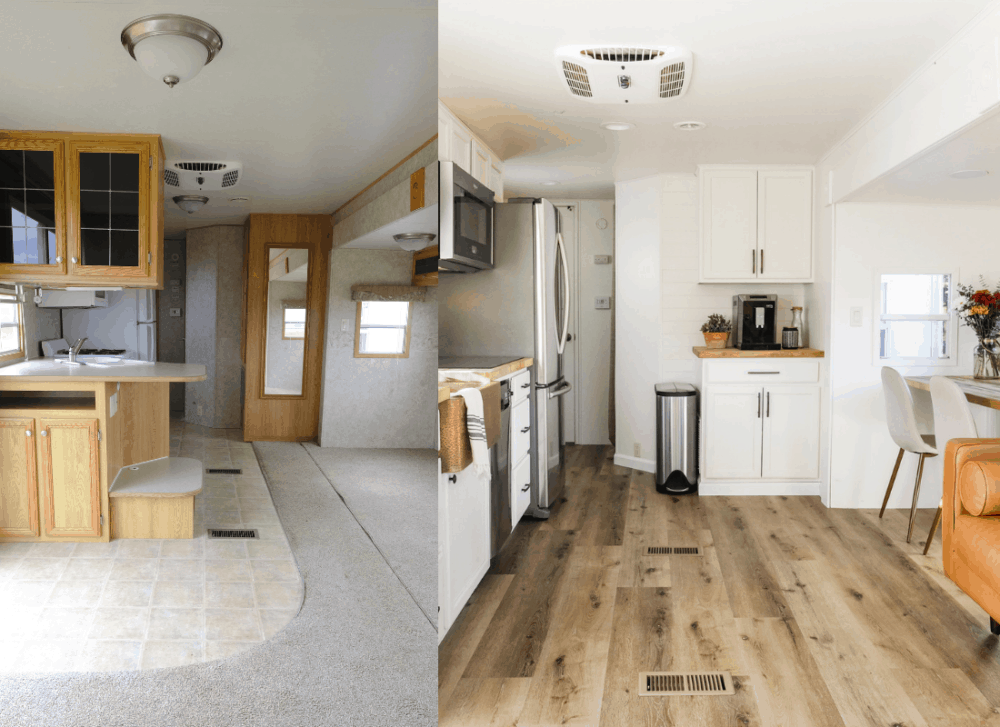
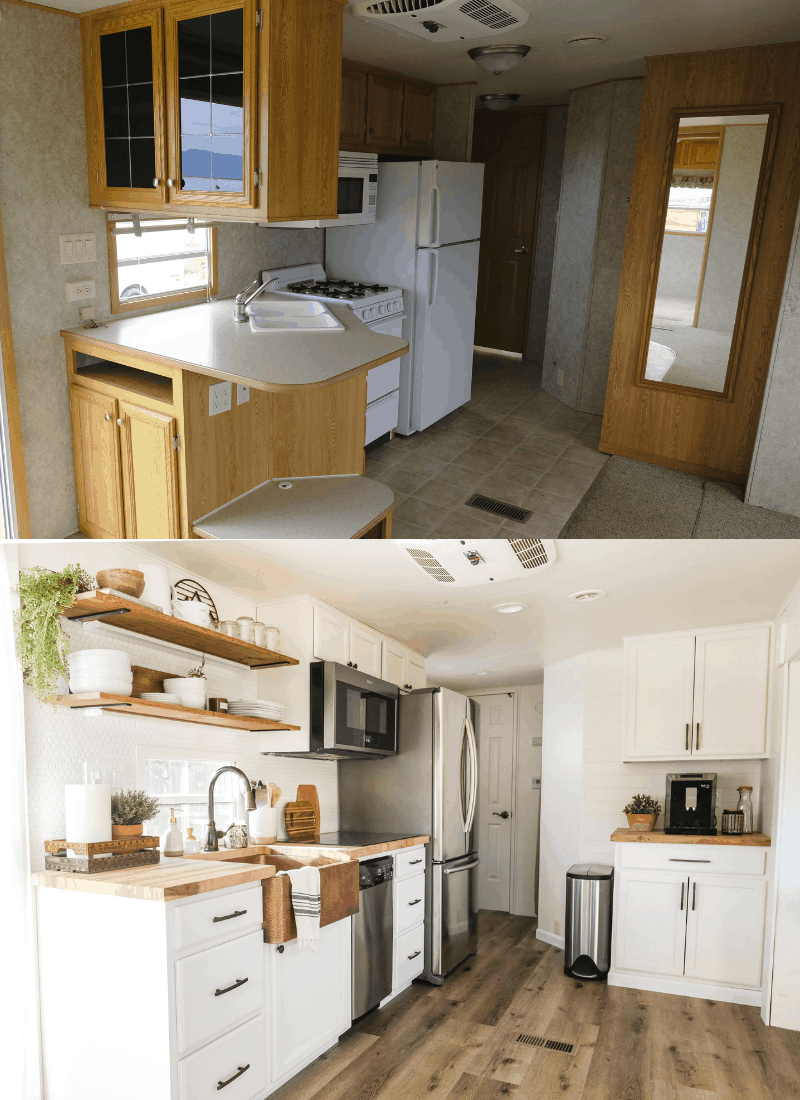
If you can believe it, this is what the RV kitchen looked like before the remodel.
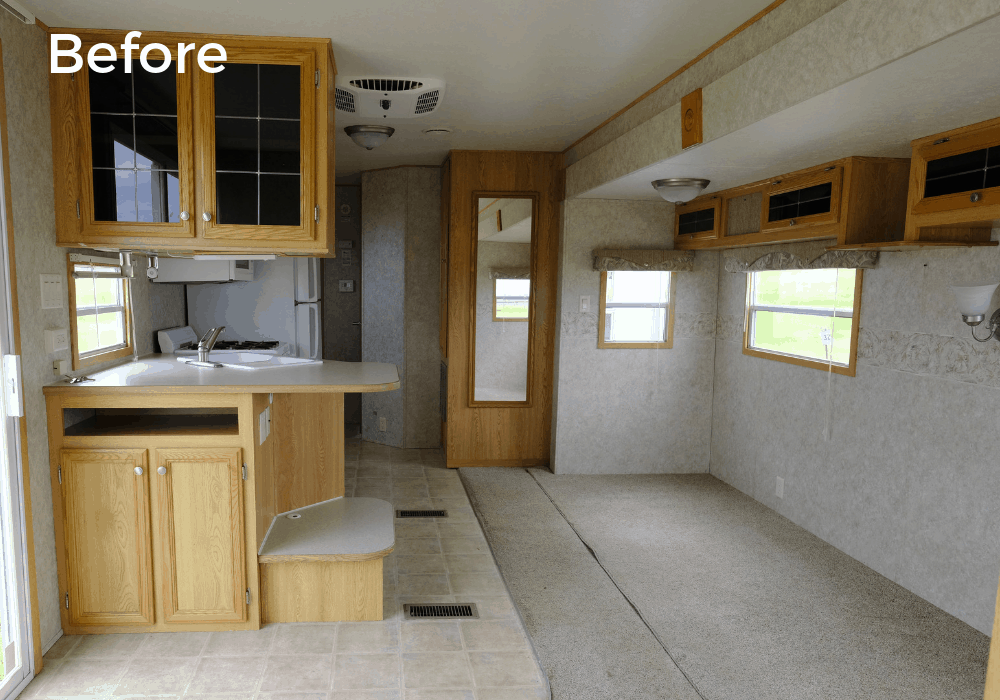
The layout wasn’t very functional, especially in the kitchen. When you walked in the front door, large upper cabinets intruded into the middle of the kitchen making everything feel bulky and cramped.
New cabinets were a must because the existing cabinetry was not in good condition; only half of the drawer slides functioned properly. The kitchen sink was angled out into the middle of the room at a 45 degree angle. This make the cabinets and countertops way deeper than necessary.
And why is there a huge void under the countertops? That wasted space under the countertop originally housed an old school CRT television, which was apparently still a thing in 2005.
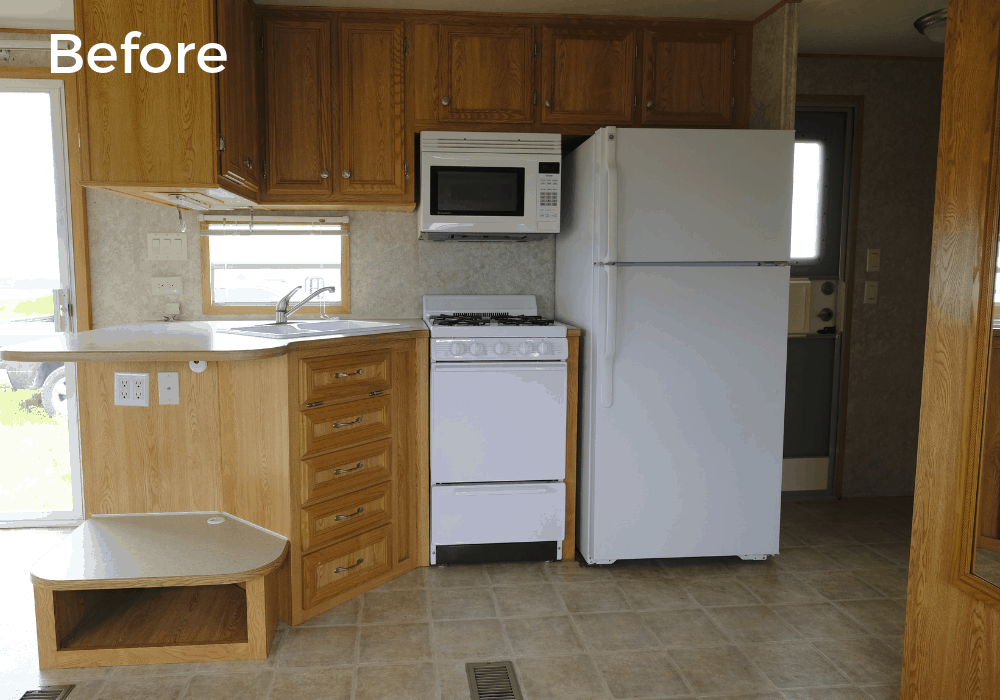
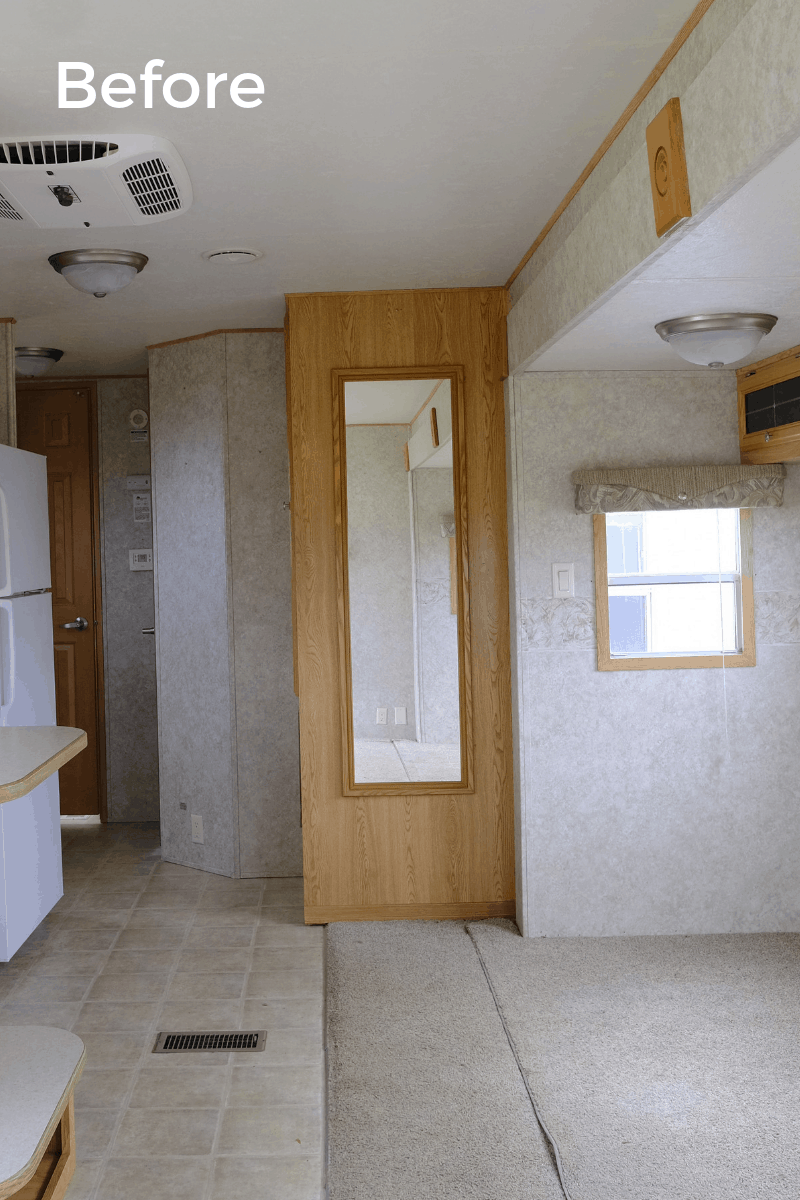
Across from the fridge is where the floor to ceiling pantry used to be. The pantry had a single door that opened toward the kitchen area. The bottom half of the cabinet housed the furnace, and a large water heater tank, so there wasn’t very much storage space available.
Everyone hates running out of hot water in the shower after only 5 minutes, so we knew RV water heater tank needed to be removed in favor of a tankless! Unlimited hot water would be a welcome upgrade.
Related: Why We Chose to Live In An RV (Again!)
For an RV, this kitchen wasn’t the worst, but it was far from glamorous. We knew with a little creative design work, the layout could simplified, while adding more storage space AND making it pretty in the process.
Ready to see how we transformed this RV kitchen into a functional (and pretty!) space?
RV Kitchen Remodel (After!)
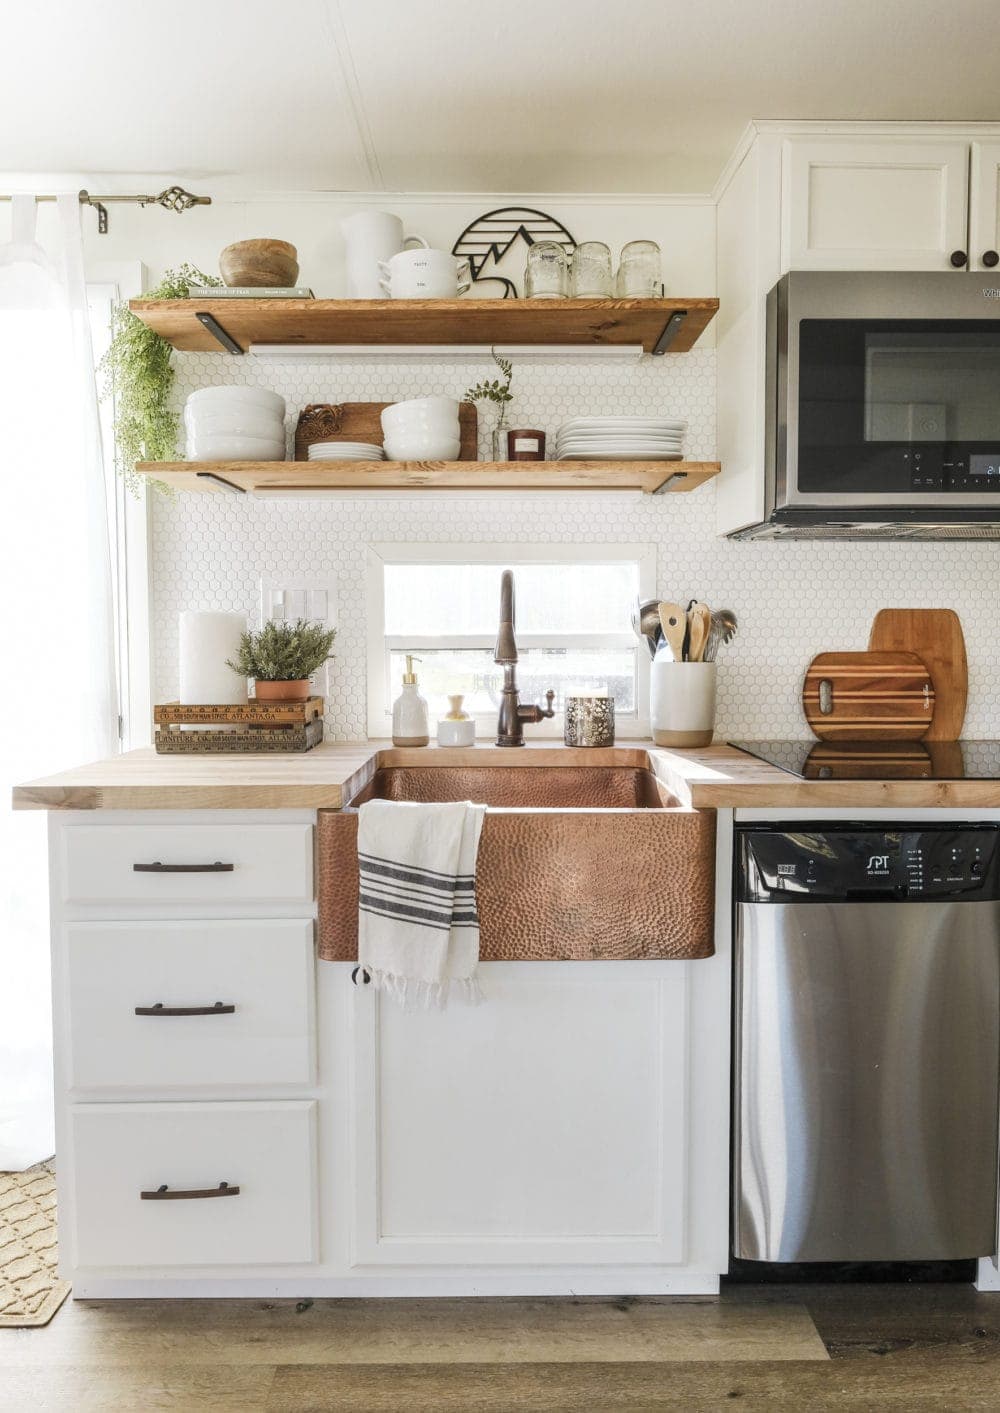
By simplifying the cabinet layout and adding open shelving, we were able to create a light and airy feel without compromising functionality. The new cabinets are much nicer, and more functional. In addition, they have much more storage space.
RV Kitchen Cabinets
Since we completely reworked the kitchen layout, all of the existing cabinets were removed and replaced with basic pre assembled cabinets. We purchased them unfinished and painted them ourselves so they blended perfectly with our white walls.
The cabinetry is standard residential units, not RV specific. After painting, we added soft close doors and drawers to the cabinets to make the kitchen feel a little more luxurious. See the tutorial here: How to install soft close cabinet hinges
We chose Sherwin Williams Alabaster for all of the white paint used in the RV. (Check out our tips for painting the interior of an RV here!)
Related: How to Choose the Best White Paint Color for Your Space
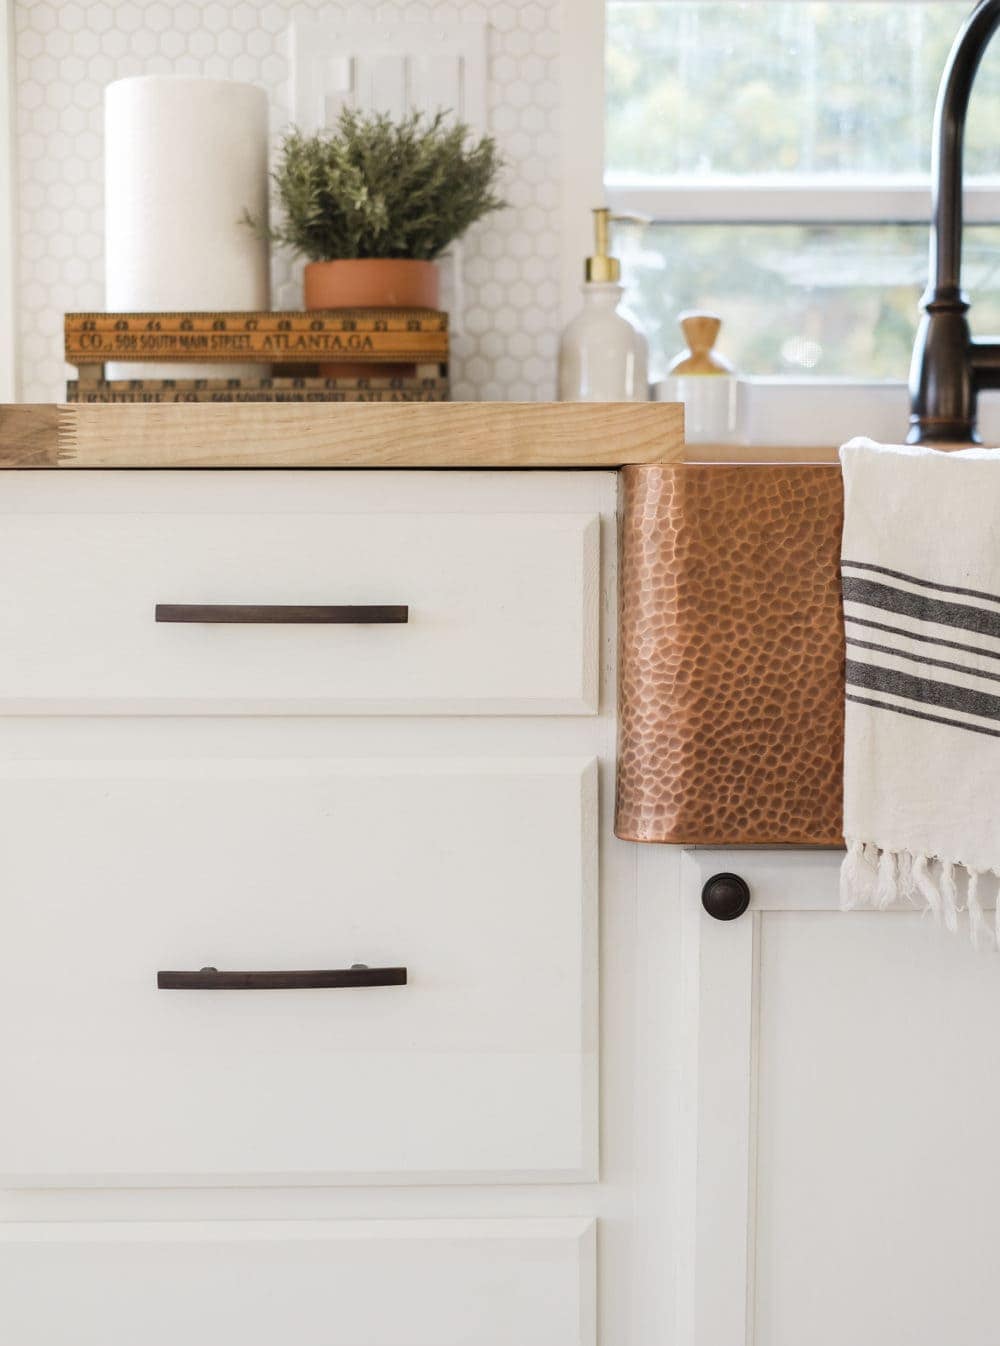
We added some modern bronze pulls to the cabinets to give them a finished look.
RV Kitchen Sink
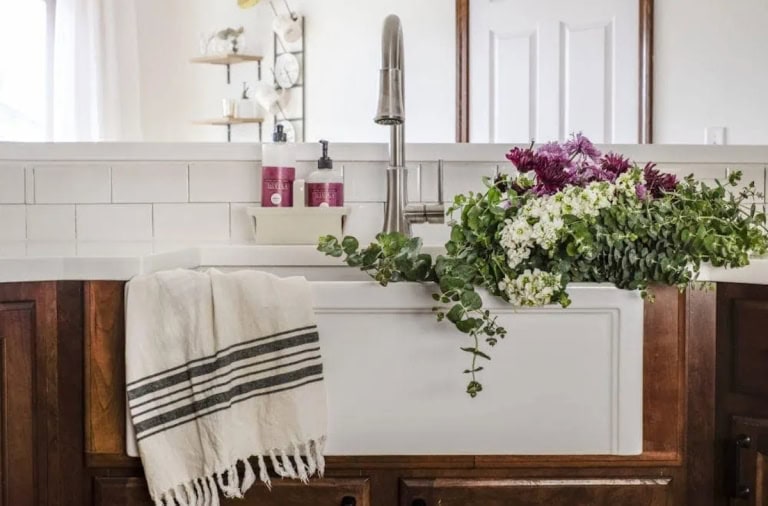
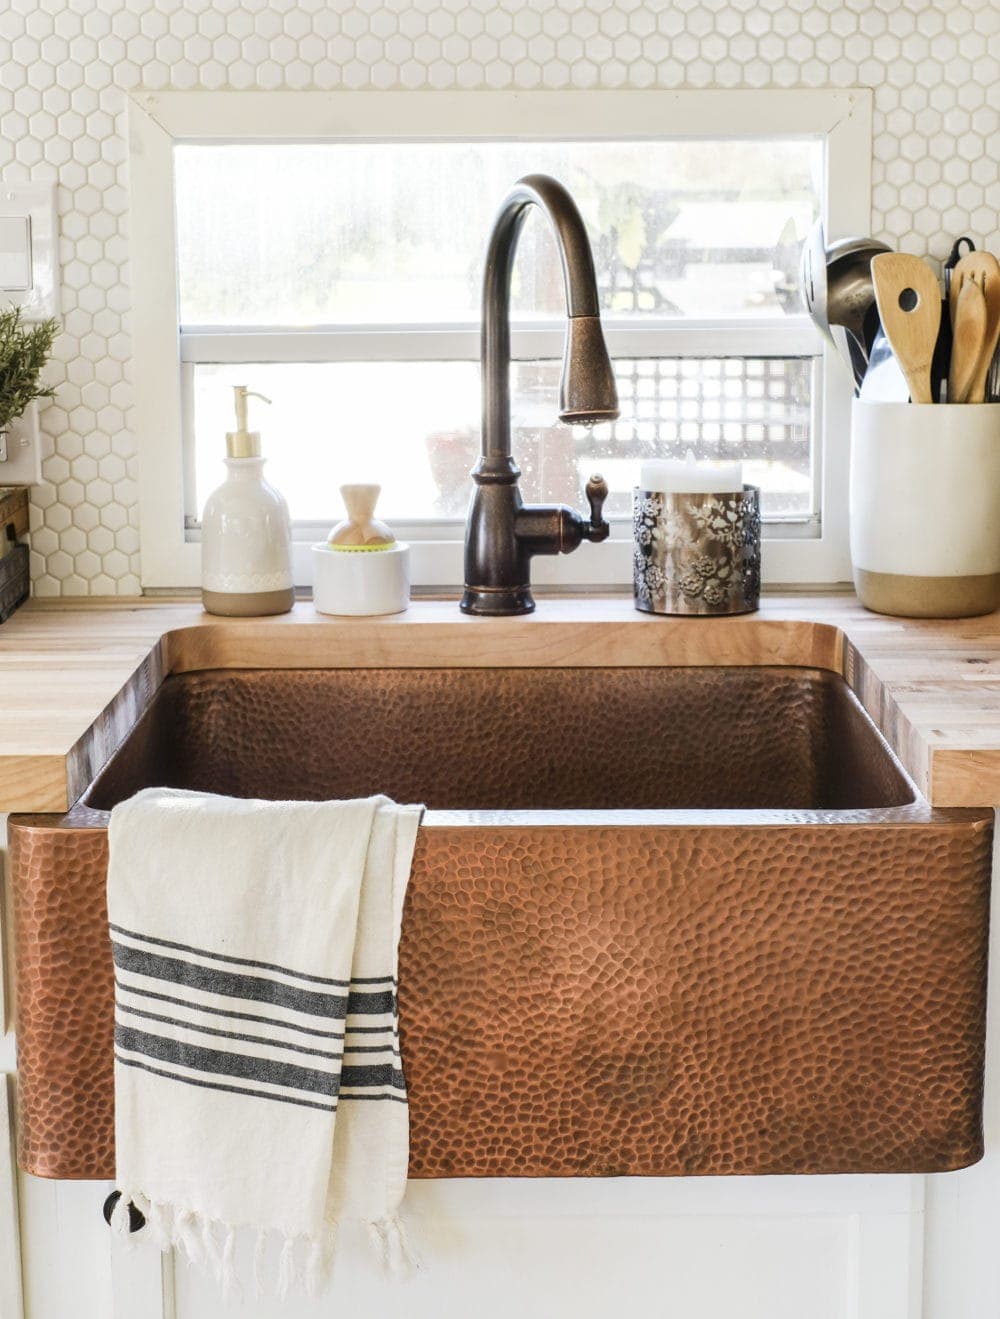
We were so excited to work with Sinkology again, and this time we decided to go with one of their signature copper sinks. (You can see the first farmhouse kitchen sink that we installed in our old house here.)
Since we chose white cabinets for our RV kitchen makeover, I was excited to add a pop of rich color to the space with a copper sink. And boy does this beauty pop!
GET THE LOOK
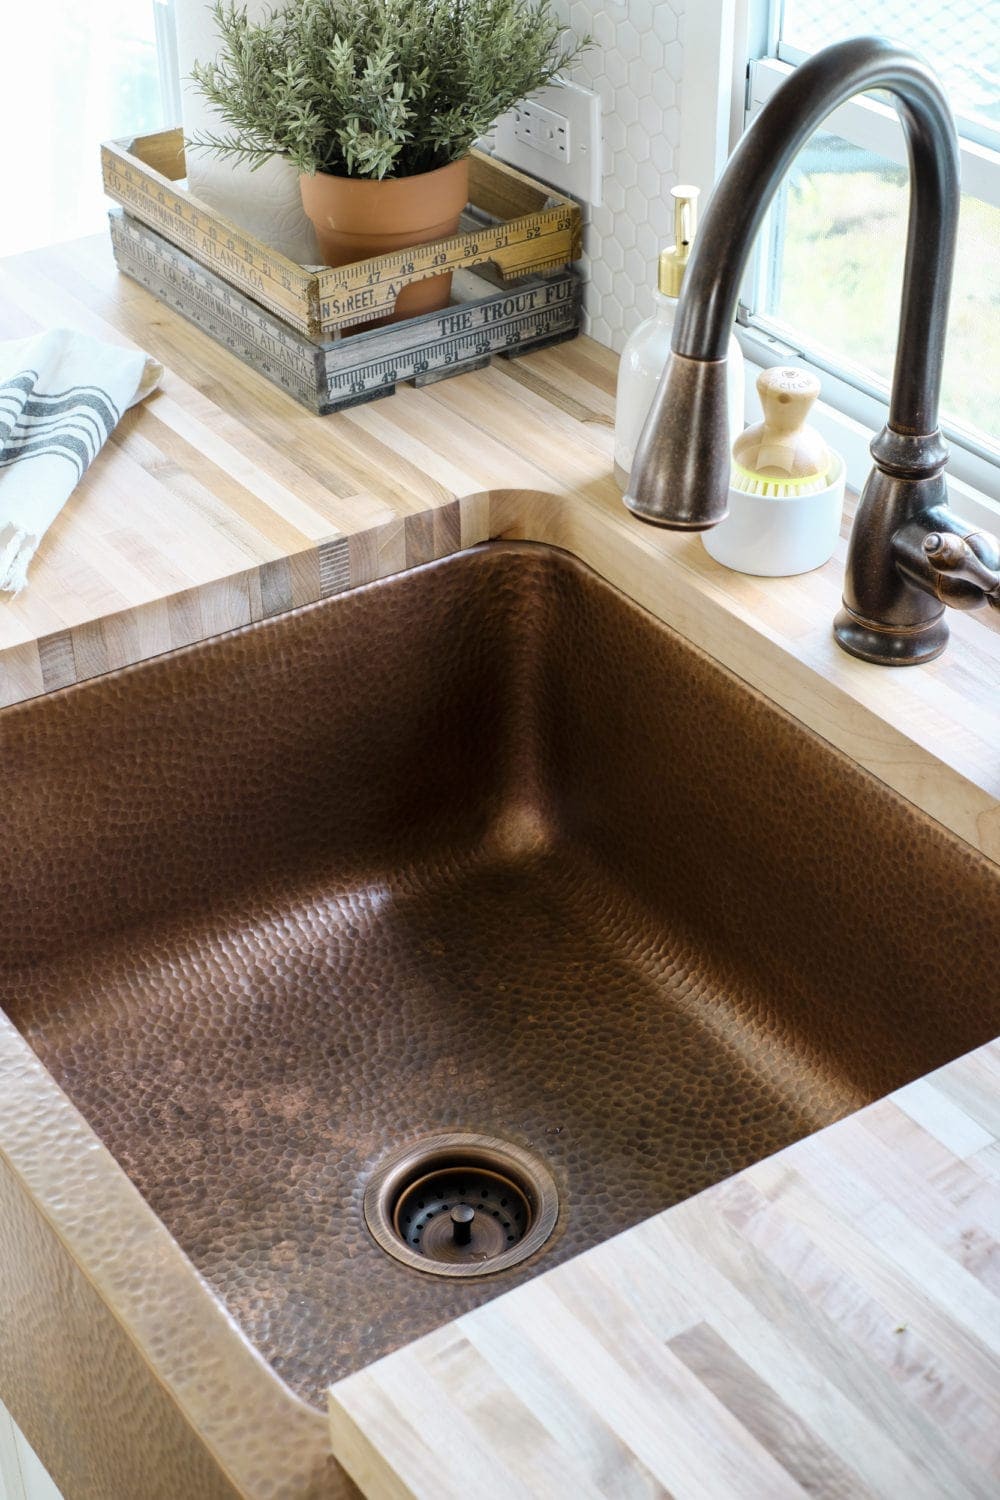
We picked the all-in-one kit that came with a gorgeous Pfister faucet in antique bronze. The high goose-neck design makes it super easy to rinse dishes and easily spray out the sink.
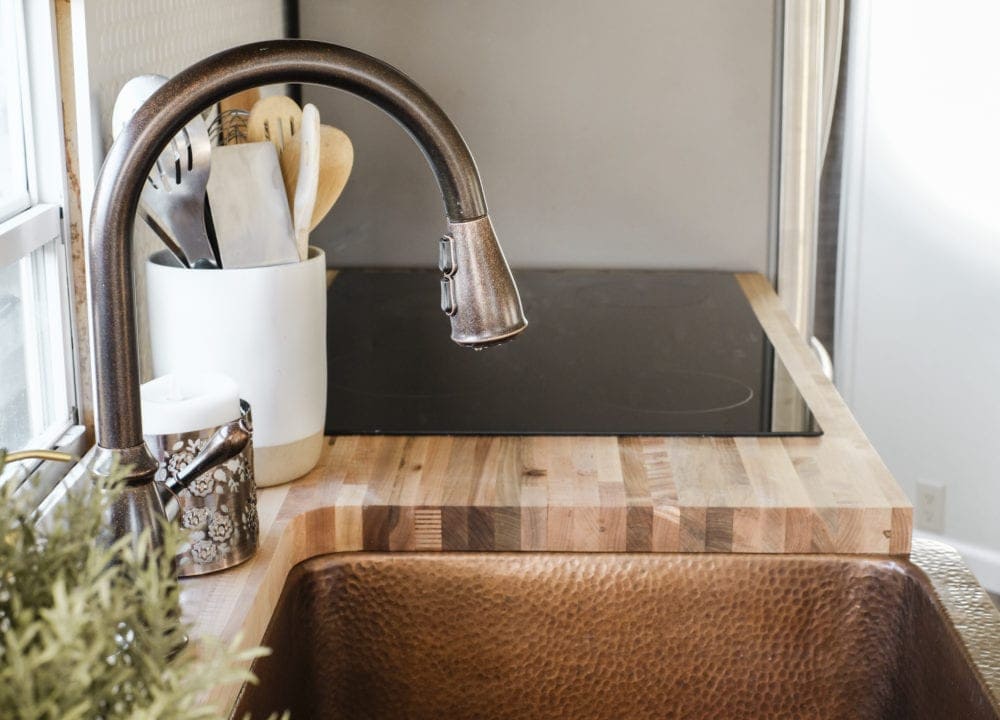
We have been using the sink for about a month now and are completely obsessed! This was a MAJOR upgrade from the tiny shallow RV sink.
Related: How to Install A Farmhouse Sink – A DIY Tutorial
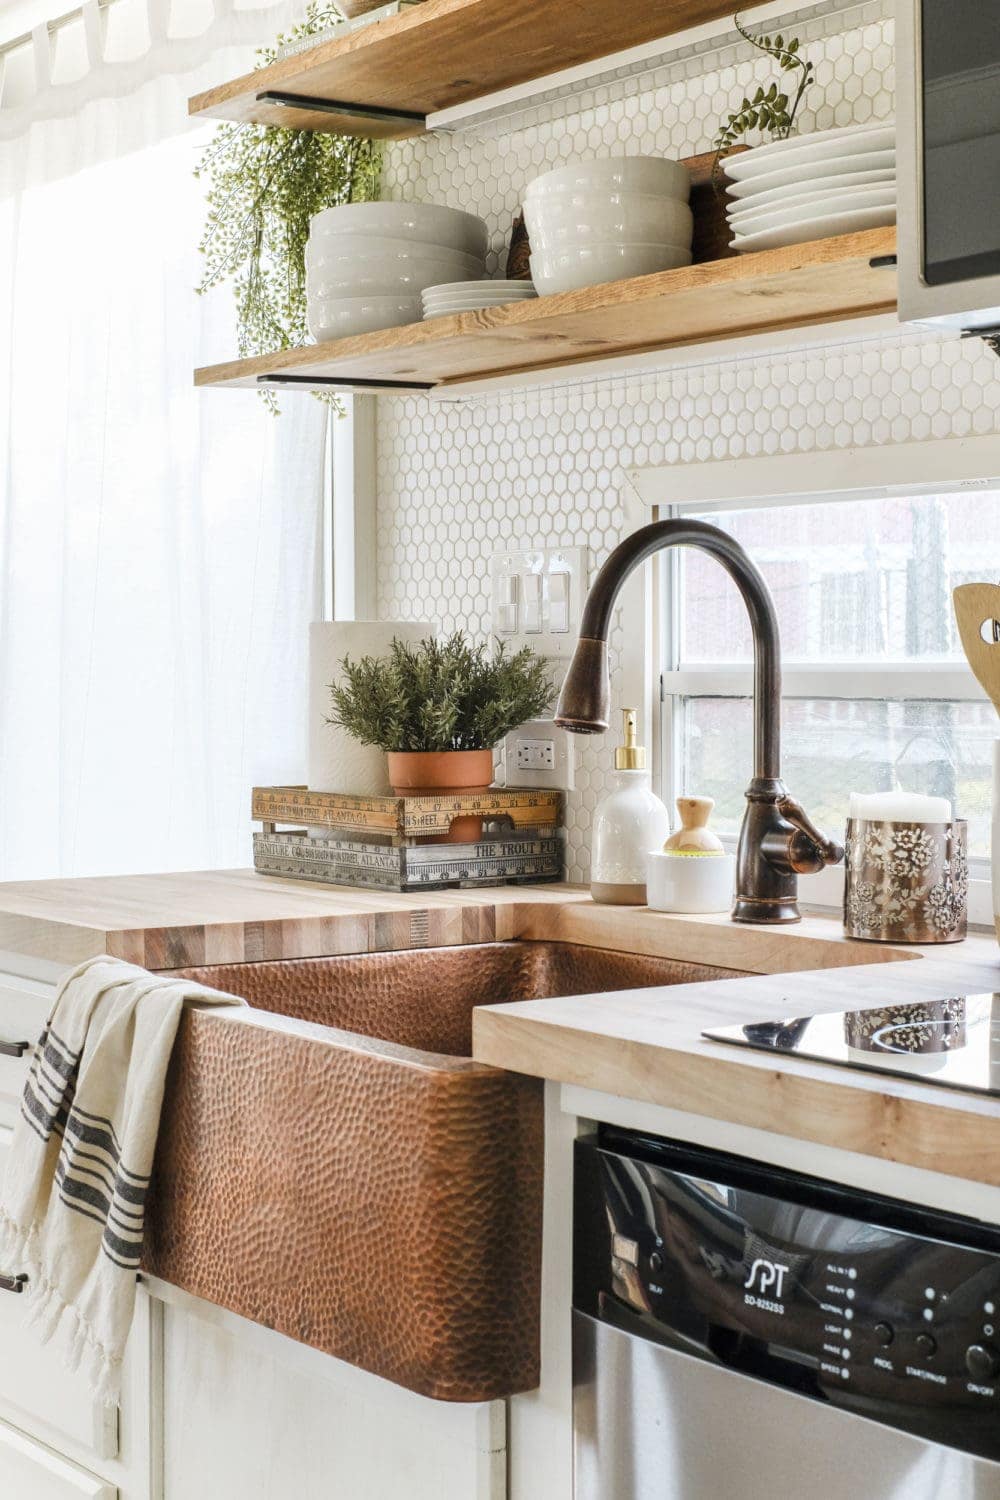
It’s already starting to get a beautiful patina in some spots which I love! While some people view the natural discoloration that happens with copper as a negative thing, I love the unique one-of-a-kind story it tells.
With proper care, copper only gets better with age!
RV Butcher Block Countertops
One of my goals with this RV kitchen remodel was to step out of my comfort zone and make design choices I may not otherwise choose. Our butcher block countertops was one of these choices.
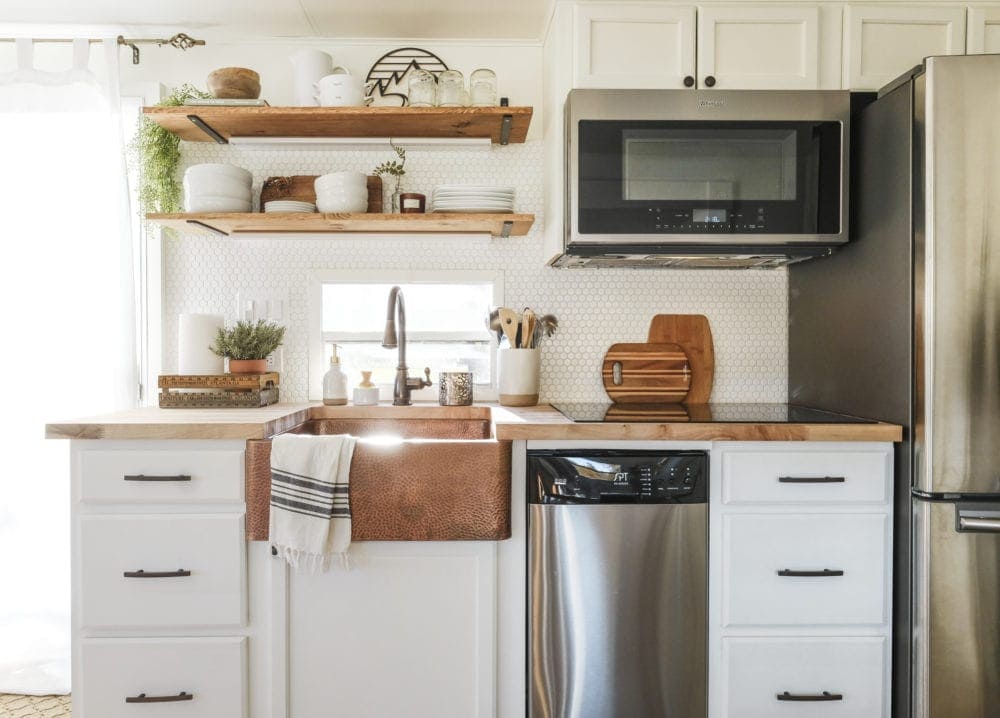
I’ve always LOVED the look of butcher block in the kitchen with it’s warm natural tones. But keeping up with the maintenance has always scared me!
So far, the maintenance hasn’t been too bad. We keep them sealed with butcher block oil and are extra mindful to use coasters and trivets whenever necessary. I plan to do a full review with my thoughts on whether or not I’d do it again after living with them for a few months.
I’ll keep you posted!
RV Appliances
Since we chose a park model RV, we were able to install full residential-style appliances. We replaced the original fridge with a stainless steel french door model that also has a full freezer.
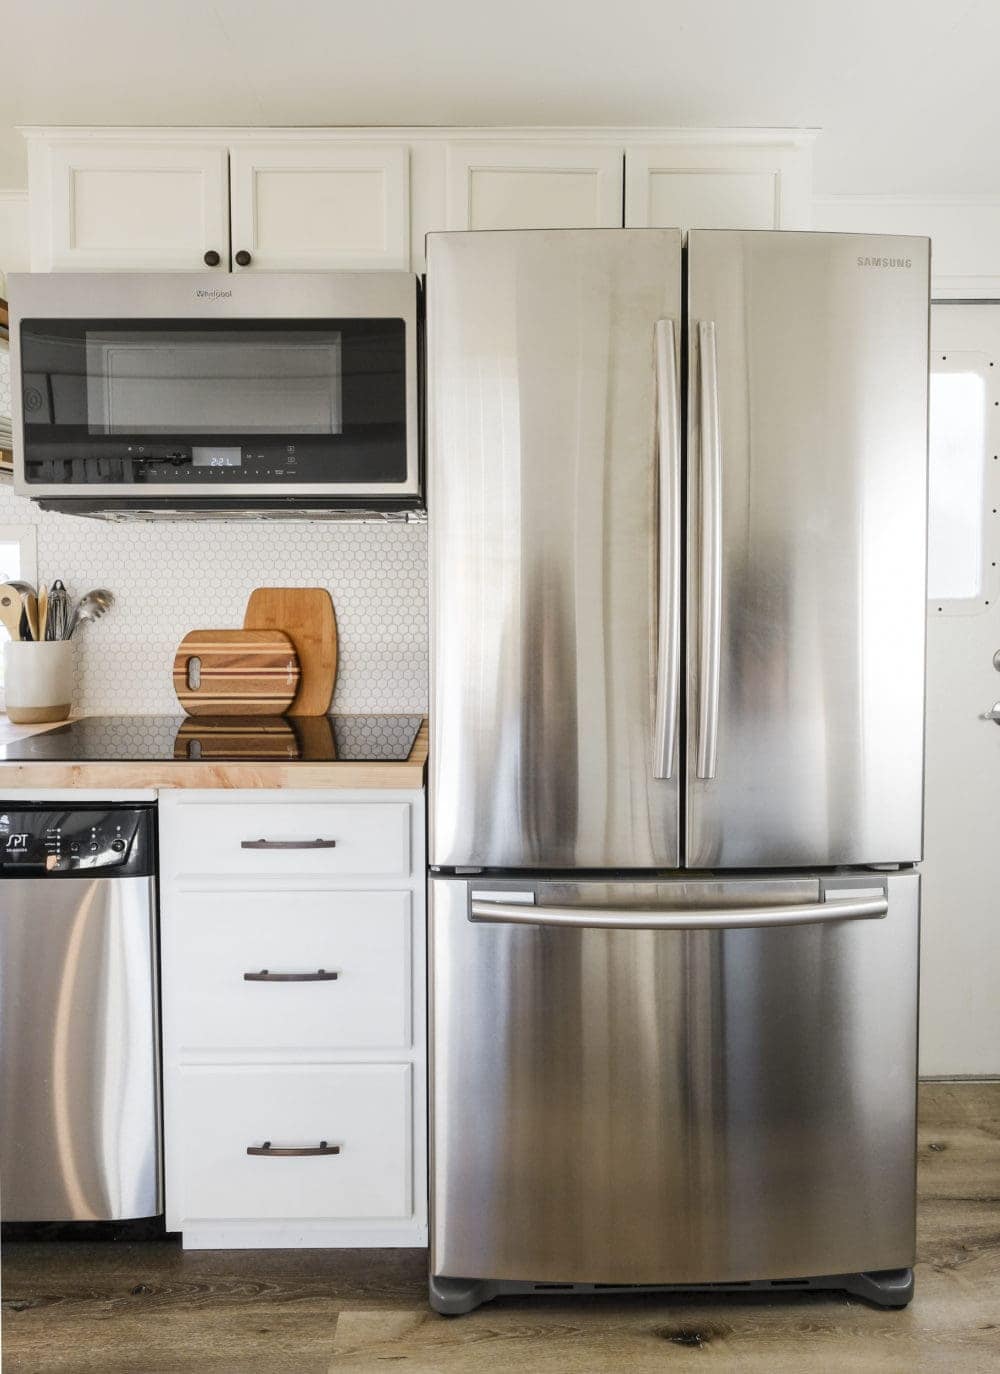
We opted to replace the oven/range combo with a sleek induction cooktop and convection-style microwave instead. This freed up space to even add a dishwasher! This 18″ dishwasher fit perfectly and is a great option for small spaces. Highly recommend it!
Update: The exact dishwasher we installed is no longer available, however this 18″ one has amazing reviews on Amazon.
Now we have the best of both worlds: no washing dishes by hand AND oven-baked cookies whenever we want! Yippee!
RV Open Shelving
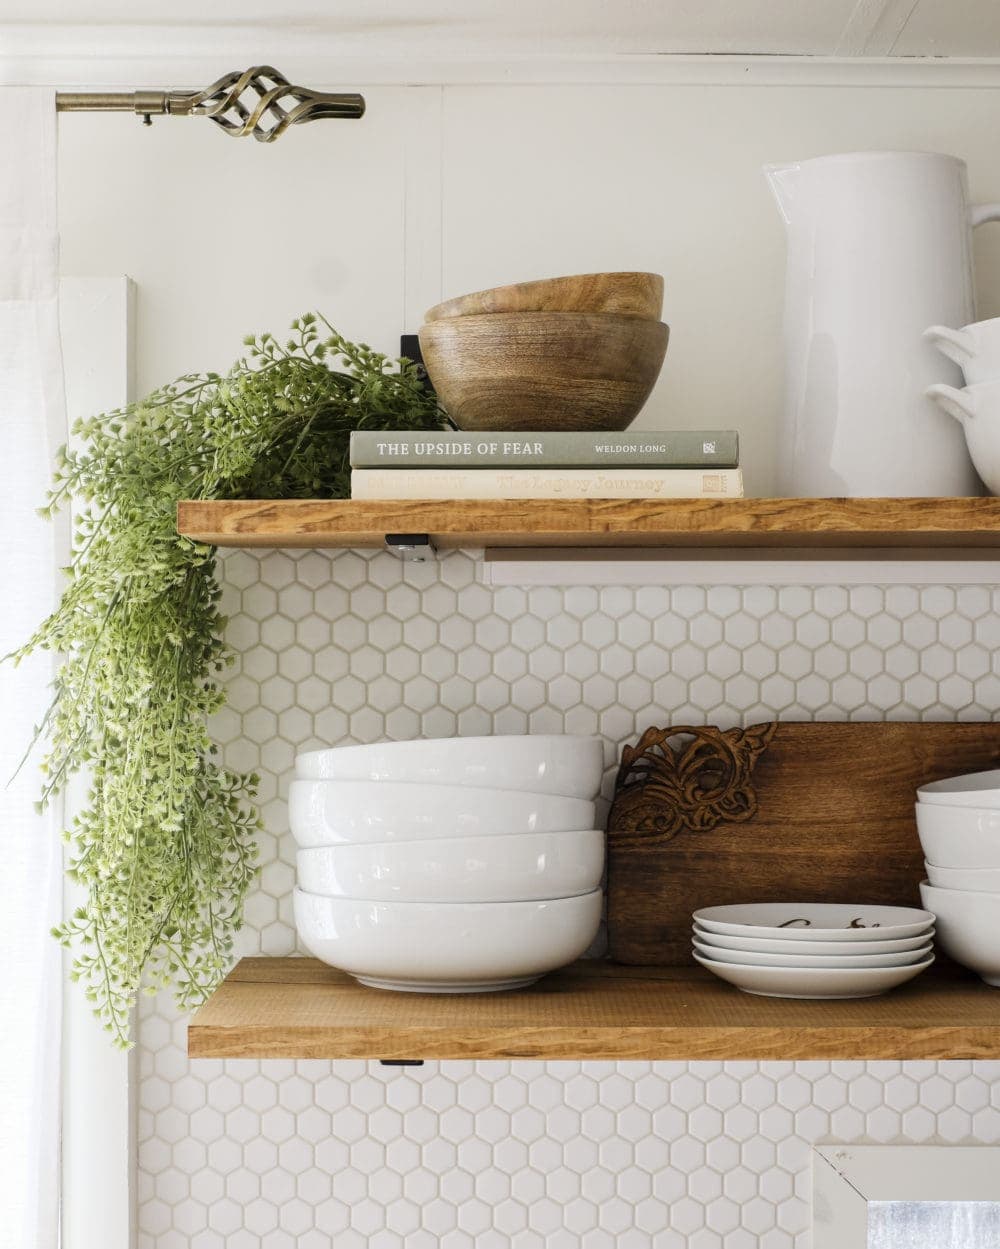
When we ripped out those bulky overhead cabinets, I immediately envisioned open shelves taking their place. I love that open shelving can be both stylish and functional, and really open up an entire space.
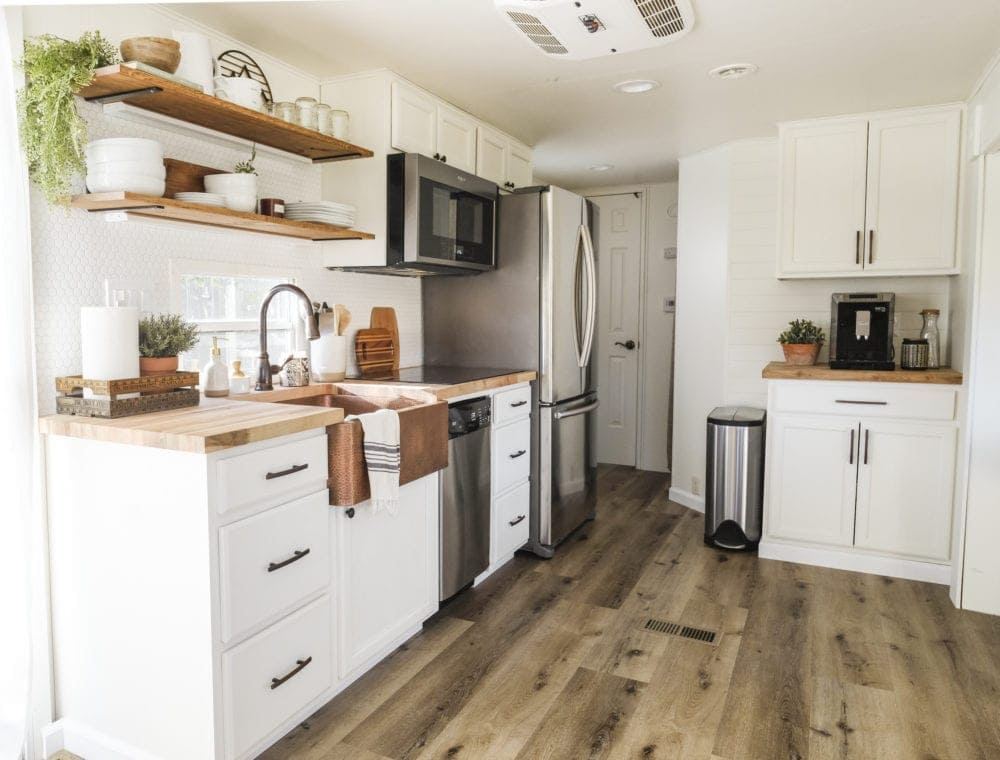
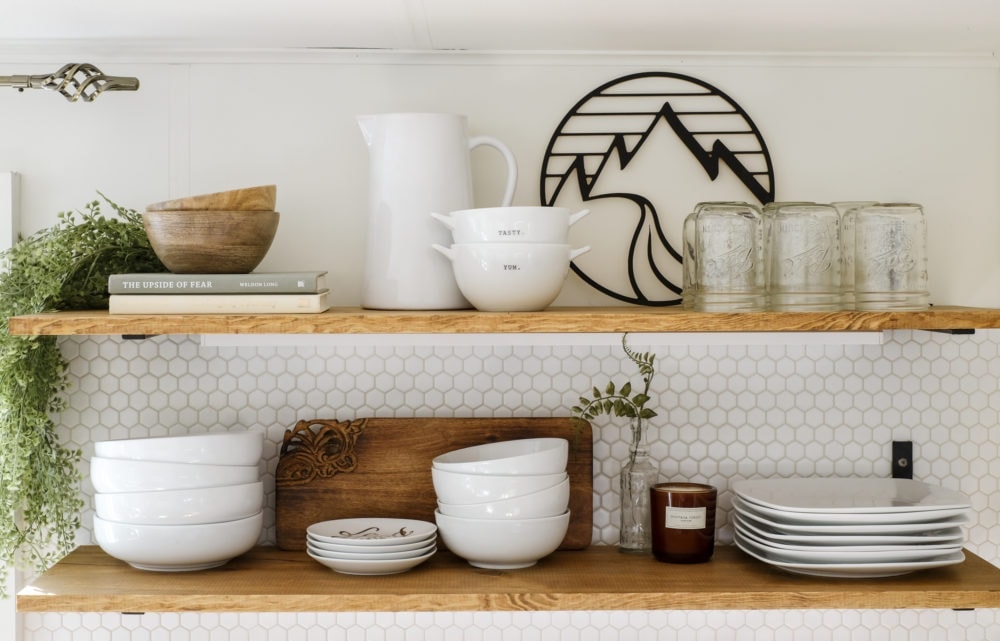
The shelves are where we keep all of our everyday dishes. Since our RV will be parked full time, we don’t have to worry about securing all of the items on the shelves.
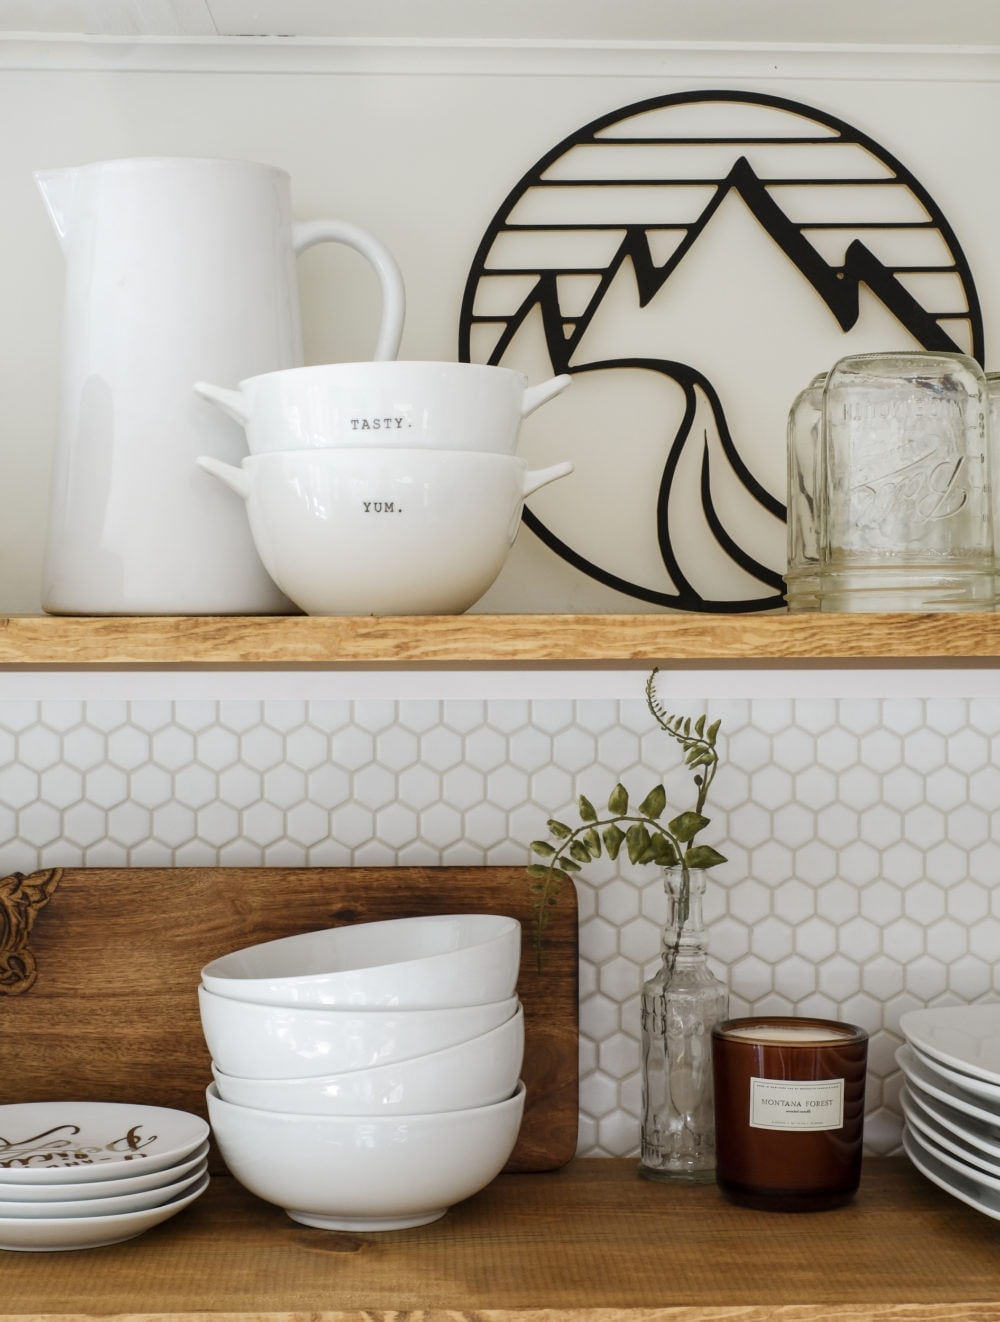
I kept it simple with all-white dishes and mason jars for glasses.
GET THE LOOK
The shelves were an easy DIY project using two 1″x12″ pine boards stained with a mixture of Minwax Early American and Minwax Golden Oak. They are mounted to the wall with black L shaped brackets from Cascade Iron Co. and lag bolts.
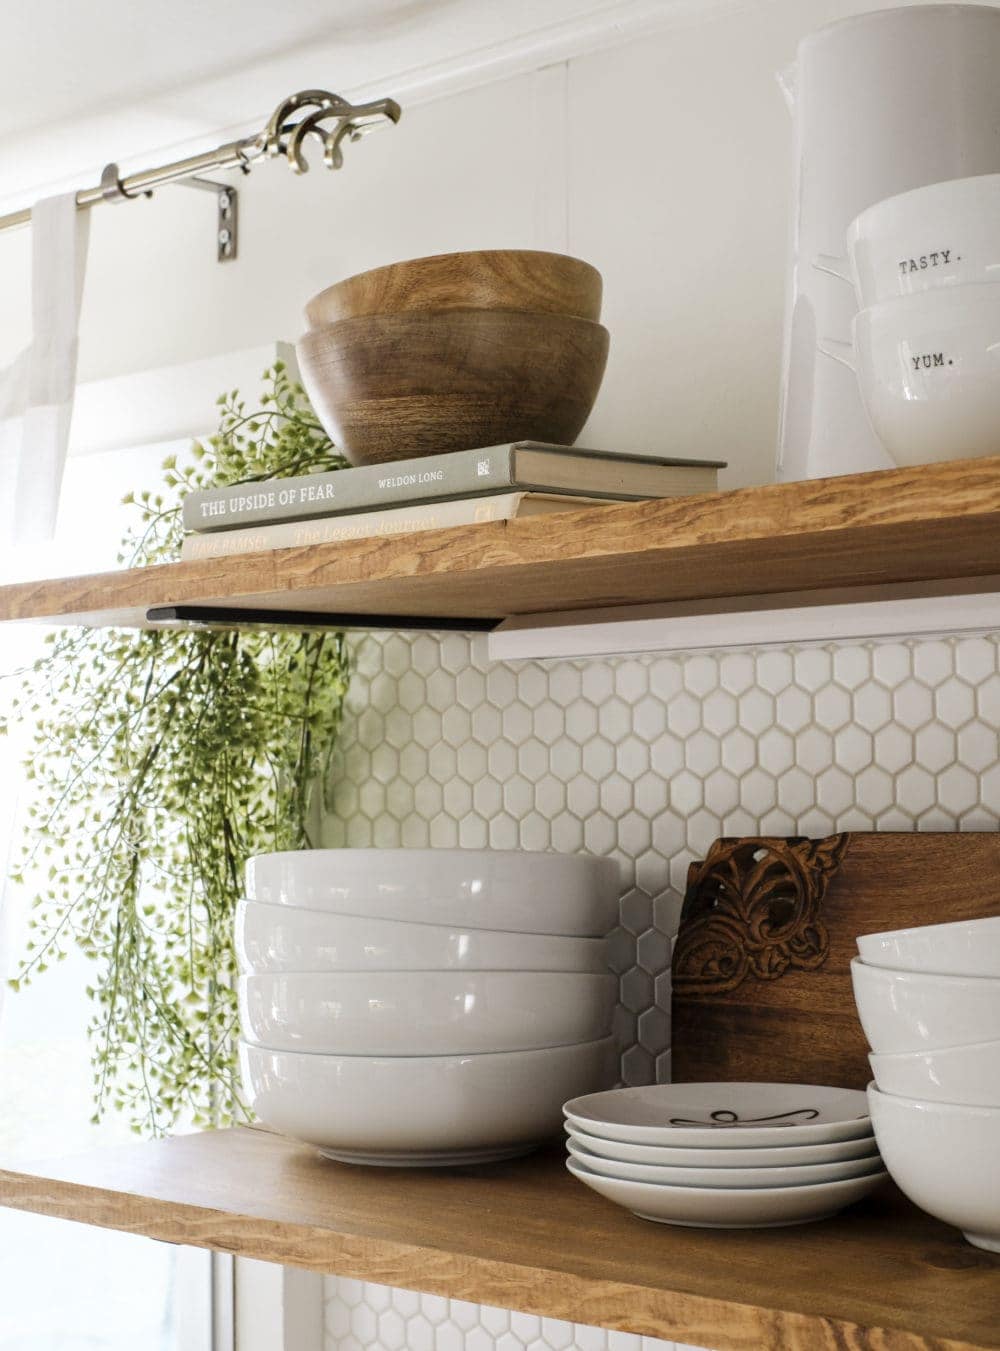
We also added under-cabinet light bars that we adapted to mount under each of the shelves. These low-profile light bars are great for areas where they are exposed. You can hardly notice they’re there!
An LED strip light runs along the top of the upper shelf to provide extra lighting at night.
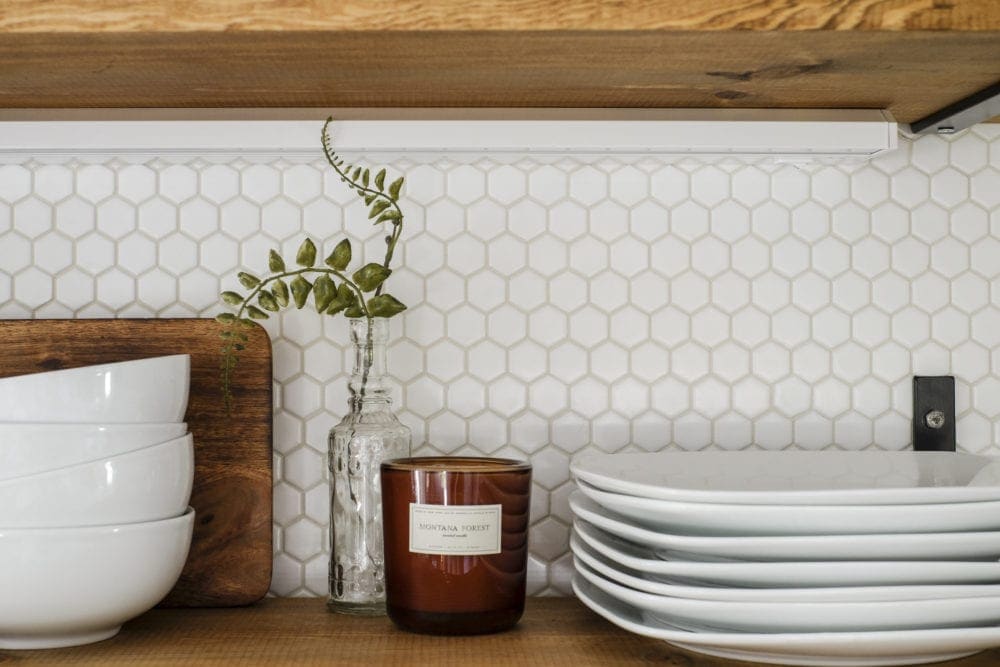
For the back splash, we chose a simple hexagon pattern in matte white and finished it with premixed grout in off-white. The hex design adds dimension to the space without being overwhelming.
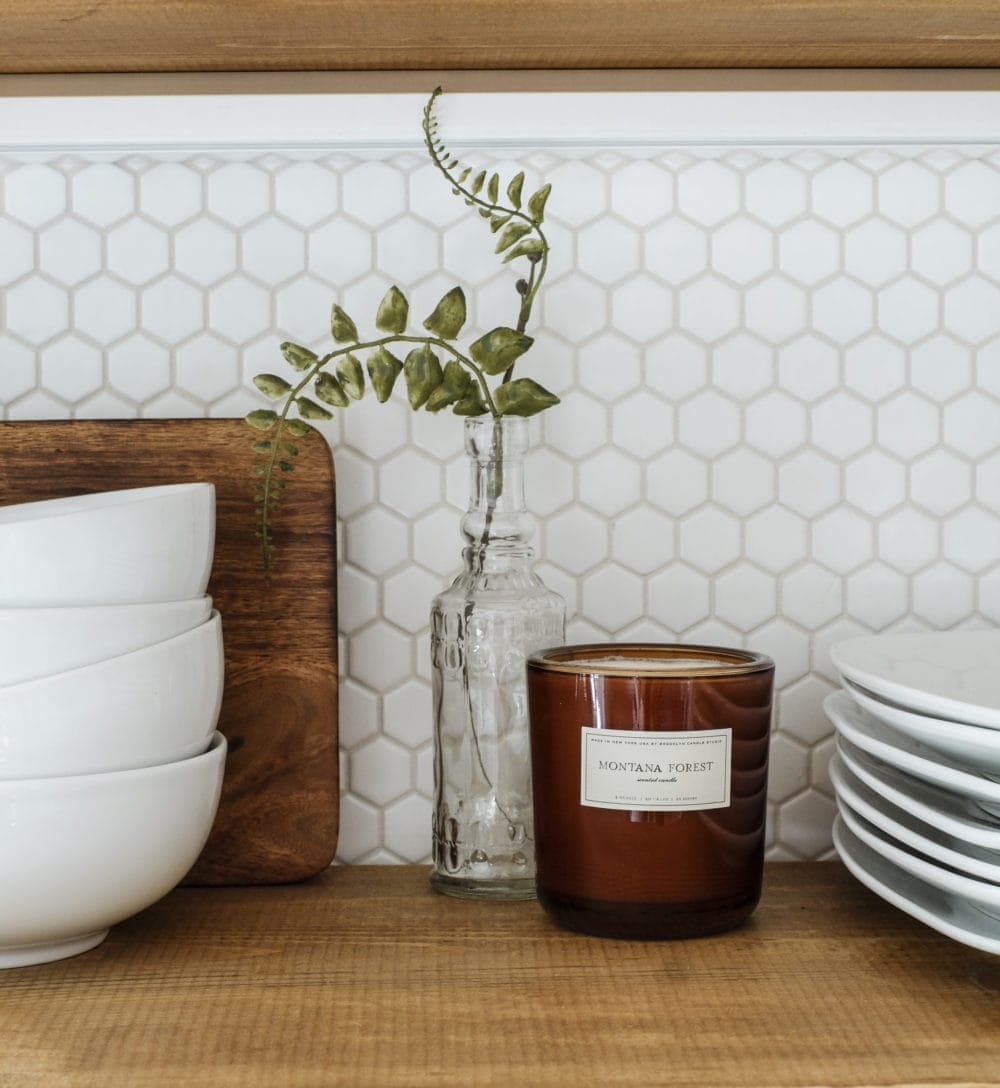
Although the shelves are mostly filled with dishes and kitchen items, I couldn’t help but add a little reminder of Montana with one of my favorite scented candles in the scent ‘Montana Forest’.
Oh how I wish you could smell this thing through your screen! SO GOOD!
GET THE LOOK
RV Kitchen Decor
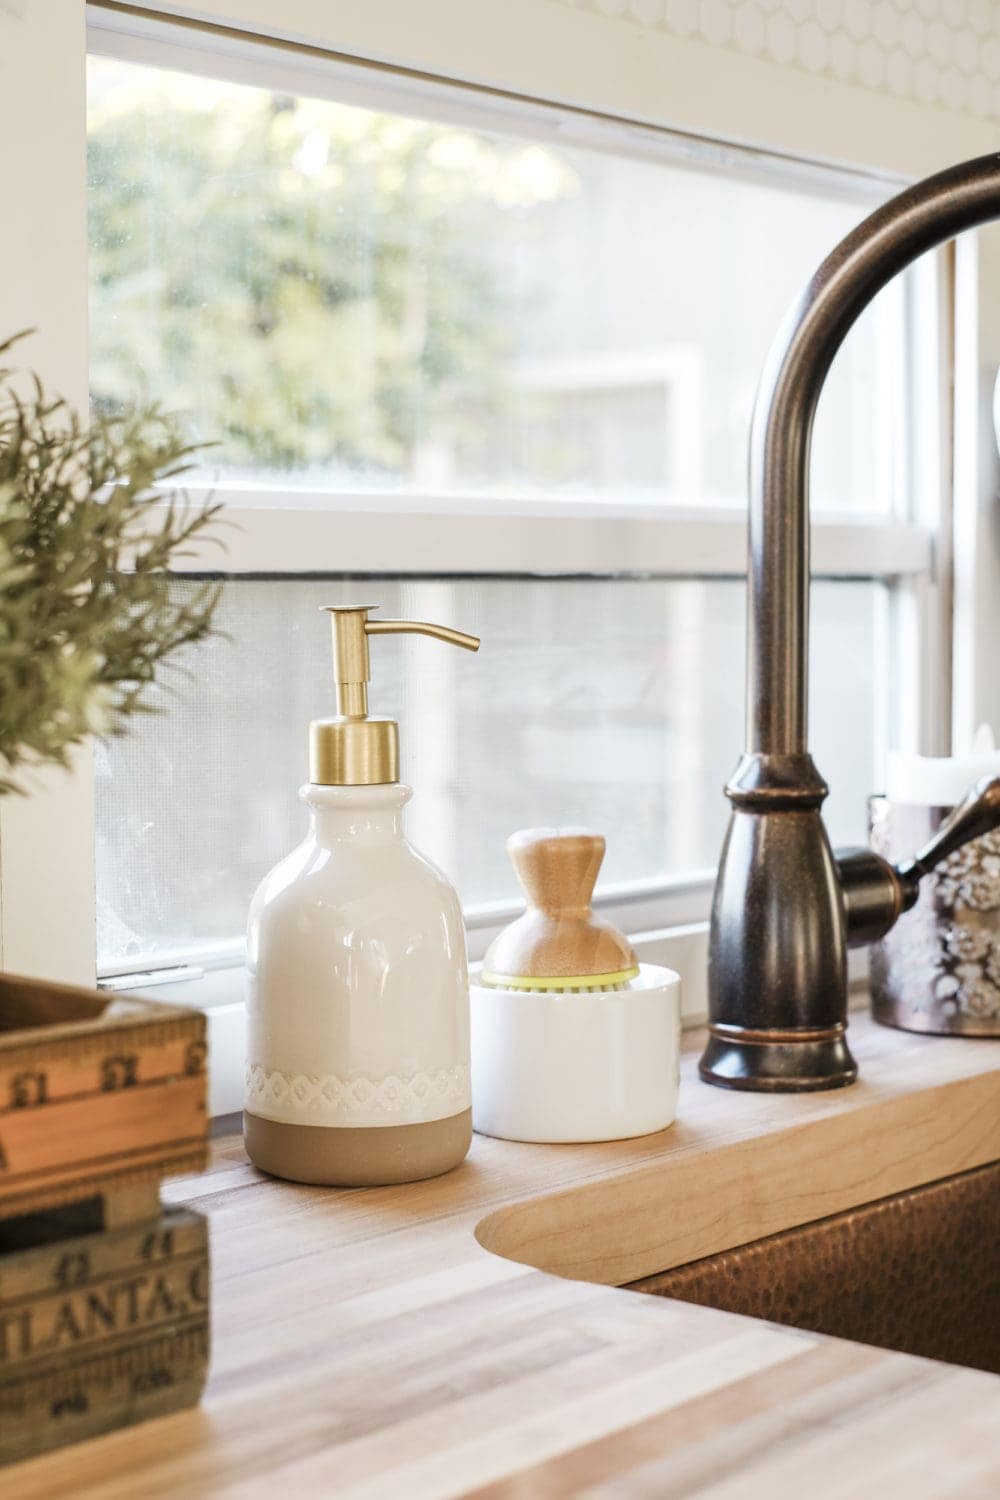
Since we are short on space I wanted to keep the items on the countertops to a minimum. I picked out some cute soap dispensers…
…and placed a roll of paper towels next to some greenery inside of an old wood crate.
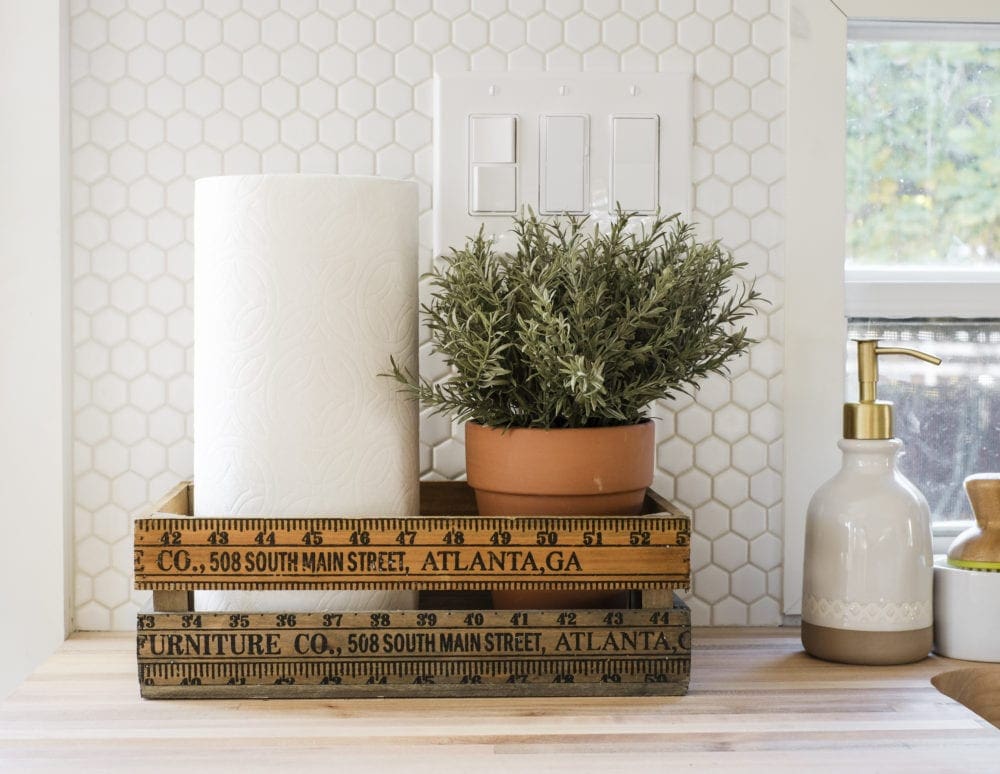
GET THE LOOK
RV Coffee Bar
Remember that original pantry with the long skinny mirror? We reworked that whole space and transformed it into a much-needed coffee bar!
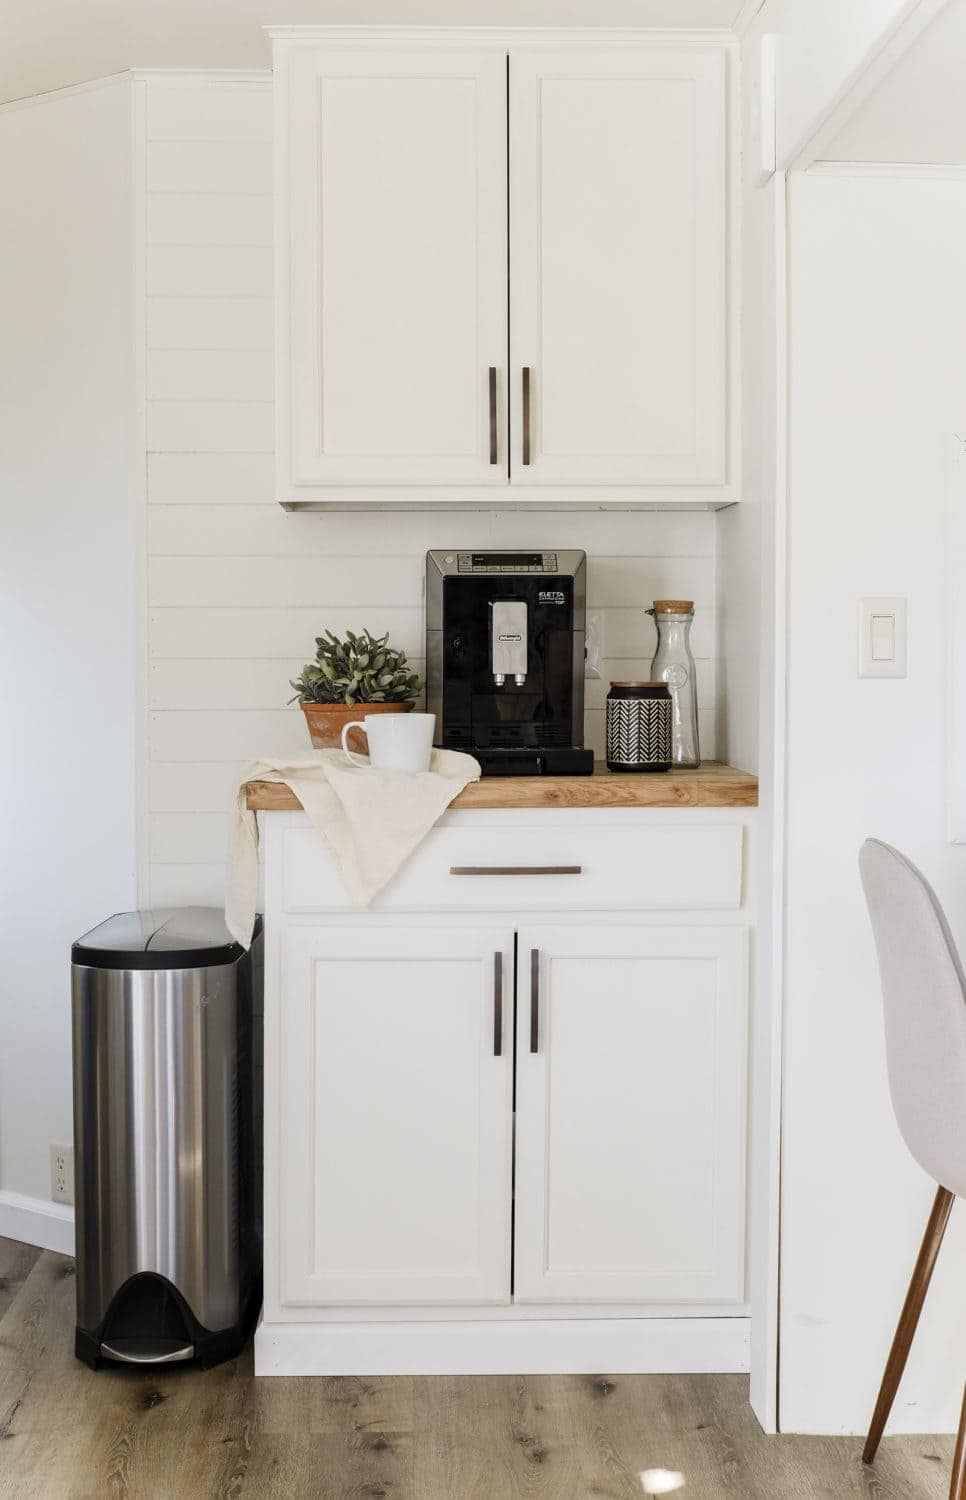
We installed matching upper and lower cabinets here that house all of our pantry items and coffee supplies.
For some added texture, we installed shiplap planks on the back wall and painted them white. Bronze cabinet pulls and a butcher block countertop helped make this corner feel cohesive with the rest of the space.
Related: How to Build A Wood Plank Accent Wall
We love our Eletta automatic espresso machine from De’Longhi and use it daily, so of course we had to make room for it in the RV! ☺️
We are thrilled with how this little coffee bar turned out!
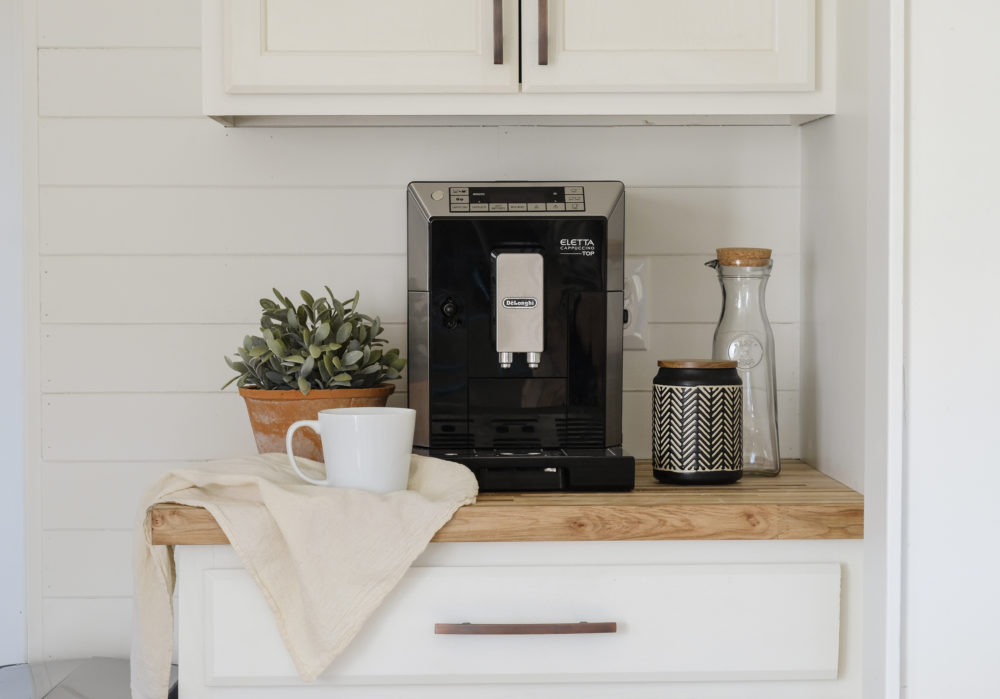
Our RV kitchen brings us so much joy. This little area is where we spend the majority of our time and it was so important to us to create a space we loved.
With a little creativity, we were able to design a tiny kitchen with all of our must-haves, and for that I am so grateful! I’d say we enjoy cooking in here, but Mike is the one who does most of our cooking. (I know, I hit the husband jackpot!) So instead, I’ll just say that I sure do LOVE the view. ?
See how I dressed up our small dining area for Thanksgiving here.
I’ve linked all of the sources below, but first let’s look at some before and afters!
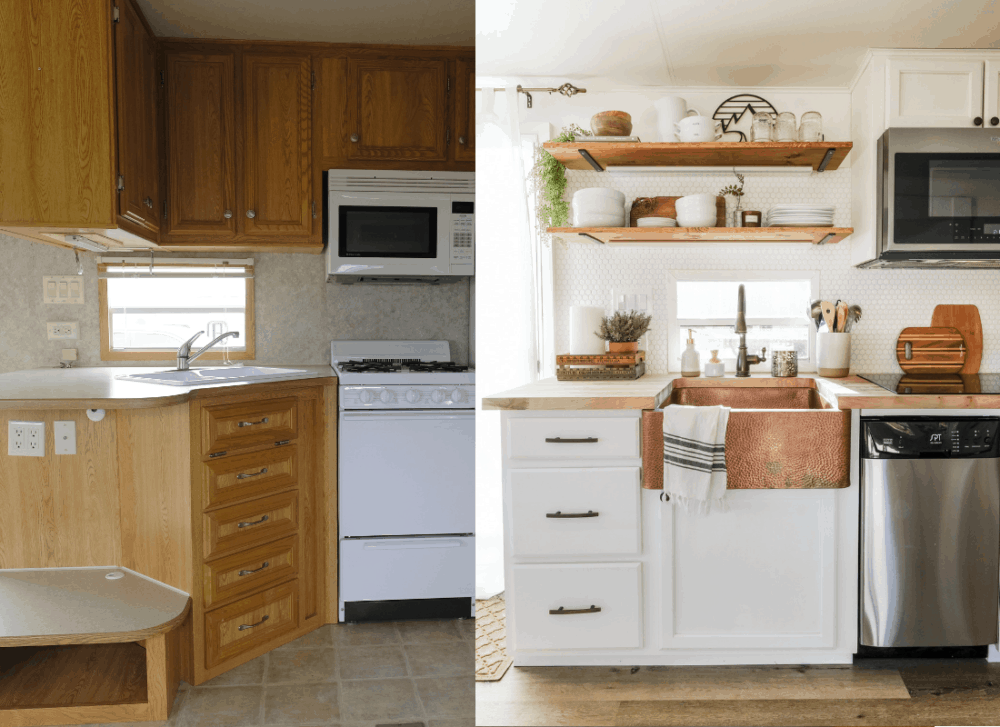
And my favorite…
Below is a full source list for our RV Kitchen remodel:
- Wall/cabinet color: Sherwin Williams Alabaster (see all my favorite white paints here)
- Floors: 9″ wide planks in the Cascade Series by Urban Floors
- Cabinets
- Cabinet hardware
- 25″ Apron front copper sink
- Bronze pull down faucet
- Butcher block
- Butcher block oil
- Hexagon tile backsplash (here’s a peel & stick option that’s similar)
- Premixed grout in Alabaster
- Convection microwave
- Electric induction cooktop
- 18″ Dishwasher (similar)
- Counter depth refrigerator
- Powder coated black shelf brackets
- Minwax stain in Early American (used on shelves)
- Minwax stain in Golden Oak (used on shelves)
- Low profile under cabinet (shelf) light bar
- Above cabinet (shelf) strip light
- White plates
- White small bowls
- White large bowls
- ‘Tasty’ & ‘Yum’ bowls
- White pitcher
- Wood bowls
- Pint sized mason jars
- Hand carved wood cheese board
- Mountain scenery cutout
- Montana Forest scented candle
- Vintage style glass bottle
- Wood crate (similar)
- Terra cotta planter
- Artificial greenery
- Hearth and Hand soap dispenser
- Dish soap brush & dispenser combo
- Decorative candle sleeve (similar)
- Hearth and Hand utensil holder
- Small cutting board
- Striped hand towel
- Stainless steel garbage can
- Automatic espresso machine
- Decorative coffee bean jar (similar)
- Glass carafe
And if you’ve missed any of our previous RV posts, you can catch up and get more details about each of the projects here:
- Why We Chose to Live In An RV (Again!)
- How to Paint RV Interior Walls
- Planning An RV Makeover
- RV Bathroom Reveal
Thanks for following along! Be sure to leave any questions or comments below, I love hearing from my readers!
