How to Paint RV Walls
Use these RV interior painting ideas and tips to learn exactly how to paint RV walls. We’re breaking down the exact steps we used to paint our RV walls, cabinets and ceiling to give our camper a brand new look! This is a RV remodel project you don’t want to miss.
RV Interior Painting Ideas & Tips
Paint is one of the easiest (and cheapest) ways to transform any space. That’s especially true when it comes to remodeling an RV. Painting the interior of an RV can be intimidating, but don’t worry, you can handle the project!
This site uses ads and affiliate content as an Amazon associate earning on qualifying purchases. Disclosure.
Today we’re breaking down the exact process we used to paint our RV. I’m not gonna lie, it isn’t easy – but in the end, it is SO worth it! Trust me!
How to Paint RV Walls: Video Tutorial
Since writing this post, we’ve painted a second RV and recorded each step of the process.
Check out the video tutorial below to see each of the steps below in action, or continue reading to see the full step-by-step written format.
Subscribe and watch more of our RV renovation videos over on our YouTube channel!
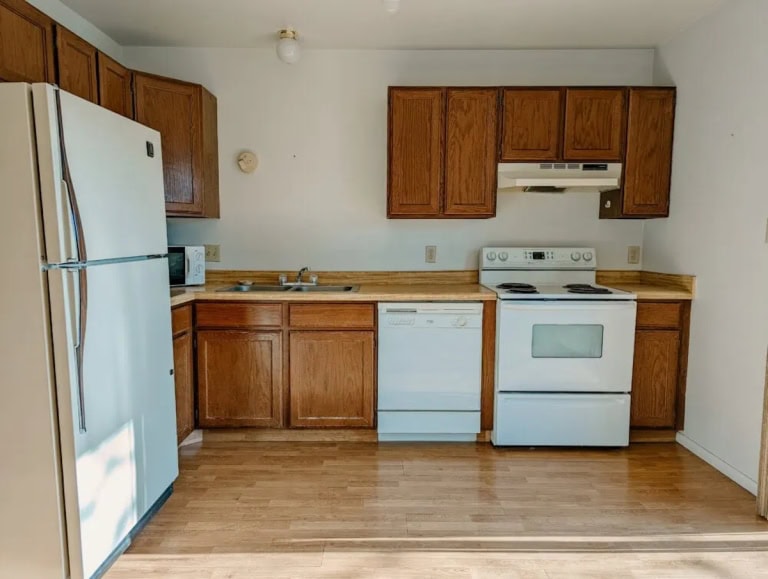
Alright, before we get into the RV painting steps, here’s a little before & after motivation.
Painting RV Walls – Before & After
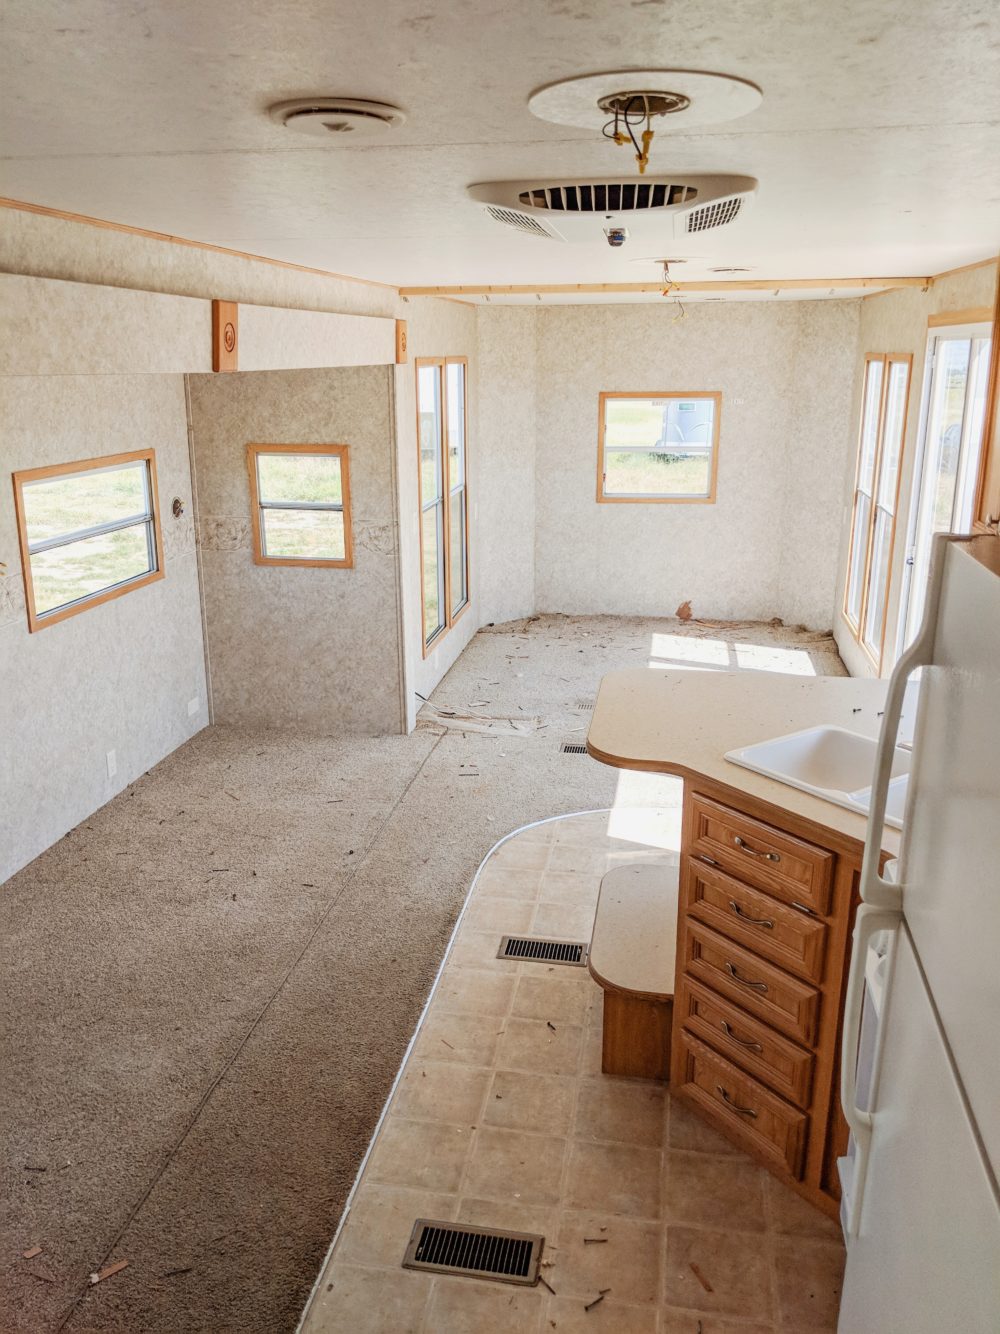
And here’s the same view after 2 long days of work.
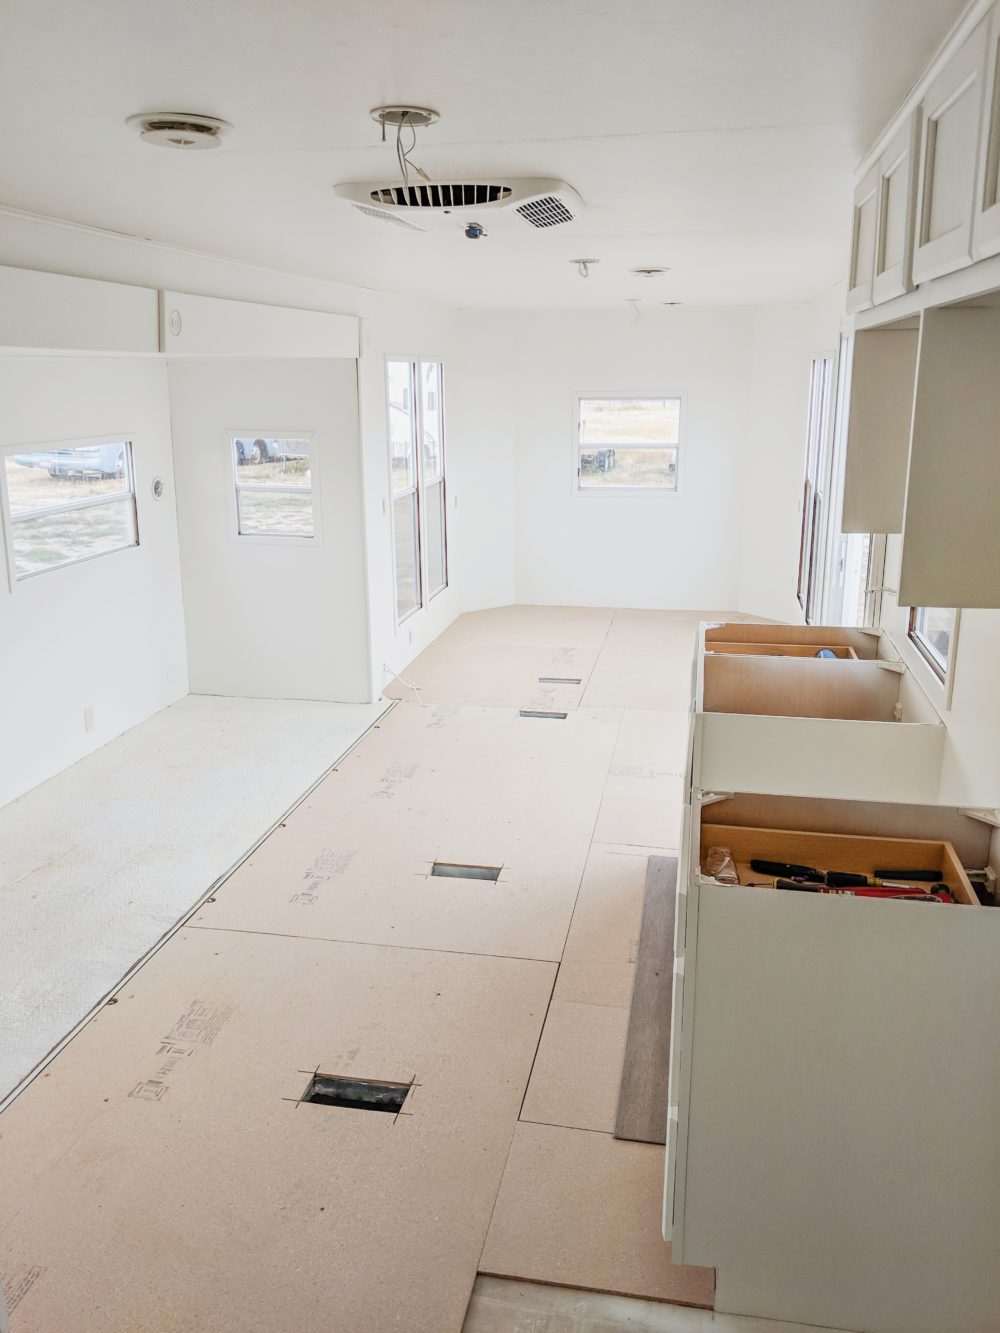
See what I mean? Worth it!
Alright, let’s get into the steps. Here’s everything you need to know BEFORE you paint RV interior walls (and cabinets, ceiling, trim, etc.).
How to Paint an RV Interior Step-by-Step Tutorial
Supplies Needed:
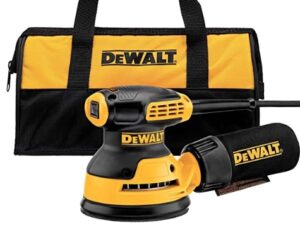
- Sander
- Wood filler
- Painter’s tape
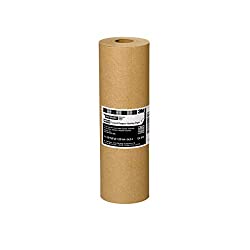
- General-purpose masking paper
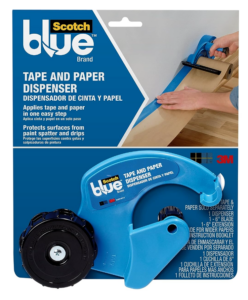
- Hand-masker dispenser
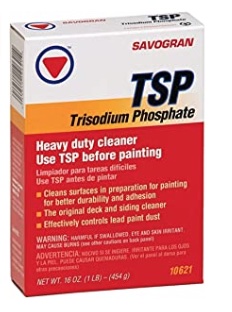
- TSP surface cleaner
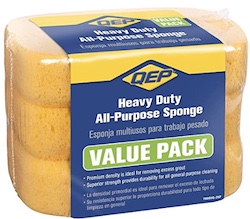
- Oversize Sponge
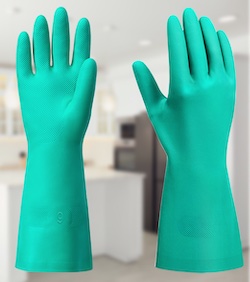
- Nitrile Gloves
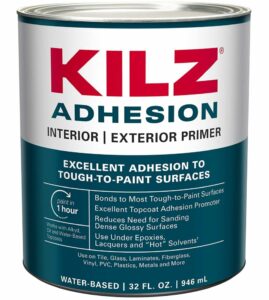
- KILZ Adhesion Bonding Primer
- Paint √ (we used the color Alabaster by Sherwin Williams)
- Paint brush & roller
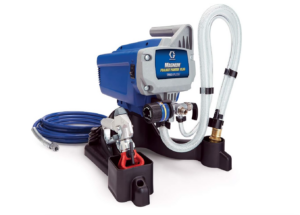
- Graco Magnum paint sprayer (seriously WORTH IT!)
- Disposable Coveralls
- Respirator
Step 1: Prep The Walls For Paint
Whether you’ve completely gutted your RV or just wanting to give it a fresh paint job, you’ve probably got some imperfections in the walls.
Sanding The Walls
While sanding the walls of an RV, you want to be careful not to destroy the outer layer of the RV wall panels. This outer layer seems kind of like wallpaper, but it’s actually usually made from vinyl.
It’s possible to give the whole wall a light sanding without ruining the vinyl coating, and the vinyl seam tape that you find every 4FT between wall panels. Vinyl seam tape is what hides the seams between the the interior wall panels.
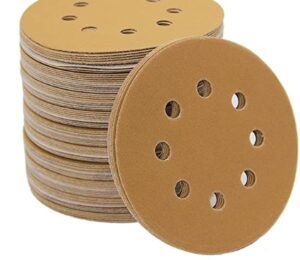
I recommend using 220 grit – fine sandpaper to do a quick sanding on all of the wall, ceiling, and cabinet surfaces that you plan to paint. This light sanding will help the primer adhere properly to the walls and other surfaces.
Next, find and fill any holes in your walls using wood filler. We used Elmer’s Carpenter wood filler. Our trailer had tons of random small holes from screws, especially in the areas where we removed walls, cabinets and window valances.
Once the wood filler dries, sand it down to create a smooth surface.
Wash the Walls with TSP
Once you’ve finished sanding, and filling all the holes, it’s time to clean the walls to prepare for paint.
While it’s always a good idea to wash down an area before painting, it’s extra important to do so before painting RV walls and ceilings. With all the hauling, camping, and in our case, demo-ing, the interior of RVs can get dirty quick.
RV indoor walls are notoriously difficult to paint because it’s really difficult for the primer to adhere to the vinyl ‘wallpaper’ coating. Because of this, you want to do everything you can to help it adhere properly.
Doing a light sanding helps, and then finishing your prep with a TSP wash essentially guarantees that your primer will adhere properly.
TSP is a heavy-duty cleaner that is preferred by painting professionals to remove pretty much anything from any surface.
Because we bought our RV used, we wanted to make sure there wasn’t any hidden grime on any of the surfaces. We used TSP on every inch of the interior.
The TSP worked great and it’s really easy to use. We simply followed the instructions on the packaging and mixed the powder with water, applied to the area with a sponge and then followed up with a clean sponge to rinse.
Important: There are many important factors like temperature, and humidity that will affect how paint adheres to a surface, so make sure to follow the manufacturer recommendations for your primer and paint. See Step 3 of this tutorial to see which primer I recommend.
Step 2: Tape Off Windows, Doors & Floors
To help this step go by quickly, we used tape-and-paper dispenser from Amazon. The dispenser applies tape to a roll of paper in one step so you can easily tape off large windows and doors quickly.
Make sure to cover up any and all surfaces that you don’t want painted. Since we were replacing the flooring in our trailer, we didn’t have to worry about covering it up.
However, if you’re not replacing your floors then you’ll need to cover them.
Step 3: Use A Bonding Primer
This step is super important! I repeat, DO NOT skip this step.
Like I mentioned in the previous step, RV walls aren’t made of sheetrock like in a normal house, so you need to use a specific type of primer to prep the walls for paint.
Although this isn’t specifically labeled as RV Paint – it’s perfect for the job.
We used KILZ Adhesion Primer and highly recommend it. KILZ Adhesion is a unique latex primer developed to bond securely on slick surfaces where traditional water or oil-base primers will not adhere properly.
Step 4: It’s finally time for paint!
Now that your RV walls are smooth, cleaned, and primed – you’re ready to pick a color, and start those final coats of paint.
If you want some help choosing a color, I wrote a White Paint Color Guide that helps you choose the perfect paint color for your unique house or RV. The color we chose in our RV is Alabaster by Sherwin Williams (SW 7008).
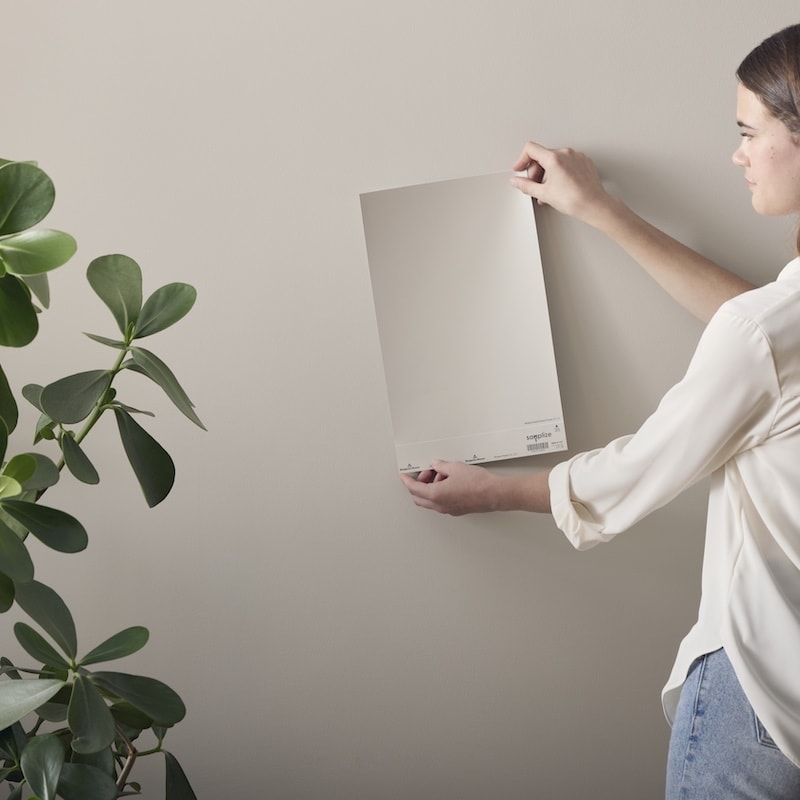
Tip: Once you’ve narrowed your search down to a few favorite colors, test them out with Peel-and-Stick paint samples from Samplize! The Peel-and-Stick vinyl samples use real paint, and make it easy see how a color looks on your walls.
Once you’ve picked a color, it’s time to choose an application method. You can choose to use a paint brush, a roller or, a paint sprayer.
Each of these three options have unique advantages. However, I choose to use an airless sprayer whenever possible!
To paint the walls and ceiling in our RV, we used a paint sprayer. On the cabinets, we used a combination of the paint sprayer, and paint brushes to get even coverage around all of the corners and grooves.
(These are my go-to paint brushes & rollers when I’m not using the sprayer.)
Why Use An Airless Paint Sprayer To Paint RV Walls?
Using an airless paint sprayer will save a ton of time when painting large walls, ceilings, and cabinets. That time savings gets even bigger when you consider doing multiple coats.
We used a sprayer to apply almost every drop of paint inside our RV. After the initial coat of primer, we ended up spraying two coats of finish paint.
Tip: If you choose to paint use a sprayer, be sure to use a respirator. Your lungs will thank you.
I was surprised at how affordable this Graco Magnum airless paint sprayer was from the listing on Amazon.
It worked extremely well for me, and I’ve used it for several projects since then. So far, it has held up great and I highly recommend it.
Depending on the color, you should be able to achieve a flawless-looking finish with one coat of primer, and 1-2 coats of paint.
Using quality primer will help make this very feasible. We recommend using this high quality Kilz Adhesion Primer.
Because we painted the interior of our RV white, a second coat of finish paint was applied just to be safe, and to ensure that no dark spots, or stains showed through.
Update: We lived fulltime in this RV for just under 2 years and the paint held up amazingly!
5 Tips For Using A Paint Sprayer
These tips will help you get started using a paint sprayer, and maximize your painting productivity.
- Mix your paint thoroughly before spraying. This helps to prevent clogs. (We learned this one the hard way.)
- Prime the sprayer thoroughly. Follow all the priming instructions that come with your specific model of paint sprayer.
- Practice the technique on a test wall (a sheet of plywood, or an extra large cardboard box work well).
- Paint with long, even strokes. You’ll have to develop your own technique with practice, but you’ll catch on quickly!
- Don’t make your coats of paint too thick. It’s tempting to try to pack on all the paint you can in one coat, but thick coats don’t always try properly, and have a tendency to drip, and run. If you end up with drips that you have to sand down and start over, you’ll regret it!
Related: RV Remodel Ideas & Tips – 9 Projects That Will Transform Your RV
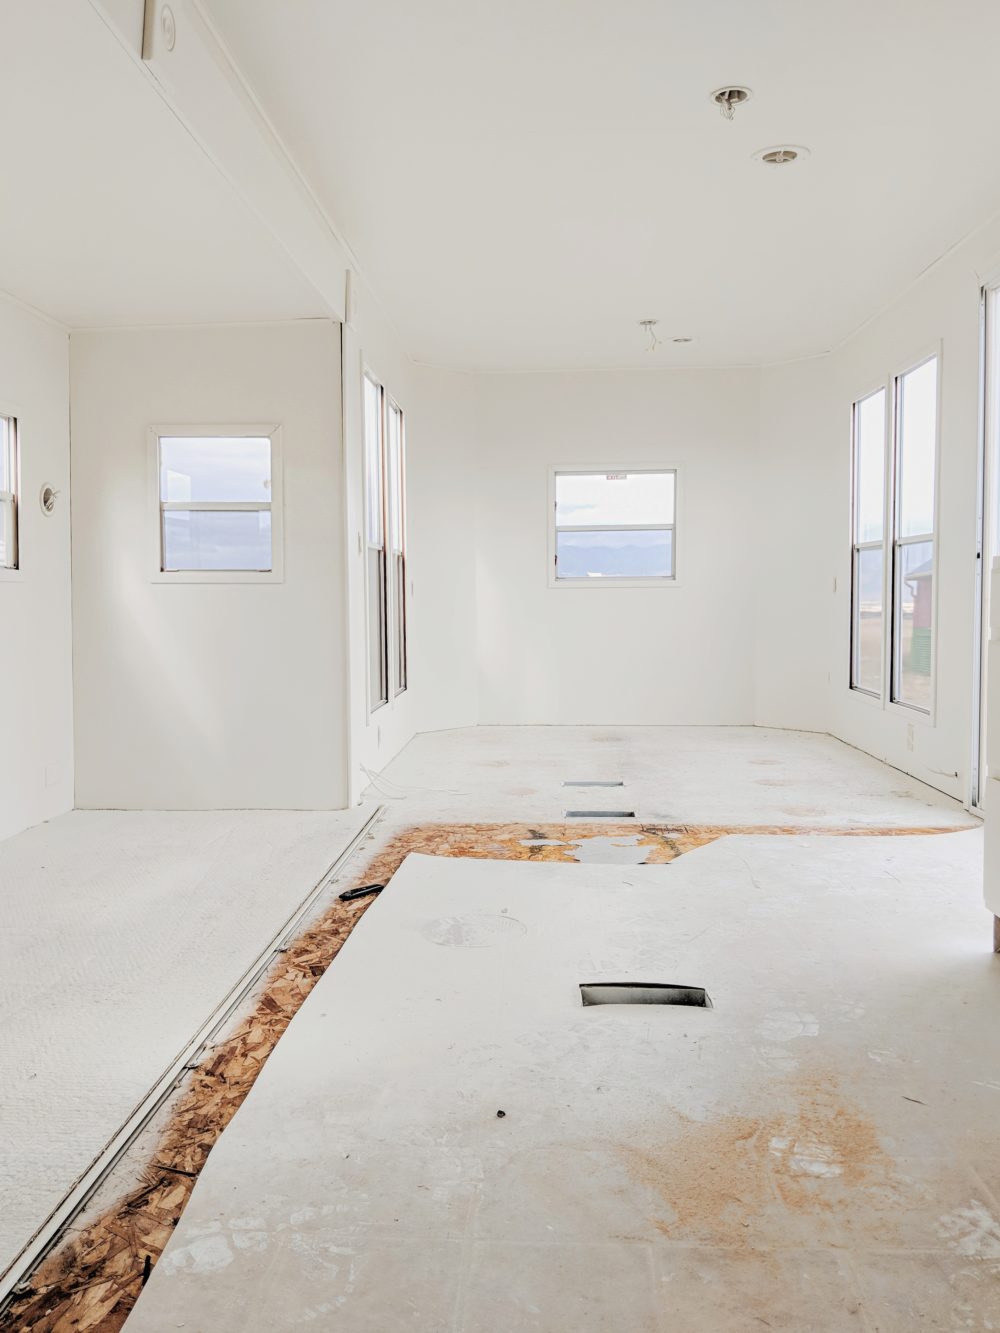
Final Thoughts On Painting RV Walls
The interior walls in recreational vehicles are usually made from thin plywood panels and have a special vinyl coating. The special covering is similar to wall paper, and it’s not really designed to be painted.
Because of this, painting the interior of an RV is more difficult than painting standard walls in a residential home. Being meticulous with your prep work is key for painting a RV successfully.
For the best results, be sure to use bonding primer, and follow all the steps in this tutorial.
I hope these tips helped give you the confidence to start painting your RV! It may be a tedious job, but with a little elbow grease, it will make your RV look brand new.
Thanks for reading this How to Paint RV Walls post. Pin it below to reference later.
UP NEXT: RV Remodel Ideas & Tips – 9 Projects That Will Transform Your RV


