DIY Stacked Log Insert for Fireplace | Tutorial
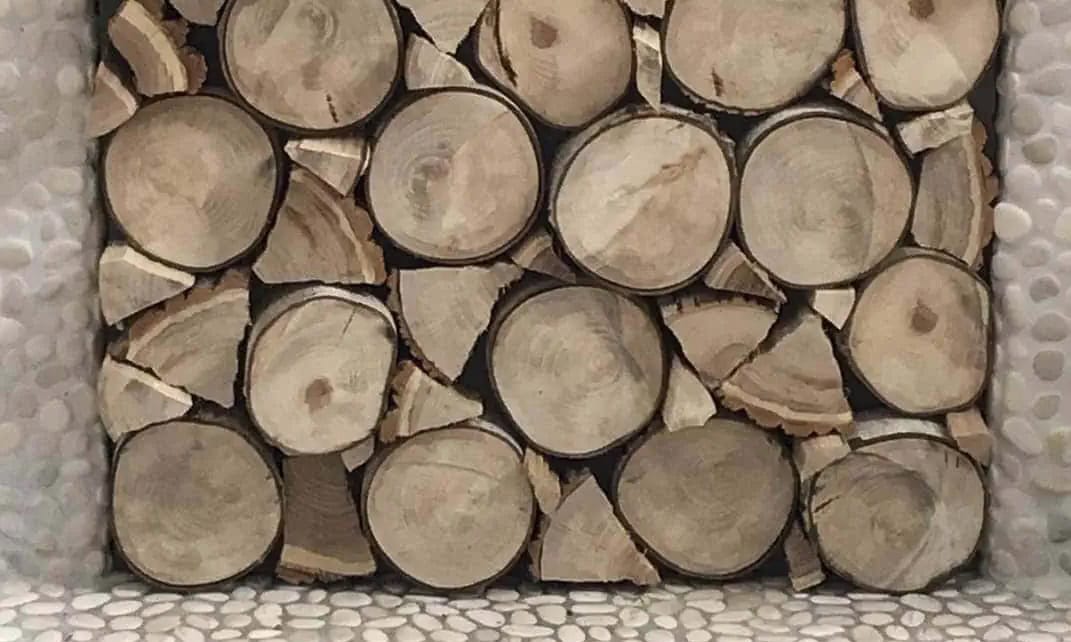
So, I’m not sure if you’ve had this discussion in your home, but men sometimes prefer functional things despite the lack of aesthetics (and that is definitely true in my house!).
Women, on the other hand (or at least this woman), like function AND aesthetics. My husband loves having a wood-burning fireplace. And being in Colorado, I definitely do too. But what I didn’t love was the large black screen and big blank space it created in the room.

This site uses ads and affiliate content as an Amazon associate earning on qualifying purchases. Disclosure.
Although the screen was effective, it did not match the design style in the rest of the space. Leaving the screen off didn’t work either, and was actually worse.

We talked and came up with a solution which served both of our needs: use the screen while burning a fire and make a stacked log insert to cover the hole when not in use. (After using the insert for some time, we have discovered that it also doubles in function and keeps the winter draft out!)
How To: DIY Stacked Log Fireplace Insert
Supplies Used:
- Cardboard
- Tape Measure
- Marker
- Scissors
- Jigsaw
- Dark grey paint
- Paint brush
- Wood glue
- Miter saw
- Logs
- Axe
We started with a large piece of cardboard and traced the fireplace opening to make a template.


My husband used the cardboard template to cut a piece of plywood which would be used to glue the logs to. He cut it to fit the opening exactly, which made it so the board fit snuggly into place. (If your opening doesn’t hold the board tight, you could add ‘L’ brackets on each of the bottom corners on the backside to keep it from falling backward.)

The next step was to paint the board dark grey (or black would work too) in order to give the illusion of a hollow space behind the logs. We discovered that using a paintbrush worked better than spray painting the board, because the paint was able to adhere better.

We then headed out to the backyard to find the perfect logs from the wood pile to glue to the plywood board. We used a miter saw to cut the logs into round pieces about 1″- 3″ long. We made sure to vary the depths to create the look of stacked logs.
As we cut the pieces, we laid out a pattern on the plywood. Then to fill in the gaps between the rounds, we used an axe to chip small triangular pieces and added them to the pattern.
Once we were happy with how it looked, we used lots, and lots, and lots of wood glue to adhere each wood piece to the painted plywood. After drying for 24 hours, we put our new fireplace insert into place.

With all of the wood pieces, the fireplace insert ended up being fairly heavy. So whenever it needs to be moved to have a fire, the hubs has to move it for me. But other than that, I absolutely love how it turned out! No more black hole!

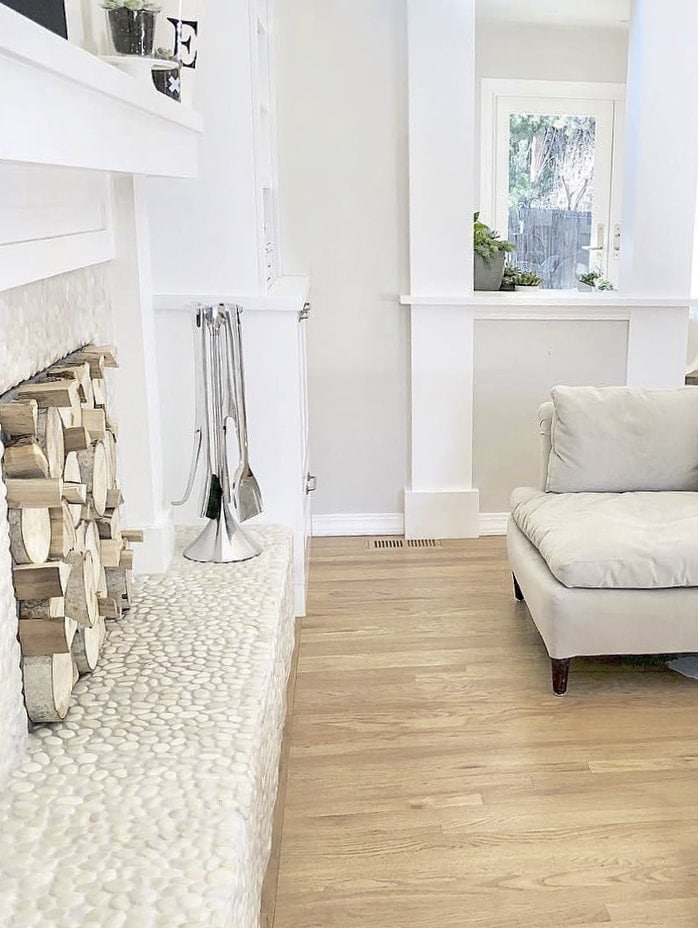

This DIY stacked log fireplace project was contributed by Elizabeth Bear @elizabethbeardesigns.
Do you love the texture this DIY adds to the space? How about the fact that it keeps the drafts out during the winter? Win win!
For more fireplace ideas, check out our fireplace makeover guide.


