How To Install Custom Wooden Open Shelving above Washer and Dryer
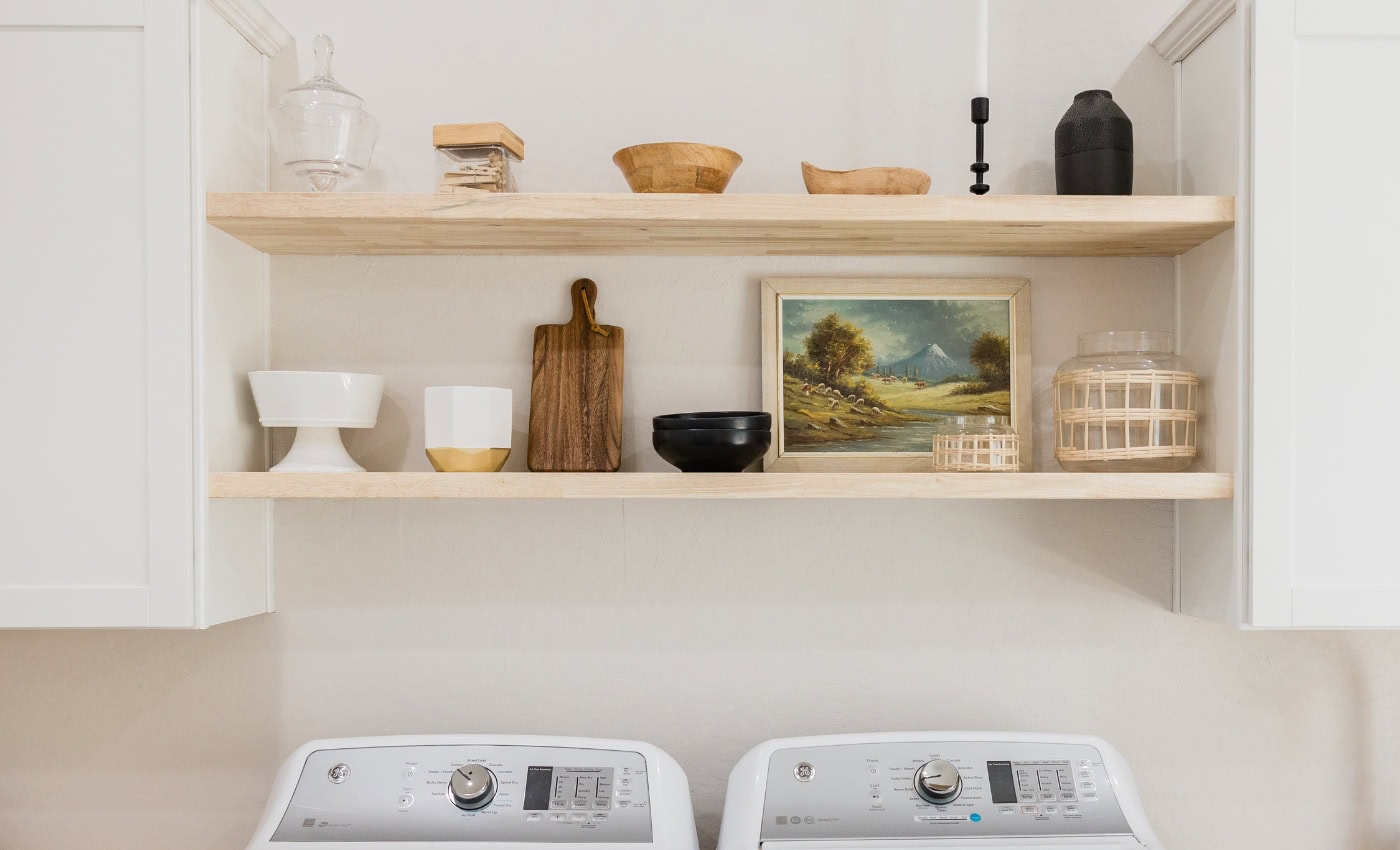
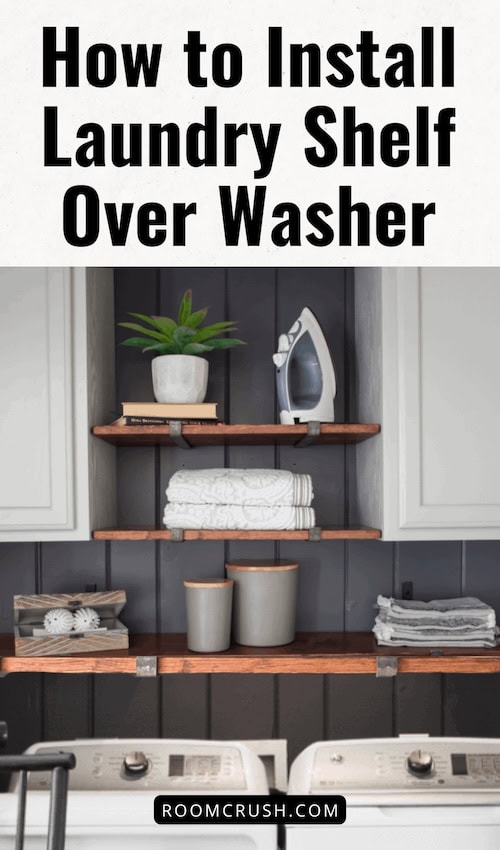
The post that we are sharing with you today is a quick and easy DIY laundry room update showing you how to install open shelving over a washer and dryer..It’s one of our favorite projects from the past year. Adding a laundry room shelf is a great way to spruce up any laundry room. Let’s explore this tutorial for building DIY custom wooden open shelving.

How To Install Custom Wooden Open Shelving – Step-By-Step
Haylie and Amber from House Two House share their DIY open shelves guide. When I first saw these shelves on Instagram, they literally stopped my scroll… The rustic finish and industrial style brackets are a match made in heaven. And when I found out they were a DIY – sold!
Before getting started, I have a little secret that I feel the need to share. Hanging shelves is my kryptonite. It hates me, I hate it… We have a mutual thing going. So naturally, I want to put them up all over my house! Because that definitely makes sense and doesn’t make me sound crazy at all… right? Here is how I tackled my least favorite DIY project ever… this year. (I’d rather re-grout my entire bathroom than hang another shelf… )
This site uses ads and affiliate content as an Amazon associate earning on qualifying purchases. Disclosure.

Here are a few things that you will need for this project.
Materials Needed:
- Wood planks the length and width that you would like them
- √ Brackets that are the appropriate length for your shelf
- Stain
- Toggle screws or bolts
- Drill
- Sander and 220 grit sandpaper
- Rustoleum textured spray paint
- Minwax Wipe-On-Poly
- Lint-free rag
- Brush
- #0000 Steel Wool
- Rubber gloves
- Protective eyewear
- Sawhorses
- Level
- Pencil
Step 1: Examine your space
Determine the size and length of the shelving that you would like. Standard board width includes 8″, 10″, and 12″. I’m sure there are others but these were the three that I was considering for my project.
Related: How To Build DIY Raised Garden Beds That Will Last For Years
Then deciding the size, consider what you will put on them and if the size will interfere with other elements in the room. For instance, for our laundry room shelves, two shelves needed to match the depth of the cabinets that would be on either side of them, so they needed to be 12″ wide. One of the shelves is going to act a ledge above the washer and dryer to hide all of the unsightly plugs, but I didn’t want the shelf to interfere with the ability to open the washer lid. So I chose to make this shelf only 10″ wide.
Step 2: Choose the wood for your shelves
Shelving design is all in the eye of the beholder. You can do thick, thin, floating, etc. I got my wood shelves from Lowe’s. They are 12″ x 1″ x 24″ and 10″ x 1″ x 63″. I liked the look of thinner shelving. I used whitewood boards and picked out the prettiest boards with the best looking grain and minimal defects like cracks or gashes.

Step 3: Prep your shelves
Using your sander and 220 grit sandpaper, sand the boards on all sides until they are smooth to the touch. I don’t usually do this because Minwax typically has a conditioner in the stain, but once your shelves have been sanded you can apply a wood conditioner that helps the wood absorb the stain more evenly. In the photo below you can really see the difference in the sanded (bottom shelf) and un-sanded (top) wood.

Step 4: Apply Stain
Apply a light coat of stain using a foam applicator or a natural bristle brush. I went with a brush. Make sure there are no drips or puddles of stain and that it’s applied as evenly as possible. After the stain sits for 10-15 min take a cloth and wipe off any excess stain. If you leave the excess stain on the wood it doesn’t dry all the way and leaves a sticky residue.
I highly recommend that you read the back of the can of stain for drying times and application suggestions. I mostly use Minwax so my suggestions are based on that brand specifically. To achieve a darker, richer color, wait the dry time from the first coat and then apply a second, third or however many coats you desire. Repeat for all sides of the board.
Related: Why Your Home Needs A Wood Plank Accent Wall + How to Do It Yourself

Step 5: Apply Poly
Once you have reached your desired color of the stain and your most recent coat is dry, using a lint free cloth, wipe on an abundant amount of the Wipe-On Poly, being careful not to let drips occur on the underside of your shelf. This will save you some headaches later on. Let the poly dry for the suggested dry time (I think it’s 4-6 hours).
Once it is dry take some 0000 steel wool and sand down the poly going with the grain of the wood. This makes the finish nice and soft and gives you that beautiful satin finish that I love! Once one side is done flip and repeat this step for the other side. This finish is my favorite method off finishing wood. It takes a long time because of the dry times but it is so worth it when it’s all said and done.

Step 6: Spray paint screw heads
I like darker hardware but finding the screws that match the darker hardware is always an issue. So I use Rustoleum Textured spray paint to spray the heads of the screws to match the color of the brackets that I picked.

Related: How to Transform A Builder Grade Light Fixture With Spay Paint
Step 7: Plan where your shelves are going to go
Measure out where your shelves are going to go and where you will need to place your brackets for maximum security. The number of brackets you need depends on the length of your boards. Generally, I think the rule is to place a bracket every 16″. Make a mark on the wall where your brackets will go.
Step 8: Mount your Brackets
Start with one end or the other. Hold your bracket up to the wall where your first mark is, and use your level to make sure that the part where the shelf will sit is level as well as the side/leg of the bracket (the part that is on the wall) to make sure that it is also level vertically. Using a pen or a pencil, trace the holes so you know where to drill. Set the bracket aside for now.
Next, check the package for your toggle bolts to see what size drill bit is recommended. I used 3″ screws so a 1/2″ drill bit was required to allow the toggle to pass through. I started with a drill bit that was about the size of the circle I traced of the holes in the brackets. I then stair-stepped it up to the 1/2″ drill bit size. I did this for two reasons. 1.) I’m a weeny and am terrified of messing up my walls. 2.) Depending on the material of your wall you can really chew up the wall or get your drill bit stuck if you start with the biggest drill bit.
Related: Must-Have DIY Blanket Ladder Step-By-Step Guide
If your toggles don’t quite fit yet I took a smaller drill bit and continued to bore out the hole some more to provide more room to push the toggle through. If you try your toggles and the springs don’t pop open after the screw is all the way into the wall you may want to try a different length screw. I originally bought 2″ screws and ran into this issue but it was easily fixed by getting a screw the next size up.
Once your toggles are in for each hole in the bracket tighten the screws most of the way but leave a little room for minor adjustments. Pull out your level again and make sure your bracket is plum and level again before tightening.
I found the easiest method for ensuring that the next bracket is level, is to level your shelf based on the previously installed bracket. It’s helpful to have an extra set of hands when doing this, especially if your shelf is, long or heavy. Place your shelf on the bracket that is finished. Position your second bracket in the place where it was previously marked to go (about 16″ from the first bracket).
- Compact, lightweight design fits into tight areas
Let the shelf rest on the second bracket and move the bracket up or down to ensure that the shelf is level. While you hold the bracket in place have a friend mark the holes in the bracket. Drill and place toggles. You will want to repeat this part when you go to tighten your bracket to the wall. Place shelf, level, tighten screws.

Step 9: Insert shelves, cry tears of joy because it’s over…
This one is my favorite! Insert your boards and ta-da! You have yourself a beautiful custom wooden shelf. Congratulations! You are done! Unless you have multiple shelves to do… then I feel for you. Be strong. You’re doing great!

How To Install Custom Wooden Open Shelving – Conclusion
I love our house and making it our home but if there is anything that I can share with you for you to take away from our journey it’s that nothing is ever as easy as you want it to be but it’s how you handle those tough situations and keep moving that matter… I can tell you that I definitely did not handle this situation very well at all.
My poor husband deserves a medal of honor for dealing with me this week. I did, however, move on and I will keep doing what I am doing and will continue to learn from my mistakes. I’ll also continue to share them so that you can learn from my mistakes as well and hopefully save you a lot of time, money and frustration.
The brackets we used are from Cascade Iron Co. They are a brother and sister company based in Oregon and are so talented and are super helpful. They were able to answer all my questions promptly and have a super helpful guide for how to install your shelves. I’m highly impressed with their customer service and their product.





Where do you get the brackets? The shelves look GREAT and also very practical for that room! Good work ladies!!!!
They’re based in Oregon!! You can checkout their website https://cascadeironco.com 😀