
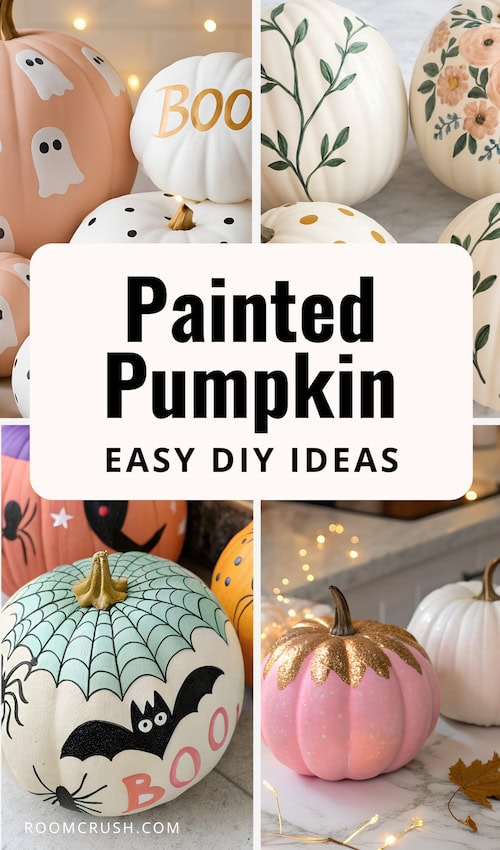
Trendy Pumpkin Painting Ideas You Have To This Autumn
Here is a little insider information about me, my husband nicknamed me Pumpkin soon after we married. There is a pretty straightforward reason as to why, “I love them.” Therefore, I wanted to share some pumpkin painting ideas not only that your children will enjoy, but you will be proud to decorate with.
My decorating techniques will help you appreciate this fruit for its beauty. This has been an epic year, and most kids are getting restless at home. And since you could pick up mini pumpkins for under a dollar, I think they make lovely craft projects for kids.
That being said, if you’re going to have tons of pumpkins, let’s make them part of your décor to help elevate your design. In other words, in the world of scary pumpkins, be different!
This site uses ads and affiliate content as an Amazon associate earning on qualifying purchases. Disclosure.
What Can You Use To Decorate Pumpkins?
The possibilities are endless and are only limited by the time you want to invest. You can use paint, glitter glue, fabric, mod podge, stencils, and crave them, to name a few. For this post, I’ll be focusing on painting pumpkin ideas.
What Kind Of Paint Do You Use On A Pumpkin?
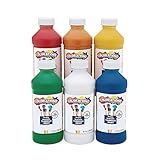
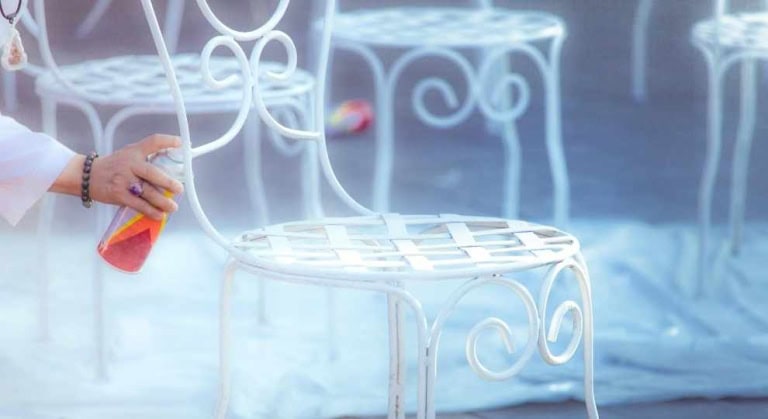
The most common paint to use on Pumpkins is acrylic paint. This paint works well since it doesn’t crack. If you are seeking a quick painting method with a smooth texture, spray paint can be used. Lastly, chalk paint is another alternative. The paint can be applied with a soft bristle brush or sponge brush.
PRO TIP: If kids are involved in the project, things can get messy quickly. Try to look for washable paint. To my surprise, sometimes you can even the dollar store sells washable acrylic paint. If not, you can grab it on Amazon here.
Splatter Pumpkin Painting Ideas
This is a super cute idea that hardly takes any skill. Again, it could get a little messy, so a proper workspace is HIGHLY suggested.
You’ll probably find your children enjoying the splatting paint a little bit more than you had planned for.
- Begin by painting the entire Pumpkin a color of your choice.
- After waiting a few minutes for the base coat to dry, mix your acrylic paint.
- Dip your brush in paint and tap it over the surface of the Pumpkin to create splatter.
For an artistic display, you’ll want to use alternative colors. For example, if you are painting the base of one Pumpkin in black and another pumpkin with a base color of gold splatter the opposite paint color on each Pumpkin.
When entertaining company, I enjoy using food to decorate my table and appetizers. Below is an example of donut pumpkins, which would be adorable for an Autumn inspire brunch.
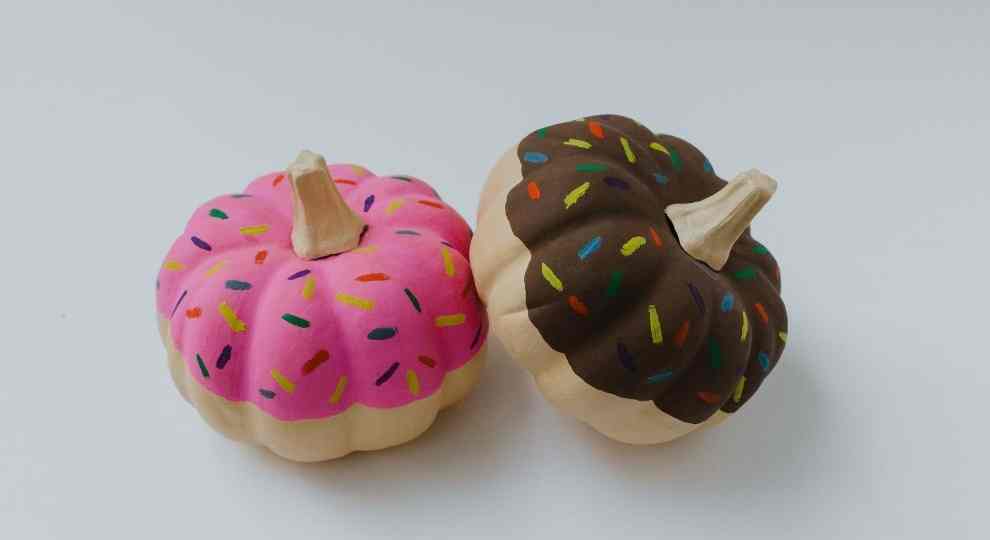
The sprinkles were not splatter; however, I wanted to include them here to inspire you to think outside of the box.
| Supplies Needed For DIY Splatter Paint Pumpkins |
|---|
| A Proper Workspace Such As A Cardboard Box or Old Sheet |
| A Few Pumpkins |
| Your Paint Colors Of Choice |
| Thin Artist Craft Brushes |
| Tape To Help Create Designs |
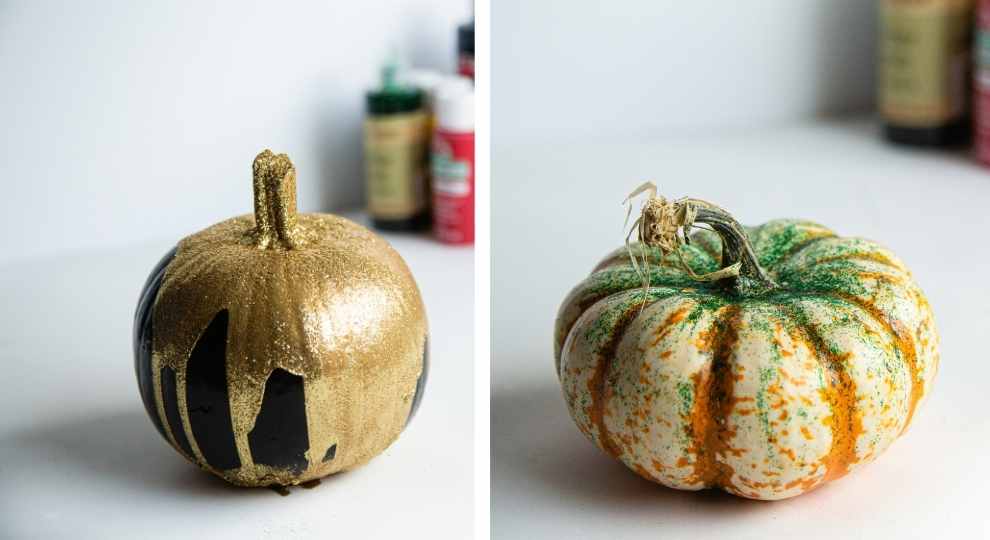
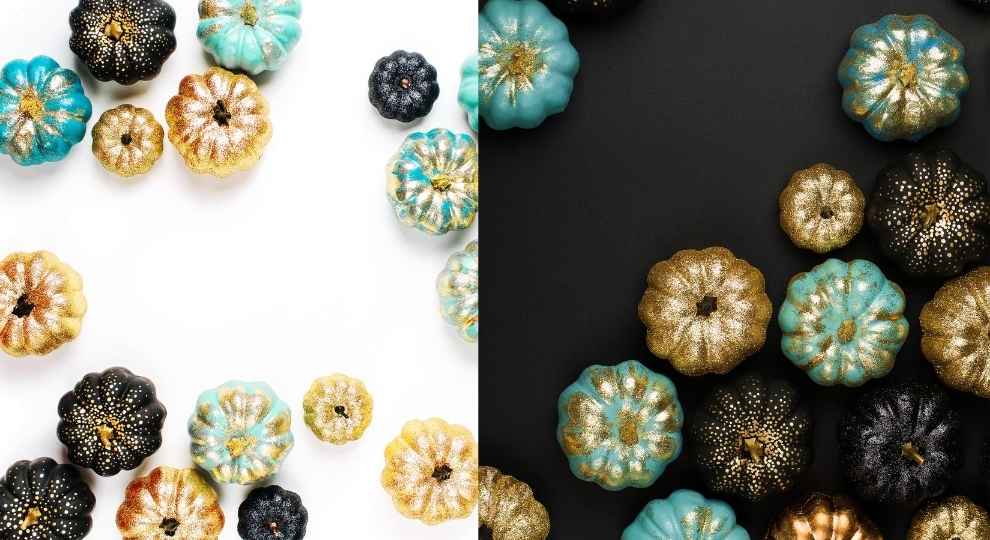
Metallic / Glitter Pumpkins
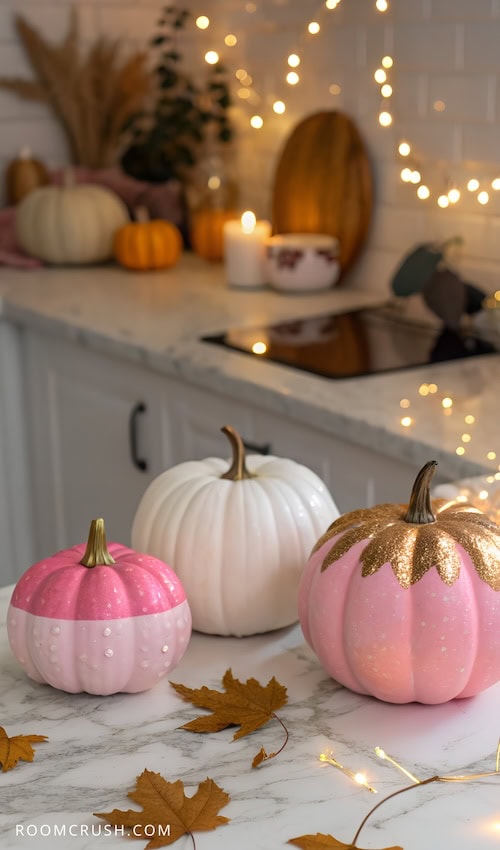
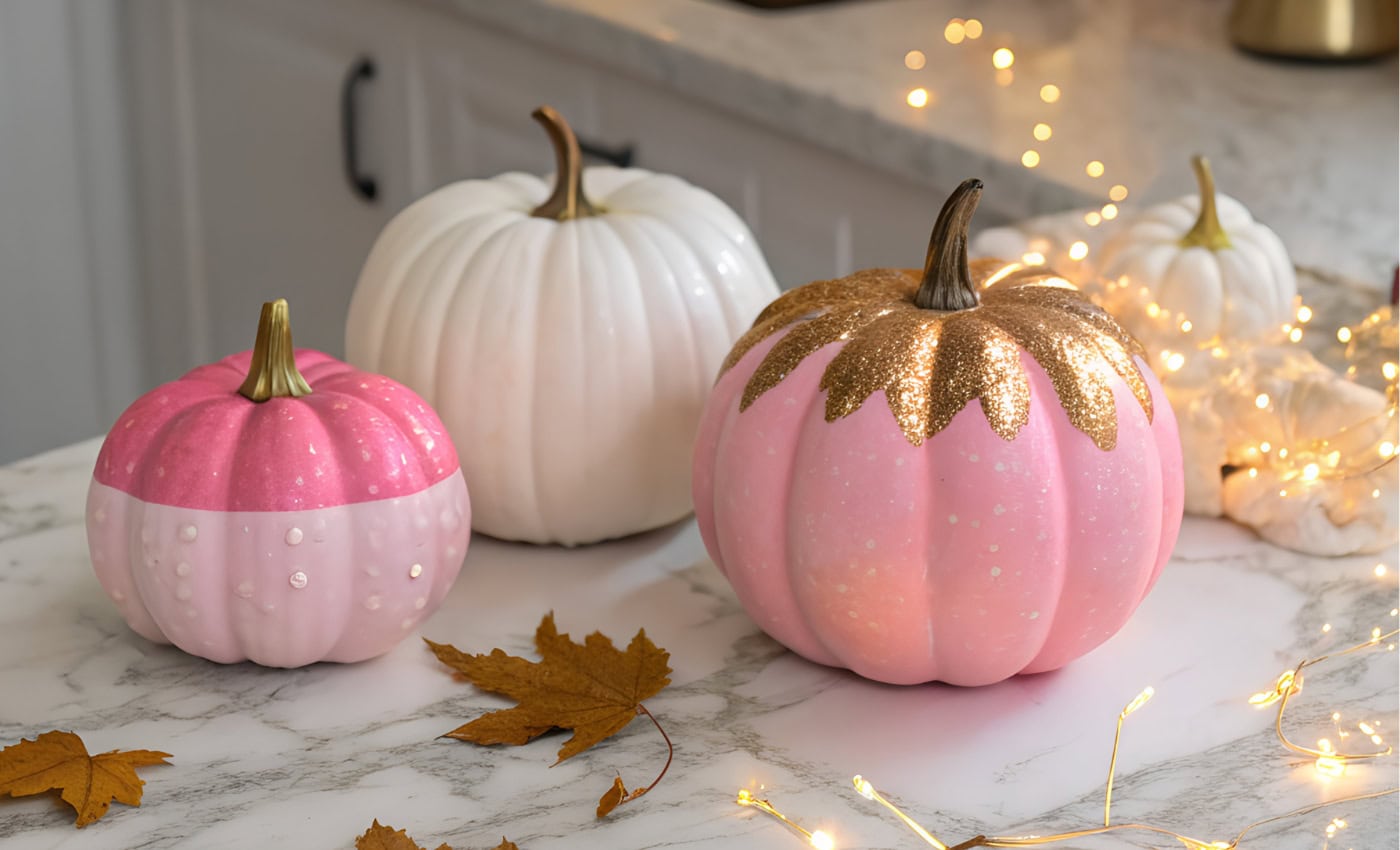
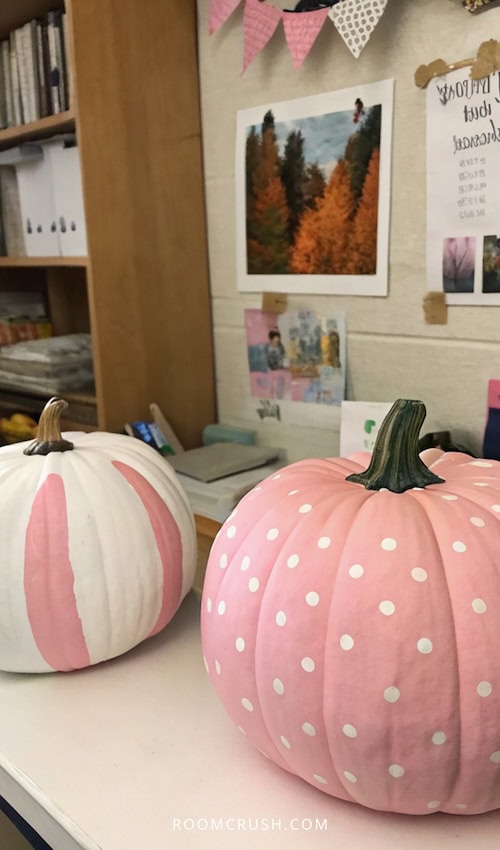
The Pumpkin on the left was spray-painted first. For the tiger pumpkin, I used green glitter glue around the steam and brushed it downward. If you plan on using the glitter on the Pumpkin, you can use tape to outline or stencil the design. Apply the glitter within the tape outline. To create a glam look, why not create a Glitter Polka Dot Pumpkin.
| Glitter Pumpkin Supplies |
|---|
| A Proper Workspace Such As A Cardboard Box or Old Sheet |
| A Few Pumpkins |
| Your Paint Colors Of Choice |
| Glitter Glue, Glitter Nail Polish Can Also Be Used |
| Tape To Help Create Designs |
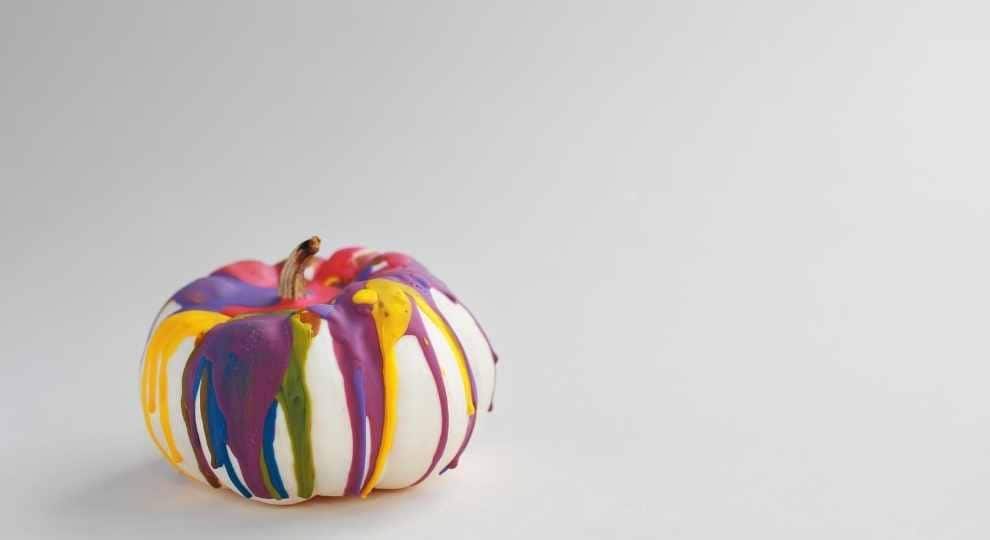
My Favorite Pumpkin Painting Idea Is Marbling
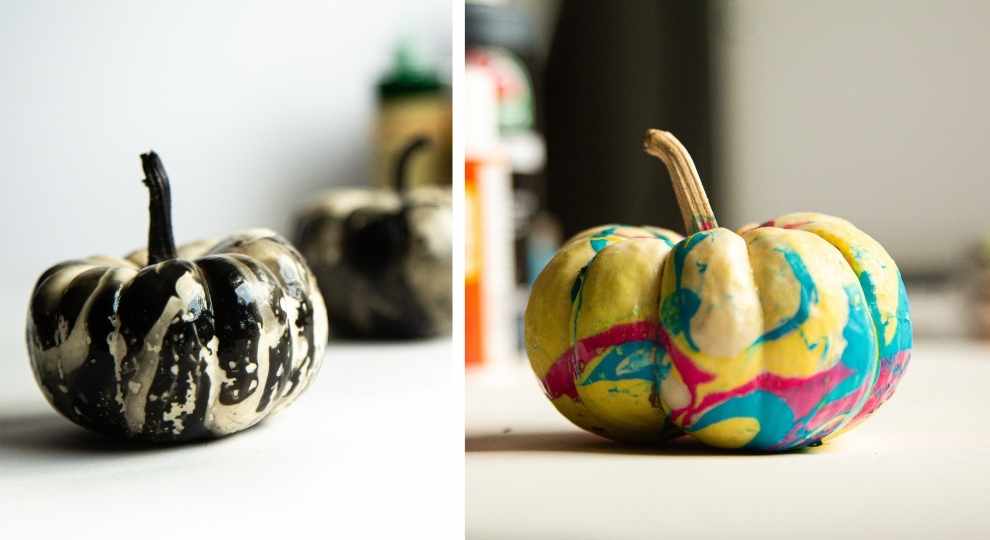
Okay, this is pretty cool and can be used on more than just pumpkins. The technique is relatively simple, and since photos best illustrate it, I wanted to document my entire process.
However, I couldn’t find Pumpkins today. I went to Trader Joe’s (Pumpkins will be in by the 10th), Target (Nope), Walmart (Nada), and called the local farm. I don’t want to decorate plastic or foam Pumpkins, but the above methods will work on them. As long as the surface is painted, you could use any method. However, I could spot a fake from across the room, and the pumpkins I have already looked too cute to destroy.
When researching this technique, I found that not all nail polishes will work. Sinful Nail Brand was one that was recommended, and it’s what I will since I already have a few bottles at home.
Sally Hansen Extreme Wear Nail Polish also made the list as that brand is known to be used in nail marbling. (Before writing this, I didn’t even know that was a thing!)
Begin by painting your pumpkins white for best results. Once your Pumpkin has dried, you will want to prepare your water container and all supplies.
It’s important to note you’ll need to work fast. The temperature of the water can speed up your process. Therefore, avoid using very cold water as it will cause the nail polish to dry too quickly.
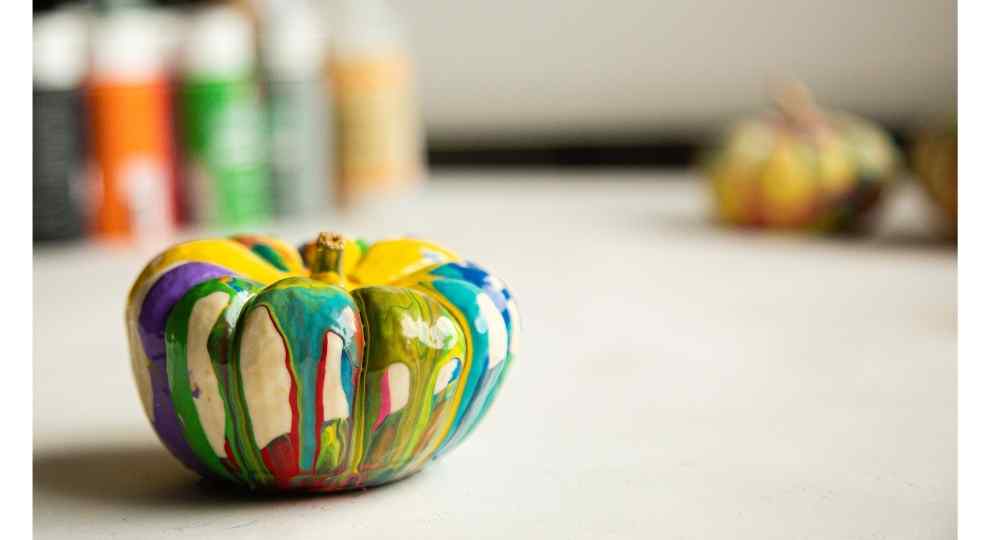
Once you have EVERYTHING set, then proceed to add a few of your favorite colors to the water. To avoid the nail polish from sinking to the bottom of the container, shake the brush very near the water surface.
Then quickly use the Q-Tip to give the colors a twirl to create a better design. Next, hold your Pumpkin by the stem and dip it into the marbling bath. Then place the Pumpkin on a sheet of wax paper to dry.
NOTE: Depending on the temperature outside, it will take a while for the Pumpkin to dry, at least one to two hours for the bottom to dry to the touch.
Next, clean the bath for the next Pumpkin by swirling the Q-Tip to gather the remaining nail polish from the water’s surface. Check out my post on marbling mugs and other craft ideas for adults.
| Supplies Needed For Pumpkin Marbling |
|---|
| Lots Of Pumpkins With Long Stems |
| Base Paint Color – White Is My Favorite |
| Sinful Brand Nail Polish (Under $2) |
| Medium Size Water Container |
| Tap Water |
| Wax Paper |
| Q-Tips |
| Gloves |
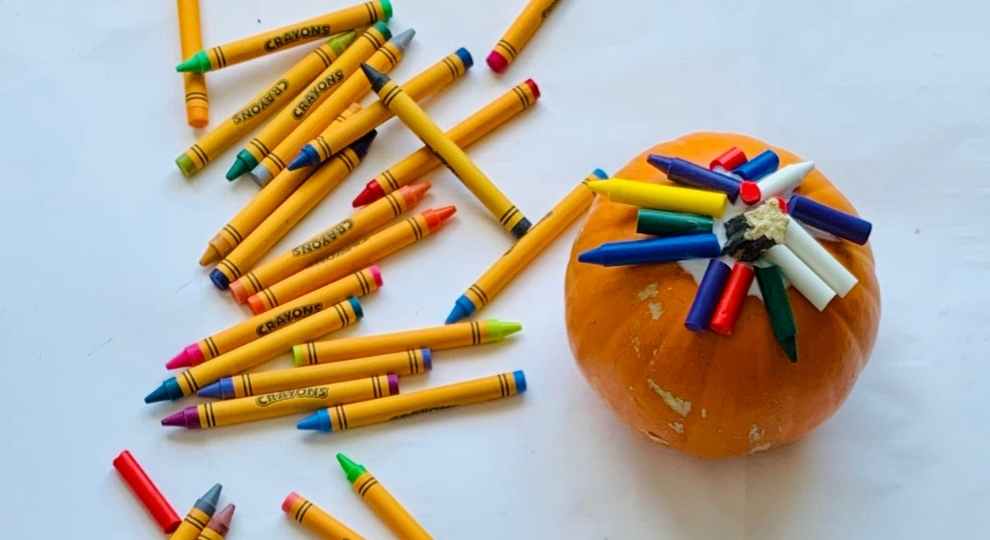
Using Crayons To DIY Drip Paint Your Pumpkin
This technique comes with a little bit of a warning – it’s messy!!! So, before beginning, this project make sure to set up a proper workspace. Such as placing the Pumpkin in a large cardboard box with an opening for you to work in.
For a more sophisticated design, choose a white pumpkin so that your base color is neutral. Second, choose crayon colors that match your existing home decor.
This technique works best if you have a pumpkin like the one below. Notice that there is an indention around the stem of the Pumpkin. The crayon wax will pool around the stem allowing you more freedom to create whatever you like.
To begin, remove the wrapping paper from the crayons. If the paper is difficult to remove, simply soak the crayons in water first. Then break the crayons in half. Trust me; a little goes a long way.
Next, add a layer of Fast Grab Tacky Glue around the stem and place the crayons pieces on top. Give it a few minutes to dry. This will secure the crayons in place, so your crayons don’t move during your project. After all, we’re aiming for a professional look (-;
Now let the fun begin. Start off with a low-heat setting on your hairdryer to start the melting process. If you use a heat gun, keep in mind the temperature is “hotter,” so the crayons will melt quickly.
As you begin to see, the crayons melting continue moving the Pumpkin to control the drips. Once you have completed your project, allow it to dry for 30 minutes or so.
| Supplies Needed For DIY Crayon Drip Pumpkins |
|---|
| A Proper Workspace Such As A Cardboard Box or Old Sheet |
| Pumpkins |
| Fast Grab Tacky Glue |
| Crayons |
| Hair Dryer or Heat Gun |
Acrylic Paint Pumpkins

Using Mod Podge On Pumpkins
Mod Podge is an all-in-one miracle product, You could learn all about it in this post, What Is Mod Podge and Why It’s AWESOME!
It works as a glue adhesive to allow paper and fabrics to stick to various surfaces. After the decoupage medium and your decorative layer is added, you can apply Mod Podge as a sealer. In this video, Caron used paper napkins for her decorating layer.
Painting Pumpkin Ideas you should try – Nothing says Autumn like a rainbow of fall color leaves. Why not paint your Pumpkin a white color and then use Mod Podge to apply Autumn leaves.
| Supplies Needed Using Mod Podge Pumpkin |
|---|
| Lots Of Pumpkins With Long Stems 😊 |
| Mod Podge |
| Paper napkin, Newspaper or anything you want to use to decorate |
| Wax Paper To Keep Your Area Clean And To Rest The Pumpkins While They Dry |
Pumpkin Painting Ideas – Conclusion
Hopefully, you enjoyed and found a few new pumpkin painting ideas you’ll want to try. Pumpkins are a great way to feel the season change in your home, especially for some of us who live in tropical weather.
So, when I update my décor for Autumn, you better believe Pumpkins will be included. Truth be told, I only would carve a pumpkin for two reasons: to use it as a soup bowl for my pumpkin soup recipe or to bake a pie.
Lastly, for home styling tips and tricks drop by anytime, and follow us here. In the meantime head over to this post, Easy Fall Decorating Ideas Anyone Can Do .


Try putting the crayon pumpkin in a 120 degree oven on wax paper. Using a hair dryer is uneven heating not intended to melt wax.
Hi Denise, Thanks for the tip. I used a hairdryer as per the instructions of a few other blogs and magazines. I may try doing artwork by melting crayons on canvas in the future. Maybe I’ll try your trick then? Over the next few weeks, I’ll be tackling upcycling furniture since I want to get back to my “roots.” Also, I’ll be cooking more since I was asked to join FoodTalkDaily and love to cook. I’m setting up a photography and video studio to improve my blog quality. Thanks for stopping by, and stay safe. <3 Rebecca